How to Laser Etch Wood: A Beginner’s Guide
Laser etching wood transforms ordinary pieces into personalized art, custom gifts, and professional products with incredible precision. Whether you are a hobbyist crafting unique presents or a business owner creating branded merchandise, laser etching wood opens up endless creative possibilities. The process uses a focused laser beam to vaporize the surface, creating permanent, high-contrast designs that stand out. Unlike traditional carving, laser etching delivers clean, repeatable results with intricate detail, from fine text to photo-realistic engravings.
But achieving professional results requires more than just pressing start. Choosing the right laser, wood type, and settings determines whether you get a crisp, clean mark or a charred, uneven mess. This guide walks you through every step: selecting materials and equipment, optimizing settings, preventing fires, and finishing your work like a pro.
Choose the Right Laser Type for Wood

The laser you use directly impacts engraving quality, speed, and what materials you can work with. Understanding the differences helps you make the right choice for your projects.
CO₂ Lasers: The Gold Standard
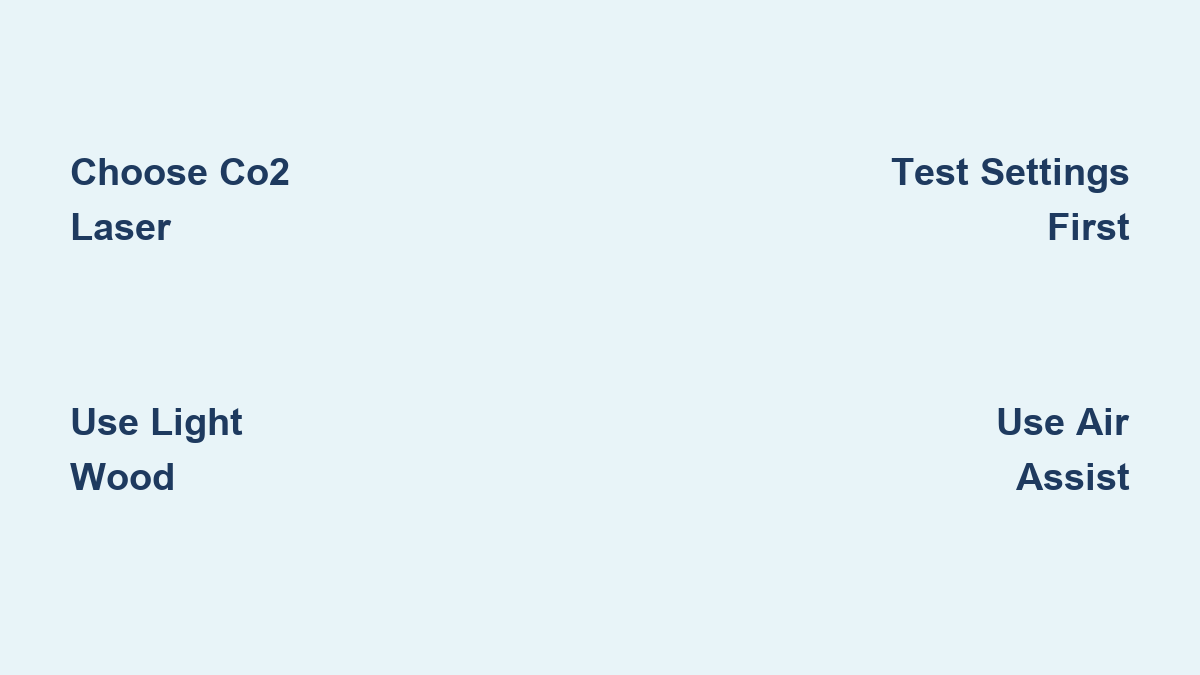
CO₂ lasers with a 10.6 μm wavelength are the industry standard for laser etching wood because they absorb highly into organic materials. These lasers deliver clean, deep engravings with fast processing times.
• Power range: 30W to 200W for different project needs
• Cut depth: Up to 25 mm with higher wattage models
• Spot size: Approximately 0.1 mm for fine detail
• Best for: Hardwoods, plywood, MDF, bamboo, and detailed engraving
Popular models include the Epilog Fusion Pro, xTool P2 (55W), xTool P3 (80W), and Thinklaser Lightblade. CO₂ lasers handle thick wood and deliver superior contrast, making them ideal for commercial and detailed work.
Diode Lasers: Budget-Friendly Option
Diode lasers (450 nm wavelength) cost less and have a compact design, but they are less powerful than CO₂ systems. They work well for light etching and thin wood projects.
• Power range: 10W to 40W
• Best for: Hobbyists, thin wood (15 mm or less), surface engraving
• Limitations: Larger spot size reduces detail capability, slower speeds on dense woods
The xTool S1 and Ortur H10 are popular options for those starting with diode lasers.
Fiber Lasers: Avoid for Wood
Fiber lasers (1.06 μm wavelength) target metals and plastics. They do not absorb well into wood, causing uneven, scorched results. Only use fiber lasers on coated or treated wood in rare cases.
Select the Best Wood for Laser Engraving

Not all wood reacts the same way to laser etching. The right choice ensures clarity, contrast, and safe operation.
Top Wood Choices
| Wood | Engraving Result | Best For |
|---|---|---|
| Maple | Light background, dark engraving | High-contrast designs, photo engraving |
| Birch / Plywood | Even texture, minimal grain distortion | Signs, puzzles, layered art |
| Alder | Smooth, low resin, minimal charring | Fine detail, name tags |
| Basswood | Soft, easy to engrave deeply | 3D layered sculptures |
| Cherry | Warm tone, elegant finish | Gifts, keepsakes |
| Walnut | Dark, rich look | Requires lower power to avoid over-burn |
Woods to Avoid
• Pine and Cedar: High resin causes flare-ups, soot, and uneven burns
• MDF: Cuts cleanly but emits sticky, toxic fumes requiring filtration
• Plywood with voids: Inconsistent layers create patchy engraving
• Treated or painted wood: Releases toxic fumes when burned
Always use dry, untreated wood. Moisture increases fire risk and causes steaming that ruins your design.
Prepare Your Design Files
A flawless engraving starts with proper file setup. Using the right format ensures your design translates correctly to the laser.
Vector vs. Raster Files
Use vector files (.SVG, .DXF, .AI) for lines, text, and cutting paths. These files contain mathematical paths that the laser follows precisely. Use raster files (.PNG, .JPG) for images and photo engraving, with 300 DPI or higher recommended for best results.
Convert photos to grayscale and apply dithering (halftone or stippling) for better laser interpretation. This transforms continuous tones into dots the laser can reproduce effectively.
Software Options
• LightBurn: Industry favorite supporting most lasers
• Inkscape: Free, open-source option for vector preparation
• CorelDRAW / Illustrator: Professional design tools
• xTool Creative Space: OEM software for xTool users
Layer Color Coding
Assign different colors to indicate different operations. Red typically indicates cut lines, blue marks engrave areas, and green represents score lines. This helps the laser software apply correct power and speed settings per operation.
Set Up Your Laser Machine Properly
Proper setup prevents errors and ensures precision throughout your project.
Secure the Wood
Place wood flat on the bed and use clamps or tape to prevent movement during operation. A honeycomb bed reduces back-burn and improves airflow by allowing smoke to escape downward.
Focus the Laser
Use autofocus or a manual focus gauge to position the laser correctly. Incorrect focus results in blurry or weak engraving. Re-check focus whenever material thickness changes.
Use a Rotary Attachment
For curved objects like rolling pins, bottles, pens, or cylindrical wood blanks, attach a rotary device. The laser moves linearly while the object rotates, maintaining even depth across the entire surface.
Optimize Engraving Settings for Perfect Results

Settings make or break your results. Always test on scrap wood first before running your final project.
Key Parameters
| Setting | Effect | Recommended Start Point |
|---|---|---|
| Power (%) | Depth and darkness | 20-40% for light engraving |
| Speed (mm/s) | Detail and heat | 150-300 mm/s |
| Passes | Depth control | 1-3 passes |
| Frequency (kHz) | Line smoothness (diode) | 10-20 kHz |
| Air Assist | Reduces charring | Always ON |
Example Settings for Maple (CO₂ Laser)
• Light engraving: 30% power, 200 mm/s, 1 pass
• Cutting 6 mm wood: 80% power, 10 mm/s, 2 passes
• Photo engraving: 25% power, 150 mm/s, high DPI raster
Too slow or too high power creates a fire risk. Test settings on scrap wood and adjust until you get clean, dark lines without burning.
Use Masking Tape for Cleaner Results
Applying masking tape before engraving reduces cleanup time and improves your final finish.
Benefits
• Prevents smoke staining on the wood surface
• Minimizes surface charring on light woods
• Protects surrounding areas from heat damage
How to Apply
Apply laser masking tape or Kapton tape over the wood surface before engraving. Engrave as normal, then peel off the tape after completion. Clean the engraved area with a soft brush or compressed air to remove any remaining debris.
This technique works best on light woods like maple and birch where smoke marks are most visible.
Prevent Common Problems
Knowing common issues and their solutions helps you avoid ruined projects.
Avoid Burn Marks
Excessive power, slow speed, or lack of air assist causes burn marks. Fix this by increasing speed, lowering power, using air assist, and making multiple shallow passes instead of one deep pass. A honeycomb bed also reduces heat reflection back into the wood.
Fix Inconsistent Depth
Uneven wood, poor focus, or warped material causes inconsistent depth. Sand the wood flat before engraving, re-focus at multiple points, and use auto-focus if available. Choose high-quality, flat plywood for best results.
Stop Smoke Staining
Poor ventilation, slow engraving, or no masking causes smoke staining. Use a smoke purifier or external exhaust, increase your speed, apply masking tape, and clean optics regularly to maintain beam strength.
Stay Safe During Laser Engraving
Laser etching wood produces smoke, fumes, and fire risk. Safety must be your top priority.
Essential Safety Measures
• Never leave the machine unattended during operation
• Use fire detection sensors (like xTool 360° sensor)
• Keep a CO₂ fire extinguisher nearby
• Enable lid-open safety stop features
• Prefer Class 1 enclosed systems when possible
• Wear safety goggles if using open-frame lasers
Ventilate your workspace using external exhaust or filtered systems with HEPA and carbon filters. Never engrave materials that release chlorine or cyanide when burned, including PVC and treated wood.
Finish and Protect Your Engraved Wood
Post-processing enhances appearance and ensures long-term durability.
Clean the Surface
Remove debris with a soft brush or compressed air. Wipe gently with a dry cloth. Lightly sand rough edges with 220+ grit sandpaper if needed.
Apply Protective Finish
| Finish | Best For | Notes |
|---|---|---|
| Polyurethane | Decorative items | Durable, glossy finish |
| Lacquer | Commercial products | Fast-drying, professional |
| Varnish | Natural look | Water or oil-based options |
| Beeswax / Mineral Oil | Cutting boards, utensils | Food-safe, requires reapplication |
Enhance Contrast (Optional)
Rub acrylic paint or ink into the engraved lines, wipe excess with a cloth, and let dry before sealing. This technique works great for signs, puzzles, and labels.
Explore Creative Applications
Laser etching wood creates endless possibilities beyond simple gifts.
Home and Decor
• Custom wall art and signage
• Wooden lamps with patterned shades
• 3D layered sculptures
• Engraved coasters and puzzles
Personalization
• Name tags and keychains
• Wedding favors and place cards
• Memorial plaques with photos
• Monogrammed utensils and boxes
Business Uses
• Branded awards and trophies
• Custom packaging and labeling
• Architectural models
• Retail displays
Photo engraving works best on light, fine-grain woods like maple. Convert photos to grayscale and use dithering for the best results.
Maintain Your Laser Machine
Regular care ensures consistent results and extends machine life.
Maintenance Schedule
• Daily: Clean workbed, wipe lens and mirrors with alcohol
• Weekly: Inspect belts and rails, empty dust tray
• Monthly: Deep clean optics, lubricate moving parts, verify Z-axis calibration
• Long-term: Replace CO₂ tube every 10,000-20,000 hours, diode lasers last 5,000-10,000 hours
Clean optics weekly to maintain beam strength and focus accuracy.
Frequently Asked Questions About Laser Etching Wood
What is the minimum laser power needed to engrave wood?
A 10W diode laser is sufficient for surface engraving on most woods. For deeper engraving or cutting through wood, 20W or higher is recommended.
Can a laser engraver cut all types of wood?
Most CO₂ and high-power diode lasers can both engrave and cut wood. Cutting requires higher power and slower speeds than engraving. Dense hardwoods require more power than softwoods.
Should I sand wood before laser engraving?
Yes. Sanding ensures a smooth, even surface that improves engraving consistency and appearance. Always clean the surface with isopropyl alcohol to remove dust and oils.
Is it better to stain wood before or after engraving?
Stain before engraving creates a uniform background, allowing the engraved area to stand out with sharp contrast. Ensure the stain is completely dry before engraving.
How do I seal wood after laser engraving?
Apply a clear protective finish based on the item use. Polyurethane offers durability, lacquer dries quickly, varnish provides a natural look, and food-safe oils work for cutting boards.
Why does my engraving look burned or uneven?
Burn marks and uneven results typically stem from excessive power, slow speed, poor focus, or inadequate air assist. Test settings on scrap wood and adjust accordingly.
Key Takeaways for Successful Wood Laser Etching
Laser etching wood delivers professional results when you understand the fundamentals. Use CO₂ lasers for the best quality engravings on wood. Choose light, fine-grain woods like maple or birch for high contrast and clean marks. Always test your settings on scrap material before production. Use air assist and proper ventilation to reduce charring and smoke staining. Never leave your machine unattended and keep fire safety equipment nearby. Finish your work with a protective coating to enhance durability and appearance.
Start with a simple project like a name tag or coaster to build your skills. Experiment with photo engraving on light woods as you gain confidence. Upgrade to a rotary attachment when you are ready to tackle 3D items like rolling pins and bottles. With the right knowledge and practice, laser etching wood becomes a powerful creative skill for fun, profit, or custom projects.