How to Laser Etch Metal: Quick Steps
Laser etching metal produces permanent, high-contrast marks ideal for serial numbers, logos, barcodes, and decorative designs. Whether you work in manufacturing, jewelry making, or custom personalization, how to laser etch metal effectively depends on selecting the right laser type, preparing the surface properly, and optimizing your settings. This guide walks through every step, from choosing equipment to executing precise, durable marks on stainless steel, aluminum, titanium, and more.
By the end of this article, you will understand which laser technology suits your needs, how to prepare metal surfaces for consistent results, and what parameters and safety practices ensure professional-quality etching every time.
Choose the Right Laser Type for Your Needs

Fiber Lasers for Direct Metal Etching
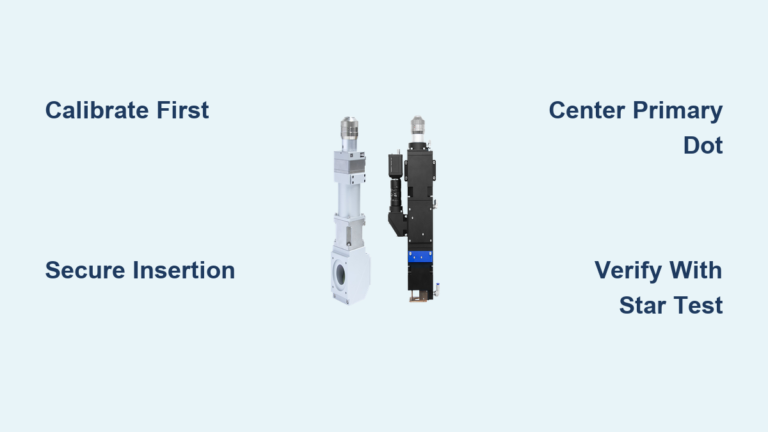
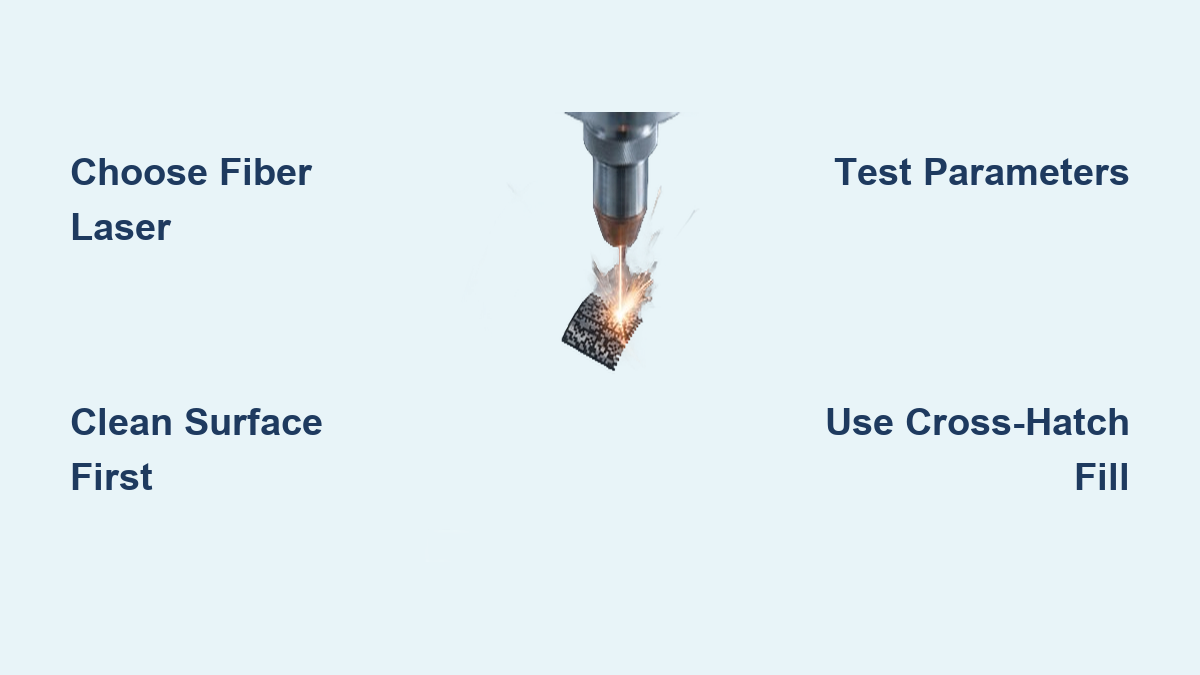
Fiber lasers operating at 1064 nm represent the gold standard for bare metal etching. These lasers deliver high absorption on metals like aluminum, stainless steel, and titanium, creating fast, deep, and consistent marks without any surface coatings. MOPA fiber lasers offer additional control over pulse width, enabling color marking on stainless steel and titanium, which is critical for medical and aerospace applications. Power levels ranging from 20 to 100 W handle high-volume production with cycle times often under 3 seconds per part.
CO₂ Lasers Require Marking Spray
CO₂ lasers at 10.6 µm wavelength cannot directly etch bare metal due to high reflectivity. However, applying a metal marking spray creates a surface the CO₂ beam can interact with. The laser bonds the compound to the metal, leaving a permanent dark mark after cleaning. This method works well for hobbyists who already own CO₂ machines but adds cost and time due to consumables.
Diode Lasers Have Limited Options
Standard blue diode lasers at 450 nm fail on bare metal because of reflectivity. However, they work effectively for coating removal, where a painted or anodized layer is vaporized to expose the underlying metal. For tactile etching on raw metal, infrared diode add-ons at 1064 nm, such as those on the xTool S1, enable shallow etching. These are not as powerful as fiber systems but offer a middle ground for makers.
Prepare the Metal Surface for Etching
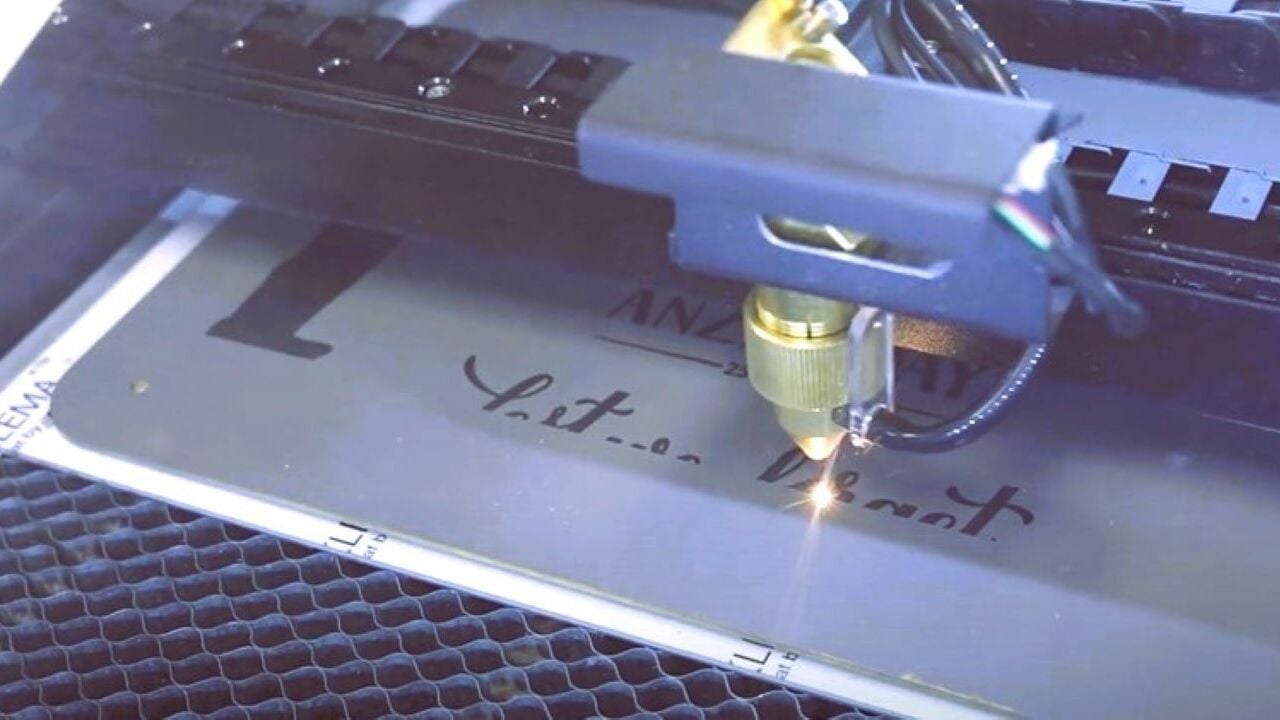
Clean Thoroughly Before Starting
Contamination causes failed or inconsistent marks more often than any other factor. Oils, oxides, and dust alter laser absorption and result in blotchy etching. Always begin with a clean surface to ensure proper energy coupling.
Wipe the metal with 90 to 99% isopropyl alcohol to remove oils. Lightly abrade with a Scotch-Brite pad or 600 to 800 grit sandpaper to remove oxidation. For aluminum, use an alkaline cleaner followed by a deionized water rinse for the best results. Dry completely before loading into the laser system.
Secure With Proper Fixturing
Use magnetic clamps, V-blocks, or custom jigs to hold the metal flat. Any warping or movement during etching causes focus drift and uneven marks. Ensure surface flatness within plus or minus 0.5 mm to maintain consistent focal distance across the entire workpiece.
Select Compatible Metals and Optimal Settings

Best Metals for Laser Etching
Aluminum, especially 6061-T6, is often cited as the best metal for laser etching. It has low reflectivity, low melting point, and excellent thermal conductivity, resulting in sharp, dark marks with minimal energy. Anodized aluminum yields white-on-black contrast when the colored oxide layer is removed.
Stainless steel types 304 and 316L respond exceptionally well to fiber laser etching. The heat creates a black oxide layer, producing high-contrast, corrosion-resistant marks ideal for medical tools, kitchenware, and industrial parts.
Titanium supports color laser marking with MOPA fiber lasers. By precisely controlling pulse duration and peak power, operators produce gold, blue, purple, and green hues through controlled oxide layer thickness.
Copper and brass are challenging due to high reflectivity and rapid heat conduction. Use lower speeds, higher pulse energy, and multiple passes. Pre-coating or sandblasting improves absorption.
Starting Parameters for Common Metals
Use these recommended starting points on a 30 W fiber laser and adjust based on test results.
For 304 stainless steel, use 1200 to 1500 mm/s speed, 35 to 45% power, and 50 to 80 kHz frequency with 2 to 3 passes.
For dark marking on stainless steel, use 1400 to 1800 mm/s speed, 70 to 85% power, and 150 to 220 kHz frequency with 2 passes.
For 6061 aluminum, use 700 to 900 mm/s speed, 25 to 35% power, and 20 to 40 kHz frequency with 2 passes.
For anodized aluminum, use 1500 to 2500 mm/s speed, 20 to 40% power, and 30 to 60 kHz frequency with 1 pass.
For copper and brass, use 500 to 800 mm/s speed, 40 to 60% power, and 20 to 50 kHz frequency with 2 to 3 passes.
Use Cross-Hatch Fill Patterns
For solid logos or filled areas, use cross-hatch fills at 0 and 90 degrees or 0, 90, and 45 degrees with hatch spacing between 0.03 and 0.06 mm. This improves mark density and edge definition compared to single-direction fills.
Test With a Parameter Matrix
Before full production, run a 5 by 5 test grid varying speed and power in 10% increments. This identifies the sweet spot for contrast, depth, and minimal heat distortion.
Execute the Laser Etching Process
Verify Placement First
Before full etching, run a low-power outline of your design to confirm alignment. This prevents misfires on expensive or serialized parts.
Optimize Your Pass Strategy
Use 2 to 3 moderate-power passes instead of one high-power pass. This reduces heat buildup, prevents warping, and improves mark consistency. Add 50 to 150 ms inter-pass delay for heat-sensitive alloys like thin aluminum or copper.
Handle Curved Surfaces With a Rotary
For round objects like pens, bottles, or tools, use a rotary axis. Calibrate alignment using a paper test to ensure even focus across the curved surface.
Apply Post-Processing and Quality Checks
Clean Etched Surfaces Properly
For direct fiber etching, remove debris with a soft brush or microfiber cloth. For sprayed methods, scrub with dish soap and a toothbrush, then rinse and dry. For medical or food-grade parts, follow passivation or cleaning protocols.
Validate Mark Durability
Ensure permanence with two simple tests. The IPA wipe test involves rubbing with an alcohol-soaked cloth; the mark should not smudge. The tape test involves applying and peeling industrial tape from the surface; the mark must remain intact.
Follow Essential Safety Practices
Wear Proper Protection
Use laser safety glasses rated OD 6 to 7 plus at 1064 nm when operating fiber lasers. Ensure enclosures have interlocks and Class 1 safety ratings.
Ventilate Fumes Effectively
Metal fumes contain hazardous nanoparticles. Use a fume extractor with HEPA H13 plus and activated carbon, positioned within 2 to 4 inches of the work area.
Keep Fire Safety Equipment Ready
Keep a CO₂ fire extinguisher nearby. Never leave the laser unattended during long jobs.
Select the Right Equipment for Your Goals
Choose a 30 to 50 W MOPA fiber laser for professional bare-metal etching. Use a CO₂ laser with SureMark spray for budget metal marking. Any diode laser works for coated metal customization. An IR diode add-on like the xTool S1 enables tactile bare-metal marks for hobbyists. A fiber laser with rotary and fume extraction handles high-throughput industrial use. A dual-laser system combining fiber and CO₂ or UV provides multi-material flexibility.
The xTool F1 Ultra integrates diode and fiber lasers, offering unmatched versatility for makers and small businesses.
Frequently Asked Questions About Laser Etching Metal
What is the best laser type for etching bare metal?
Fiber lasers at 1064 nm are the best choice for direct etching on bare metal. They offer high absorption across most metals, fast processing speeds, and the ability to create both shallow marks and deep engraving. MOPA fiber lasers additionally enable color marking on stainless steel and titanium.
Can I etch metal with a CO₂ laser?
CO₂ lasers cannot directly etch bare metal due to high reflectivity at 10.6 µm wavelength. However, you can achieve permanent marks by applying metal marking spray like SureMark or Dry Moly. The laser bonds the compound to the surface, creating a durable dark mark after cleaning.
Which metal is easiest to laser etch?
Aluminum, particularly 6061-T6, is widely considered the easiest metal to laser etch. It has low reflectivity, low melting point, and produces sharp, dark marks with minimal energy. Anodized aluminum offers excellent contrast by removing the colored oxide layer.
How do I prevent blotchy or inconsistent marks?
Blotchy marks almost always result from surface contamination. Clean thoroughly with 90 to 99% isopropyl alcohol, remove oxides with light abrasion, and dry completely before etching. Also ensure proper fixturing to maintain flatness within plus or minus 0.5 mm.
Is laser etching safe for medical instruments?
Yes, laser etching is widely used in medical device manufacturing. UDI-compliant DataMatrix codes on 316L surgical instruments survive over 250 autoclave cycles and maintain readability after passivation. Shallow etching under 20 µm reduces fatigue life by less than 5%, making it safe for most applications.
Key Takeaways for Laser Etching Metal
The method you choose for how to laser etch metal depends on your materials, volume, and budget. For industrial-grade, permanent results on bare metal, fiber laser etching is unmatched in speed, durability, and precision. Aluminum produces the best overall results due to its thermal properties and high contrast response.
Surface preparation is non-negotiable. Even fingerprint oils disrupt absorption and cause blotchy marks. Clean thoroughly, dry completely, and secure with proper fixturing before every session.
Regardless of your setup, success hinges on surface prep, parameter testing with a matrix, and safety discipline. With the right approach, laser etching delivers durable, high-precision marks that last a lifetime on stainless steel, aluminum, titanium, and more.