How to Install Batteries in a Laser Pointer
You just got a new laser pointer or found an old one buried in a drawer. But it will not turn on. Chances are, it needs fresh batteries. Installing batteries in a laser pointer is simple if you know the correct steps, especially since most pen-style models use small button cells that can be easy to insert backward. Getting the polarity wrong is the number one reason these devices do not work after battery replacement.
This guide will walk you through exactly how to put batteries in a laser pointer safely and correctly. You will learn the right battery type, proper orientation, and how to avoid common mistakes that could damage your device or reduce performance. Whether you are setting up a presentation tool or using a laser for astronomy, these steps ensure your pointer powers up every time.
Open the Laser Pointer Safely
Before inserting batteries, you must access the compartment without damaging the device.
Unscrew the Cap Correctly
Hold the middle section of the laser pointer, the gold or metallic band, firmly with one hand. With your other hand, twist the end cap or laser head counterclockwise to loosen and remove it. Most pen-style laser pointers use this twist-off design.
Look for a seam near the center or tip of the device. That is where it splits. Never force it. If it will not budge, double-check the direction of the threads.
Avoid gripping the plastic body too tightly, as excessive pressure can crack the casing. Once open, set both parts on a clean surface to prevent losing small components.
Insert the Right Batteries

Using the correct battery type and orientation is critical for your laser pointer to function properly.
Choose the Correct Battery Type
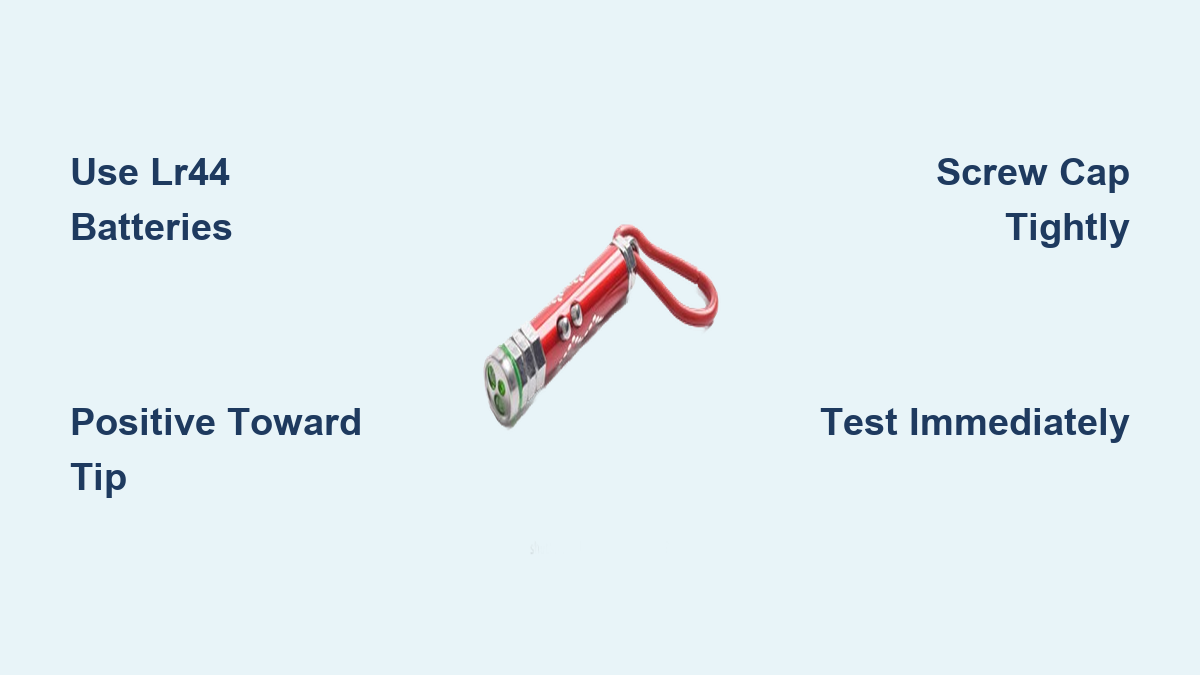
Your laser pointer likely requires three 1.5V button cell batteries, specifically LR44 which is most common. These are also known as AG13, A76, or G13. These are interchangeable and widely available at drugstores, electronics shops, or online. Always buy fresh batteries. Even expired ones can leak and damage the internal contacts.
Replace all three batteries at once. Mixing old and new cells leads to uneven power delivery and dim performance.
Align Polarity Properly

This is the most crucial step when learning how to put batteries in a laser pointer.
The positive plus end of each battery must face toward the laser tip, the end that emits light. The negative minus end should point toward the button or tailcap.
Inserting batteries backward can prevent the laser from turning on and in some cases may damage internal circuitry.
Check the inside of the battery compartment for engraved plus and minus symbols. Use them as a guide. Stack the batteries one by one, making sure each is seated flat and not tilted.
Reassemble the Device Securely
Now that the batteries are in place, it is time to close the unit safely.
Screw the Cap Back On
Align the cap or head with the barrel and gently twist it clockwise until snug. Do not over-tighten. The goal is a secure seal, not maximum force.
Over-tightening strips the plastic threads, making future battery changes difficult or impossible.
Ensure the device feels balanced and the seam is even. If the button feels stiff or the cap wobbles, disassemble and recheck battery alignment and seating.
Test the Laser Immediately
After reassembly, test the pointer right away to confirm it works.
Press the Button and Check Output
Firmly press the power button, usually located on the side or end. You should see a bright, steady beam.
If nothing happens, turn it off and recheck battery orientation. Make sure all three batteries are fully inserted and touching both contact points.
Some laser pointers only activate when fully screwed together. The pressure completes the circuit.
Troubleshoot Common Issues
Even with correct installation, problems can occur. Here is how to fix them fast.
Laser Will Not Turn On
Start with the basics. Check polarity by removing the batteries and verifying each is facing the right direction. Inspect contacts by looking for corrosion, white or green crust, on metal springs or terminals. Clean if needed by using a cotton swab dipped in rubbing alcohol to gently wipe contacts. Let dry completely before reinserting batteries.
Try tapping the end of the laser, button side down, lightly on your palm. Sometimes this jostles loose batteries into contact.
Beam Is Dim or Flickering
A weak or unstable beam usually means one of three things.
Low battery power is the first possibility. Even new batteries can be weak if stored improperly. Mixed battery ages is the second. Always replace all three together. Loose cap is the third. A partially unscrewed head breaks the circuit.
Replace all batteries with a fresh set from a reputable brand and ensure the cap is fully tightened.
Know Your Battery Options
Not all button cells are the same, even if they fit.
Understand Equivalent Models
The LR44 is the standard, but these models are direct substitutes: AG13, A76, G13, and L1154. They share the same size, 11.6mm diameter and 5.4mm height, and voltage, 1.5V. However, alkaline types like LR44 are preferred over zinc-air or silver oxide versions unless specified.
Name-brand batteries like Duracell and Energizer last longer and leak less often than cheap generics.
Avoid rechargeable button cells unless your laser is explicitly designed for them. They often output lower voltage and may not trigger the laser diode.
Maintain Performance Long-Term
Proper care extends your laser pointer is life and prevents future issues.
Replace Batteries Promptly When Dead
Leaving dead batteries inside can lead to leakage, which corrodes metal contacts and ruins the device.
If storing the laser long-term, remove the batteries entirely.
Store Correctly
Keep your laser pointer in a cool, dry place. Heat and humidity shorten battery life and degrade plastic components.
Store spare batteries in their original packaging until use to prevent short-circuiting.
Final Safety Reminders
Lasers are tools, not toys, especially when working with power sources and light emission.
Handle with Care
Never point the laser at people, animals, or reflective surfaces. Keep button cells out of reach of children. They pose a choking hazard and can cause serious internal burns if swallowed. Dispose of used batteries responsibly at a recycling center or designated drop-off.
Never incinerate batteries. They can explode under high heat.
Frequently Asked Questions About Putting Batteries in a Laser Pointer
What type of batteries does a laser pointer use?
Most pen-style laser pointers use three LR44 button cell batteries, also known as AG13, A76, or G13. These are 1.5V alkaline batteries that are widely available at electronics stores and drugstores.
Which direction do the batteries go in a laser pointer?
The positive plus end of each battery must face toward the laser tip, the end that emits light. The negative minus end should face toward the button or tailcap. Always check for plus and minus symbols inside the compartment to confirm correct orientation.
Why will my laser pointer not turn on after changing batteries?
The most common reason is incorrect polarity. Remove the batteries and reinsert them with the correct orientation. Also ensure the cap is fully tightened, as some lasers only activate when the circuit is complete through pressure.
Can I mix old and new batteries in my laser pointer?
No. Mixing old and new batteries leads to uneven power delivery and results in a dim or flickering beam. Always replace all three batteries at the same time with fresh cells from the same package.
How do I know if my laser pointer batteries are dead?
If the beam appears dim, flickers, or the laser will not turn on at all, the batteries are likely dead or weak. Replace all three batteries with fresh ones to restore full brightness.
Key Takeaways for Putting Batteries in a Laser Pointer
Use three LR44 or equivalent 1.5V button cell batteries for most pen-style laser pointers. Insert each battery with the positive plus end facing toward the laser tip and the negative minus end facing toward the button. Open and close the cap gently by twisting counterclockwise to open and clockwise to close. Never force or over-tighten the threads. Always test the laser immediately after installation and troubleshoot polarity first if it fails to turn on. Replace all batteries at once rather than mixing old and new cells. Remove batteries during long-term storage to prevent leakage damage. Following these steps will keep your laser pointer working reliably for presentations, teaching, or hobby use.