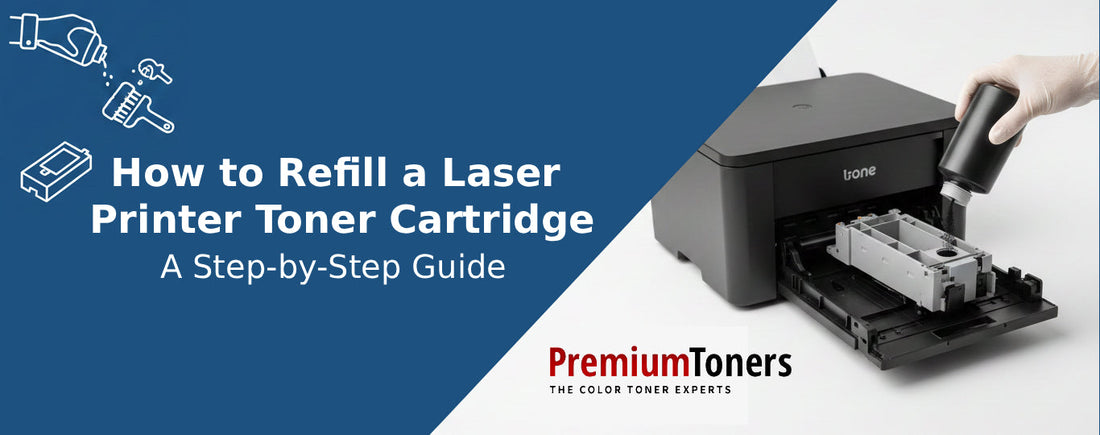
How to Refill Laser Toner Cartridge: Step-by-Step Guide
Is your laser printer displaying a low-toner warning, forcing you to spend $100 or more on a replacement cartridge? You can save significantly by refilling your laser toner cartridge yourself for as little as $15. This cost-effective solution reduces plastic waste while delivering print quality that rivals new OEM cartridges when done correctly. This comprehensive guide walks you through every step of the refilling process, from identifying your cartridge model to troubleshooting common issues after reinstallation.
Identify Your Cartridge Model for Refill Compatibility
Before purchasing any refill supplies, you must confirm your cartridge’s exact model number. Using incompatible toner or kits can damage your printer or result in poor print quality.
Locate Your Cartridge Information
Open your printer’s front or top cover and remove the toner cartridge. Look for the following identifiers printed on the cartridge body:
• Model number (for example, HP CF410A for black or CF415A for color cartridges)
• Color designation (Black, Cyan, Magenta, or Yellow)
• OEM brand name (HP, Brother, Canon, or Samsung)
Write down the complete model number before purchasing your refill kit. For instance, HP CF415A Yellow is used in LaserJet Pro M452 and M455 printer series.
Verify Refill Feasibility
Not all cartridges are equally suited for DIY refilling. Some manufacturers seal cartridges with plastic welds requiring drilling, while others feature factory-drilled holes covered by tape that are simpler to access. Cartridges with integrated drums (common in HP and Brother models) need careful handling to prevent light damage that degrades print quality.
Search for your specific model number plus “refill kit” to confirm compatibility before proceeding.
Gather Required Tools and Safety Equipment for Toner Refilling

Having the proper equipment ensures a clean, safe refill process with minimal risk of printer damage or health issues from toner exposure.
Essential Refill Kit Components
A complete refill kit typically includes compatible toner powder specific to your cartridge color, a transfer funnel or nozzle tip, sealing tape for drilled holes, a replacement smart chip, and basic tools like a screwdriver and pry tool. These kits cost approximately $39 and contain everything needed for a successful refill.
Additional Tools You Will Need
• Flat-head screwdriver for prying open plastic welds
• Half-inch drill bit for creating refill access holes
• Small shop vacuum for capturing plastic shavings
• X-Acto knife for removing chips and cutting tape
• Razor blade for cleaning hole edges
Safety Gear for Toner Handling
Toner is a fine particulate that can irritate lungs and skin. You must wear an N95 or P100 mask to prevent inhalation, nitrile gloves to avoid skin contact, and eye protection during drilling operations. Work in a well-ventilated area over newspaper or a disposable mat to catch any spills.
Extract and Prepare the Cartridge for Refilling
Start with a cool, powered-off printer to avoid electrical hazards before removing the cartridge.
Safely Remove the Cartridge
Open the printer hood and gently pull out the target cartridge. Place it on a clean, flat surface with the label and color tab facing upward. Note the orientation, particularly the roller side, which should face upward during handling.
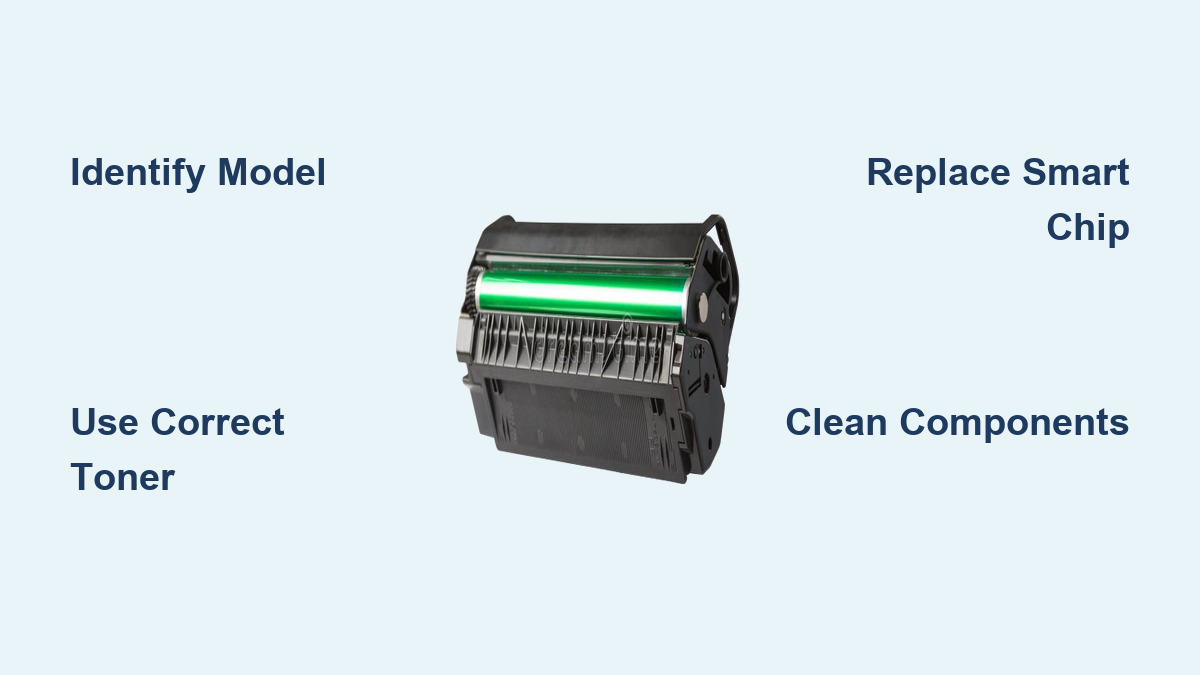
Avoid touching the drum surface (the shiny green or blue cylinder inside the cartridge) to prevent scratches that cause permanent print defects.
Create or Locate the Refill Access Point
Some cartridges come with factory-drilled holes sealed with tape, while others require you to create an access point.
Access Factory Holes or Drill Your Own
If your cartridge has a factory-drilled hole covered by silver tape, peel off the tape to expose the refill port. When no hole exists, create one using a half-inch drill bit. Position the cartridge on its side, drill into the top center or rear area while avoiding gears and the waste chamber, and use a shop vacuum nearby to capture debris. Clean the edges with a razor blade for a smooth finish.
This hole will be sealed after refilling, so create it only if you plan to refill multiple times.
Clean Internal Components Before Refilling
Residual toner and debris inside the cartridge cause backgrounding, streaks, and poor print quality. Thorough cleaning is essential before adding fresh toner.
Component-Specific Cleaning Methods
Clean the toner roller gently with a lint-free cloth. Blow out dust from gears and bushings using compressed air. Wipe electrical contacts with a dry swab. Wipe the exterior shell with a damp cloth.
Never touch the OPC drum surface, as oil from fingers causes permanent damage. Use only water to clean the charge roller (PCR), and dry it completely before reassembly. Never use alcohol or solvents on this component.
Fill the Cartridge with Compatible Toner
Using the correct toner type is critical. Wrong formulations cause fusing issues, poor print quality, or damage to printer components.
Match Toner to Your Printer
Toner chemistry varies by brand. For HP and Canon printers, use Type 1 toner. Brother printers require Type 7 toner. For HP CF410/CF415 cartridges, use ColorSphere 3-compatible polymerized toner. Generic toners may lack proper flow characteristics or melting properties.
Fill Through the Refill Hole
Shake the toner bottle well before opening. Attach the transfer tip from your kit and insert it into the refill hole, keeping the tip submerged as you pour. Tap the cartridge every minute to help toner settle and prevent bridging. If powder blocks the neck, tilt the cartridge slightly to redistribute.
Fill to approximately 80 percent capacity. The cartridge should feel heavy but not packed tight. Overfilling causes toner spills inside your printer.
Replace the Smart Chip for Printer Recognition

Modern cartridges contain smart chips that track toner levels. Even with fresh toner, the printer may reject the cartridge if the chip is not properly reset or replaced.
Install the Replacement Chip
Use an X-Acto knife to pry the old chip from the top edge, sliding it out carefully without damaging contacts. Insert the replacement chip (color-labeled for your specific cartridge) from the bottom, aligning the notch. Press until it clicks into place.
If the chip does not seat properly, place a small piece of Scotch tape over the top edge (avoiding contacts) and press firmly to secure.
Reassemble the Refilled Cartridge
Reassembly requires precision to avoid misalignment and print defects.
Reinstall Internal Components
Slide the cleaning blade back into place behind the drum and secure with the two original screws. Place the charge roller back into its cradle, ensuring shafts align properly. Insert the metal regulation blade over the toner roller and replace the two screws (they are different sizes, so match correctly). Slide the toner roller in, ensuring bushings are seated.
Reconnect Sections and Seal the Hole
Align both halves and slightly bend the side cover to snap them together. Apply a drop of glue if needed for long-term reuse. Cut sealing tape to cover the drilled hole, press firmly for full adhesion, and trim excess to avoid interference with printer mechanics.
Test Print and Verify Success
Now it is time to see if your refill worked.
Reinstall and Initialize
Place the cartridge back in the printer with the label and roller facing upward. Push gently until it clicks into place and close the printer hood. Turn the printer off and on to trigger the automatic calibration cycle. Check the display the cartridge should show as full.
Evaluate Print Quality
Print a test page and examine the output for even toner coverage, no streaks or speckles, and clear text and graphics. Print 10 to 15 pages to stabilize toner distribution before judging final quality.
Troubleshoot Common Refill Problems
Even expert refills can encounter issues. Here is how to fix them fast.
Printer Does Not Recognize Cartridge
This usually indicates faulty chip installation, dirty contacts, or a region-incompatible chip. Re-seat the chip using the Scotch tape trick. Clean contacts with a dry swab. Verify the chip model matches your region and printer.
Light or Faded Prints
This problem stems from a worn OPC drum, insufficient toner, or poor toner roller contact. Inspect the drum for scratches or dull appearance and replace if damaged. Ensure the roller is properly seated and the PCR is clean and dry.
Streaks or Smudges
Dirty cleaning blades or damaged charge rollers cause this issue. Clean or replace the cleaning blade. Wash the PCR with water and dry completely before reinstalling.
Toner Leakage or Backgrounding
Overfilling, poor hole seal, or excess loose toner creates these problems. Empty some toner and reseal the hole. Clean the waste chamber and drum area. Always fill to 80 percent capacity.
Maximize Cartridge Lifespan Through Proper Maintenance
A well-maintained cartridge can be refilled three to five times before components wear out.
Replace Worn Components
After two to three refills, replace the OPC drum if prints remain light. Install a new cleaning blade if streaks persist despite cleaning. Check gears for wear or cracking and replace as needed.
Store Properly Between Uses
Keep refilled cartridges in dark, dry packaging. Avoid temperature extremes. Use within six months for best results.
Understand Cost Savings and Environmental Benefits
Refilling is not just cheaper, it is also sustainable.
Compare Costs
An OEM cartridge costs $100 to $150 or more. A refill kit runs approximately $39. Bulk toner costs $10 to $15 per refill. Over five refills on a single cartridge, you save over $500.
Reduce Environmental Impact
Each refilled cartridge prevents approximately 1.2 kilograms of plastic from entering landfills. Refilling reduces carbon footprint from manufacturing new cartridges and supports a circular economy approach to printing supplies.
Frequently Asked Questions About Refilling Laser Toner Cartridges
Is refilling a toner cartridge legal?
Yes, refilling toner cartridges is legal. While manufacturers may void warranties on their products, there is no law prohibiting consumers from refilling their own cartridges. Many third-party services also offer refill legally.
How many times can I refill a laser toner cartridge?
Most cartridges can be safely refilled three to five times before mechanical components degrade beyond useful life. The OPC drum typically wears out after two to three refills, especially if exposed to light or mishandled.
Does refilling affect print quality?
A properly executed refill using high-quality compatible toner can deliver print quality comparable to OEM cartridges. However, poor technique, wrong toner chemistry, or worn components can result in faded prints, streaks, or backgrounding.
Will my printer recognize a refilled cartridge?
Modern printers use smart chips to track toner levels. After refilling, you must replace the chip with a new one for the printer to recognize the cartridge as full. Some chips are region-locked, so verify compatibility before purchase.
Is toner dangerous to handle?
Toner is classified as a nuisance dust. It is not acutely toxic but can irritate eyes, skin, and respiratory systems. The carbon black in toner is classified as a possible carcinogen by IARC due to impurities. Always wear gloves and a mask when handling toner.
What is the difference between refilling and remanufacturing?
Refilling simply adds new toner to an empty cartridge. Remanufacturing is more thorough, involving cleaning, inspecting, and replacing worn components like drums and blades before refilling. Remanufactured cartridges typically offer higher reliability and print quality than simple refills.
Key Takeaways for Successfully Refilling Your Toner Cartridge
Refilling laser toner cartridges is a technical but achievable process that saves 50 to 70 percent compared to buying new OEM cartridges. Success depends on using correct tools, matching compatible toner to your specific printer model, and following precise disassembly and reassembly procedures. Always replace the smart chip to ensure printer recognition, and clean internal components thoroughly before refilling to prevent print quality issues.
Start with one cartridge as a test before refilling all your supplies. Use high-quality toner that matches OEM specifications, and wear proper safety gear throughout the process. With practice, you can complete a refill in under 30 minutes while significantly reducing your printing costs and environmental footprint.