How to Fix a Laser Pointer Lens – Quick Repair Guide
A flickering, scattered, or dim laser beam can be frustrating, especially when you need precision. More often than not, the culprit is a compromised lens. Fortunately, learning how to fix a laser pointer lens starts with accurate diagnosis. Is it dirty, scratched, or chemically damaged? The answer determines whether a simple cleaning will restore performance or if replacement is your only option.
This guide walks you through safe cleaning methods, damage identification, and realistic repair options so you can decide whether to fix or replace your device. You’ll learn exactly what tools to use, how to avoid irreversible mistakes, and when it makes more sense to buy a new unit for under $15.
Diagnose Your Laser Pointer Lens Problem
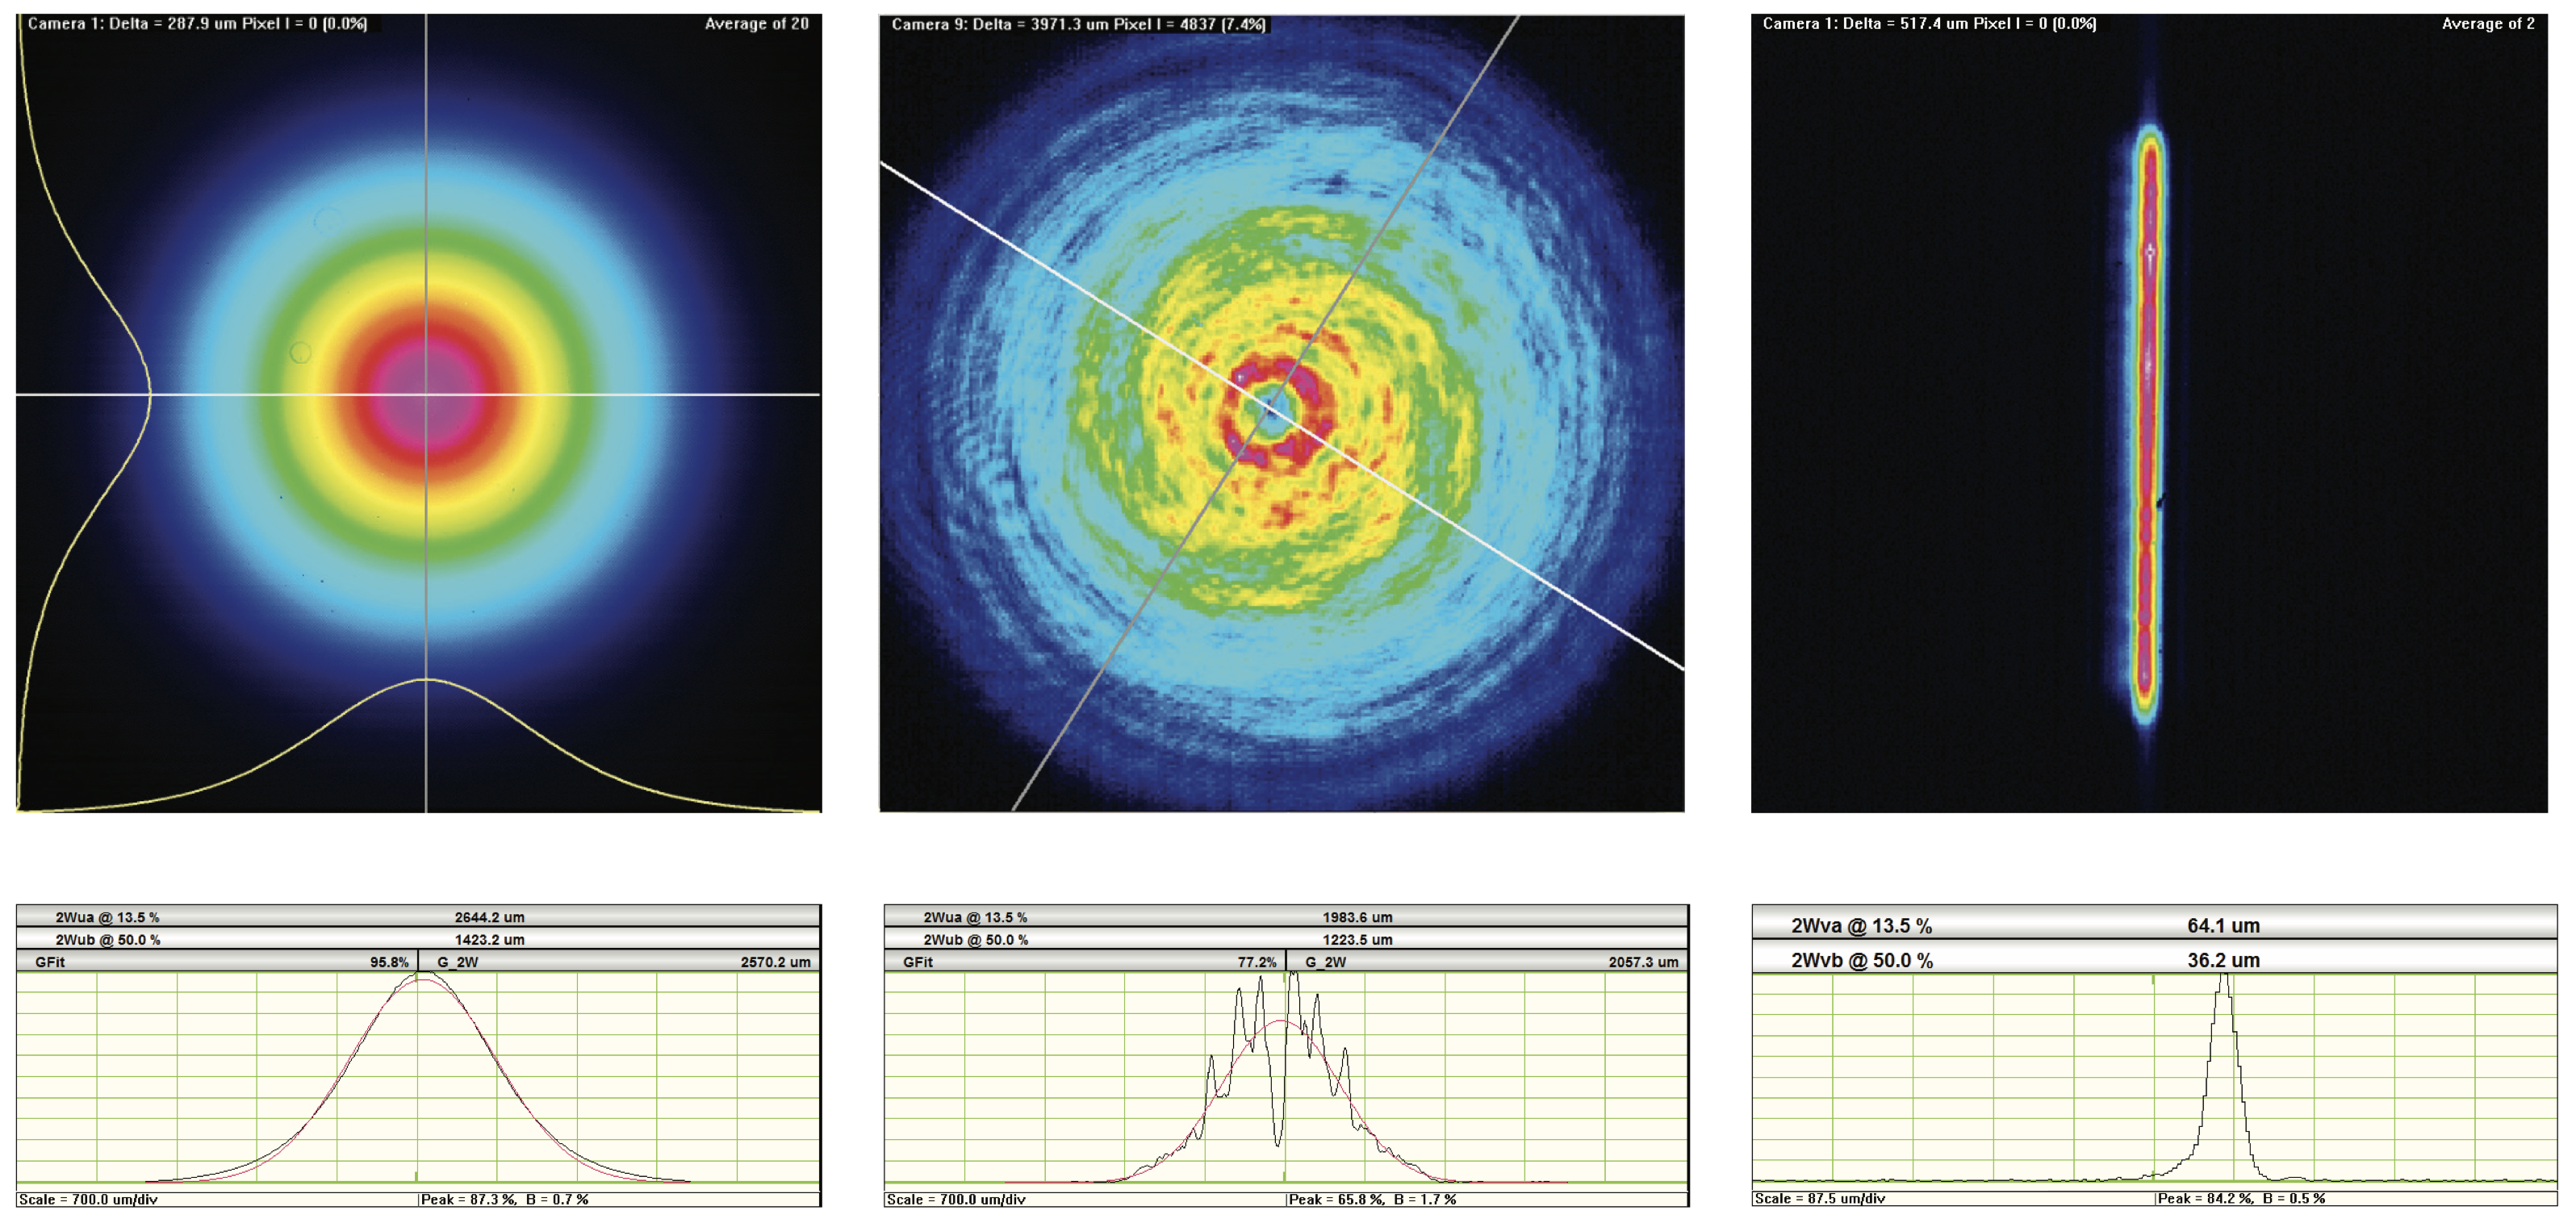
Before touching the lens, assess the beam behavior. Symptoms tell you whether the lens is dirty, damaged, or beyond repair.
Check for Beam Scattering
If the laser projects tiny dots around the main beam or appears fuzzy, dirt or oil is likely on the lens surface. This commonly occurs after handling without gloves or storing the pointer uncovered. A clean, focused dot turns diffuse when contaminants scatter the light.
This issue is fixable with proper cleaning. No internal damage has occurred yet.
Look for Line Artifacts or Multiple Beams
Visible horizontal or vertical lines in the beam pattern, or star-shaped effects, signal a scratched or chemically damaged lens. These distortions persist regardless of distance or the surface you’re pointing at.
In green lasers (532nm), such artifacts may also indicate output coupler failure where internal optics are misaligned or degraded. These conditions are not repairable at home.
Identify Chemical Damage Signs
A cloudy, milky, or etched appearance on the lens means it has been exposed to alcohol, window cleaner, or acetone. These solvents eat away at plastic lenses and can seep beneath the output coupler in green lasers, damaging internal components.
One user reported their KL-303-style pointer developed a melted lens look after cleaning. Experts confirmed the lens was toast. Once this happens, restoration is not feasible without lab-grade optics tools.
Safely Clean a Dirty Laser Pointer Lens
Only proceed if the lens is dirty but intact. Cleaning a scratched or degraded lens worsens the problem.
Remove the Battery First
Always power down and remove the battery before cleaning. Accidental activation during cleaning risks eye injury or burns. It also prevents internal circuit damage from stray moisture.
Work in a well-lit, dust-free area. Lay out your tools beforehand to minimize handling time.
Blow Away Loose Debris
Use compressed air or a clean turkey baster to dislodge dust from the lens aperture. Insert the nozzle gently and blow for 30 to 60 seconds.
This step is critical. Wiping without removing particles drags grit across the lens, causing micro-scratches. Compressed air eliminates this risk.
Choose the Right Cleaning Method
Use Q-tip plus lens wipe for narrow lenses. Fold a lens cleaning wipe over a cotton swab, about two layers thick. Gently insert into the lens housing and rotate in slow circles with light pressure.
For tight tunnels, strip excess cotton from the swab and rewrap the wipe around the bare stem.
Use microfiber cloth for external lenses. If the lens is accessible externally, use a lint-free microfiber cloth. Wipe in gentle circular motions. For stubborn smudges, apply one drop of lens cleaning solution to the cloth only. Never spray liquid directly onto the laser.
Use a toothpick only as a last resort. Break off the sharp tip and wrap 3 to 4 layers of lens wipe around the blunt end. Use with extreme caution to avoid gouging the lens.
Never use dry Q-tips alone, as they shed fibers and may scratch. Never use pins, paper clips, or fingernails on the lens surface.
Finish with a Final Air Blast
After wiping, apply 15 to 20 seconds of compressed air to remove any leftover fibers or lint. This ensures a clean surface before testing your laser.
Identify Permanent Lens Damage

Some problems cannot be fixed. Knowing when to stop prevents wasted effort and further damage.
Scratches Cause Permanent Distortion
Even minor scratches create persistent beam lines or artifacts. Under magnification, they appear as fine, linear defects. Cleaning will not remove them.
Once scratched, the lens must be replaced or the unit retired.
Chemical Damage Is Irreversible
If the lens looks cloudy, warped, or etched, solvent exposure has likely compromised its structure. In green lasers, this often extends to the output coupler, degrading internal optics.
Symptoms include diminished brightness, crosshair or multiple-dot patterns, and complete beam failure. There is no DIY fix for this type of damage.
Output Coupler Failure in Green Lasers
In DPSS green lasers, moisture or solvents can penetrate beneath the lens, damaging the IR filter, the Nd:YVO4 crystal, and the KTP frequency-doubling crystal.
Misalignment here causes weak, distorted output. One expert noted you will never align the first lens after the crystal. Precision realignment requires lab equipment.
When to Replace Your Laser Pointer Lens
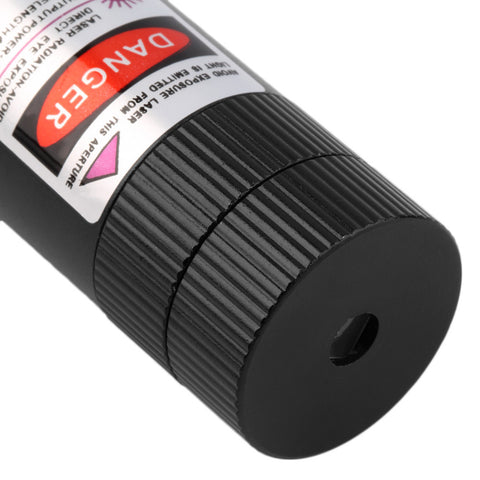
Replacement is only viable in specific cases.
Assess Repair Feasibility
For low-cost pointers under $20, repair rarely makes sense. A new KL-303-style unit costs $5 to $15 on eBay or Amazon. Labor and part costs exceed the value of the device.
However, high-end or custom lasers may justify replacement, especially if modular.
Source the Correct Replacement
Search for laser pointer lens replacement, 303 laser lens, or 532nm lens module. Parts often come as pre-aligned lens housing assemblies, improving your odds of success.
Ensure compatibility by matching wavelength, housing diameter, and lens material.
Overcome Installation Challenges
Precision alignment is critical. The lens must sit perfectly centered over the diode. Misalignment causes poor focus or no beam.
Some lenses are glued in place. Removing them risks damaging threads or the housing. Opening the unit also introduces dust contamination, so re-clean after assembly.
Acrylic lenses crack easily during installation. Handle with extreme care.
Understanding Beam Problems and What They Mean
Different lens conditions affect beam quality and range differently.
Dirty lenses cause slight scatter and a dim dot with minor range loss. This is fixable.
Scratched lenses create persistent lines and artifacts with noticeable dimming at distance. This is not fixable.
Chemically damaged lenses show crosshair, halo, or dim beam patterns with severe range loss. This is not fixable.
Output coupler failure produces weak or split beams with drastic range reduction.
Even a cleaned lens may appear dimmer at distance if internal components were compromised. Camera sensors often exaggerate scatter, so test with your eyes rather than just a phone camera.
Critical Safety Steps for Laser Lens Repair
Prevent Eye Injury
Never point a powered laser at eyes or reflective surfaces. Always remove the battery during cleaning.
Class 3R lasers under 5mW can still cause retinal damage with direct exposure.
Handle with Care
Avoid touching the lens surface. Finger oils attract dust and degrade coatings.
Use only soft, non-abrasive tools. Work on a clean surface to prevent contamination.
Cost Analysis: Repair vs. Replace
Most laser pointer lens problems start with improper cleaning. Mass-produced green lasers like the KL-303 are disposable tools. They use fragile plastic lenses, poor seals, and low-cost optics.
The risk of damage during cleaning or disassembly is high. One verified buyer reported that proper cleaning restored a perfectly clean dot. But another warned that attempts using alcohol resulted in permanent damage.
Replace the entire pointer if the lens is scratched or cloudy, if you used alcohol or liquid cleaner, if the beam shows crosshairs or multiple dots, or if the unit costs under $20.
For $10, you get a fresh, reliable tool without the hassle.
Consider fixing high-power or specialty lasers, units with metal housings and glass lenses, or devices where replacement parts are cheap and modular.
Even then, expect challenges with alignment and contamination.
Frequently Asked Questions About Laser Pointer Lens Repair
Can I clean my laser pointer lens with alcohol?
No. Alcohol, window cleaner, and acetone damage plastic acrylic lenses. These solvents strip optical coatings and can cause permanent clouding or etching. Use only lens cleaning wipes and compressed air.
How do I know if my laser lens is scratched?
Scratched lenses produce visible lines or artifacts in the beam pattern that persist regardless of distance. The beam will appear distorted even after thorough cleaning. Under magnification, scratches appear as fine linear defects.
Why is my green laser beam showing a crosshair pattern?
A crosshair, plus sign, or halo effect typically indicates chemical damage to the lens or output coupler. This commonly occurs after using liquid cleaners. The damage is permanent and cannot be fixed with cleaning.
Can I replace just the lens on my cheap laser pointer?
It is usually not worth it. Low-cost pointers under $20 are not economically repairable. Replacement lenses cost almost as much as a new unit, and alignment is extremely difficult without specialized equipment.
What is the safest way to clean a laser pointer lens?
Remove the battery first. Blow away loose debris with compressed air. Then gently wipe the surface with a lens cleaning wipe wrapped around a cotton swab. Finish with another air blast to remove fibers.
When should I just replace my laser pointer instead of repairing it?
Replace if the lens is scratched, cloudy, or chemically damaged. Also replace if the beam shows persistent artifacts or if the unit costs under $20. For most consumer laser pointers, replacement is faster, safer, and cheaper than repair.
Key Takeaways for Fixing Your Laser Pointer Lens
Most laser pointer lens problems stem from improper cleaning or handling. A careful, methodical approach, starting with air and then gentle wiping, can restore performance when the lens is merely dirty.
However, once physical or chemical damage occurs, the lens is beyond repair. Scratches are permanent, and solvent damage cannot be reversed.
For the vast majority of users, replacing the entire unit is the smarter choice. Laser pointers under $20 are essentially disposable. Save DIY repairs for valuable or specialized gear, and always prioritize eye safety by removing batteries before any cleaning.
Store your laser capped, clean only when necessary, and never use alcohol or harsh chemicals. That is how you extend its life the right way.