How to Open a Laser Pointer
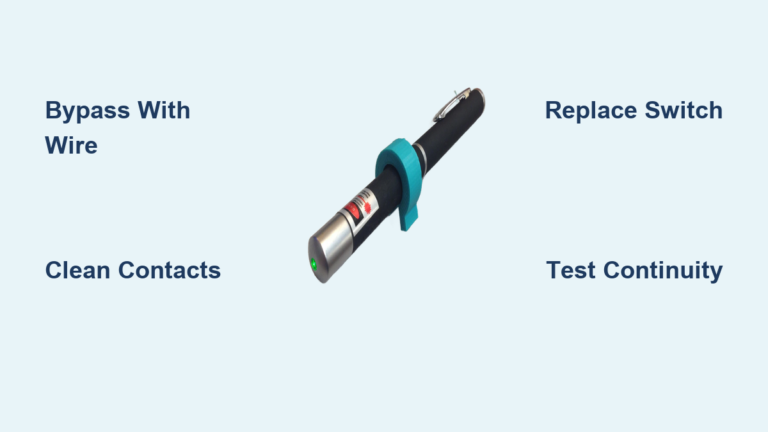
You have a laser pointer that won’t turn on, or maybe you’re curious about its inner workings. Perhaps you want to upgrade the lens, harvest the diode, or repair a corroded switch. Whatever your reason, opening a laser pointer is the first step to accessing its internal components. But unlike most electronics, laser pointers are often built like tiny sealed capsules, using crimps, adhesives, and press-fits that make disassembly tricky without the right approach.
This guide walks you through safe, effective methods to open any laser pointer, whether it’s threaded, glued, or crimped. You’ll learn how to identify the housing type, choose the right tools, avoid common mistakes, and protect yourself from electrical, optical, and chemical risks throughout the process.
Identify Your Laser Pointer Housing Type Before Opening
Before applying force or heat, you need to determine how your laser pointer is assembled. The disassembly method depends entirely on its construction, and choosing incorrectly can destroy the housing or damage internal components.
Check for Visible Threading
Inspect the body for grooves or seams between sections. Many mid-range and high-end pointers use screw-together housings similar to flashlights. Try unscrewing the head or tail cap by hand. If it resists, wrap the section in a rubber band or use padded pliers for grip. Don’t assume a crease means threading because it could be a rolled crimp, which looks similar but is permanent.
Spot the Crimp Line
A circular indentation around the barrel usually indicates a rolled crimp. This method compresses the outer metal tube inward to lock internal parts in place. This construction is common in cheap green lasers from online marketplaces, and crimped units cannot be unscrewed and require cutting or filing to open. The crimp creates a smooth, continuous groove with no threads visible underneath.
Look for Seamless Joints
If the body appears perfectly smooth with no visible seam, it may be glued or press-fit. These designs are common in sleek, minimalist models. Gently tap along the length. If it sounds hollow in one section, that’s likely where the internal module sits. Apply light heat with a hair dryer. If the joint softens slightly, adhesive is likely present.
Gather Essential Tools and Set Up a Safe Workspace

A proper setup prevents damage and keeps you safe during disassembly. Having the right tools before you start saves time and reduces the risk of destroying internal components.
Essential Safety Gear
Laser safety goggles rated for 808 nm (IR), 1064 nm (IR), and 532 nm (green) are mandatory. Nitrile gloves protect against battery corrosion, and a respiratory mask is needed if cutting or filing metal. Always wear safety glasses under goggles for debris protection. Never skip goggles because IR light is invisible and can permanently damage your retina before you realize exposure.
Required Tools List
You will need a heat gun or hair dryer to soften adhesives or thread locker. Needle-nose pliers or Vise-Grips help extract internal modules. Precision screwdrivers are essential for screw-fastened models. A needle file or metal file cuts through crimp lines, and a Dremel with cutting disc enables destructive disassembly when necessary. A dowel or brass rod (1 inch) pushes components out safely. A vise with cloth padding holds the housing securely during extraction. Electrical or masking tape secures buttons during disassembly.
Pro tip: Use brass tools when possible because they won’t scratch or spark, reducing risk to sensitive components.
Remove the Battery to De-energize the Circuit
Always de-energize the circuit before starting any disassembly. Insert a finger or tweezers into the tail cap and pull out the battery, which is usually AAA or button cell. Inspect the interior for spring integrity and corrosion. The foam spacer prevents battery movement and degrades over time. Check contact points for white crust, which is potassium hydroxide from battery leakage.
If corrosion is present, note the extent. Heavy corrosion often damages the tact switch or PCB, which may need cleaning or replacement later.
Open Threaded Laser Pointers Without Damaging the Housing
Many presentation-style or higher-quality pointers use threaded housings that come apart without destructive methods. These are the easiest to open when you know the technique.
Try Unscrewing by Hand First
Twist the head (lens end) or tail cap counterclockwise. If stuck, wrap the section in rubber gloves for better grip. Use padded pliers to avoid marring the finish, but always attempt hand removal before applying tools.
Apply Gentle Heat for Stuck Threads
If threaded but glued, apply warm air from a hair dryer for 30 to 60 seconds to soften thread locker. Reattempt unscrewing while warm. Avoid excessive heat because plastic lenses can warp at high temperatures.
Extract the Internal Assembly
Once open, the PCB (driver board) and laser diode module may slide out. The switch mechanism is usually spring-loaded. Press and hold the button, then secure it with tape to prevent ejection during handling.
Open Crimped Laser Pointers Using Specialized Techniques
Most budget green lasers use rolled crimps, making them non-serviceable without modification. These require patience and the right approach to avoid destroying the housing or internal components.
File a Groove at the Crimp Line
Use a needle file or metal file to cut a continuous groove around the crimp. The goal is to thin the outer layer so the inner sleeve can slide out. File evenly to prevent barrel deformation. Stop once you expose the underlying metal beneath the crimp. This process typically takes 5 to 15 minutes depending on metal thickness.
Use the Wood Collet Method
Cut a hole in a wooden block slightly larger than the barrel diameter. Split the block in half, insert the laser, clamp in a vise, and gently twist while pulling. Wood applies even pressure without scratching metal, making this ideal for fragile housings. This method mimics a collet clamp and avoids the need for cutting.
Cut with Dremel or Hacksaw as Last Resort
If filing fails, clamp the pointer securely in a vise. Use a Dremel with metal cutting disc or fine-tooth hacksaw. Cut above the crimp line to preserve the lens end. After cutting, push the internal module out with a brass dowel. Be careful because microswitches often break during ejection.
Open Glued or Press-Fit Laser Pointers With Heat and Pressure
Some lasers bond sections with epoxy or cyanoacrylate (super glue), while others use press-fit assembly where components are friction-locked into the tube.
Soften Adhesive with Heat
Apply hot air or place the laser in a hot water bath (60 to 70°C) for 1 to 2 minutes. Then insert a dowel into the battery compartment and push forward to eject the internal assembly. Many users report success with this method. Heating the body up helps release the glue.
Use Pulling Tools for Press-Fit Models
If hand pressure fails, secure the housing in a vise. Use Vise-Grips or a custom brass extraction tool (12 mm diameter) to pull the module out. The laser diode and PCB are often pressed into the tube as a single unit, so apply steady even pressure.
Safely Handle and Inspect Internal Components
Once open, treat each part with caution because many are fragile and easily damaged by excessive force or static electricity.
Inspect the PCB and Switch
Look for corrosion on traces or switch contacts. Check for loose solder joints or damaged components. Examine bond wires connecting the diode to the board. The most common failure point is the tactile switch (tact switch), which fails due to corrosion or spring fatigue.
Test the Driver Circuit
Apply 3V external power (two AA batteries) directly to the PCB. Connect positive to the small contact point and negative to the housing (ground). If the laser activates, the issue is likely the switch or spring, not the driver.
Upgrade the Lens for Increased Laser Power

Stock lenses are often poorly positioned, wasting most of the diode’s output. This is one of the most popular modifications after opening a laser pointer.
Why Factory Lenses Underperform
In factory units, the collimating lens sits too far from the emitter, allowing light to escape laterally. This results in less than 30% efficiency in many green lasers. The lens position is a compromise during manufacturing and doesn’t optimize for power output.
Install a 9mm Threaded Lens
Replace with a 9mm lens designed for violet, blue, or red lasers. These sit closer to the diode and can increase usable output by 3 to 4 times without any circuit modification needed. Remove the old lens, trim the replacement lens housing if needed, and screw directly onto the diode module. Modified lasers can ignite matches or pop balloons.
Safety note: Higher output increases eye hazard, so always wear appropriate goggles.
Reassemble Your Laser Pointer Correctly
How you reassemble depends on the method used to open the pointer. Proper reassembly ensures the laser functions correctly after your modifications.
Non-Destructive Reassembly
If the housing is intact, reinsert the spring, foam, and switch. Align the button mechanism and snap into place. Close and test with the battery. This method maintains the original structural integrity.
Rebuild After Cutting
If you cut the barrel, use epoxy or metal-filled adhesive to bond sections. Reinforce with heat-shrink tubing or a metal sleeve. Seal gaps with silicone if water resistance is needed. Cut-and-glued units are not durable for regular use but work well for static projects.
Test Before Final Reassembly
Always verify function before sealing the unit. Taking time to test now saves frustration later.
Check Polarity
The negative terminal connects to the body (ground). The positive terminal connects to the small contact near the switch. Reverse polarity can damage the driver, so verify connections before applying power.
Power On Safely
Insert the battery and press the button manually. If it doesn’t light, test the PCB with external 3V supply. Check for broken connections or corroded traces. Take photos during disassembly because they’re invaluable for reassembly.
Frequently Asked Questions About Opening Laser Pointers
Can all laser pointers be opened?
No, some budget models use permanently crimped housings that cannot be opened without cutting. These are designed to be disposable. Attempt non-invasive methods first, but accept that some lasers may require destructive opening.
Is it safe to open a green laser pointer?
Green lasers contain invisible infrared (IR) radiation from an 808 nm pump diode that poses serious eye hazards. Always wear laser safety goggles rated for 808 nm, 1064 nm, and 532 nm before opening any green laser pointer. Never look directly into the aperture or view reflections.
What tools do I need to open a crimped laser pointer?
A needle file or metal file cuts through the crimp line. A Dremel with a metal cutting disc or fine-tooth hacksaw works as a last resort. A wooden block for the collet method avoids cutting entirely. Always wear safety glasses when filing or cutting metal.
How do I know if my laser pointer is glued or threaded?
Look for visible seams or grooves. Threaded housings show clear threading. Glued models appear perfectly smooth with no seam. Tap along the length. A hollow sound indicates where internal components sit. Apply heat. If the joint softens, adhesive is present.
Can I repair a dead laser pointer myself?
Yes, most failures occur at the tactile switch due to corrosion or spring fatigue. These components are inexpensive and replaceable. Test the PCB with external 3V power to confirm the driver works before replacing the switch. Internal modules can sometimes be cleaned and reused.
What can I do with a harvested laser diode?
Green DPSS modules contain 808 nm IR diodes valuable for IR experiments. DVD burner diodes (650 to 660 nm) are useful for building custom laser engravers or light shows. Always use proper safety equipment when working with extracted diodes.
Key Takeaways for Successfully Opening Your Laser Pointer
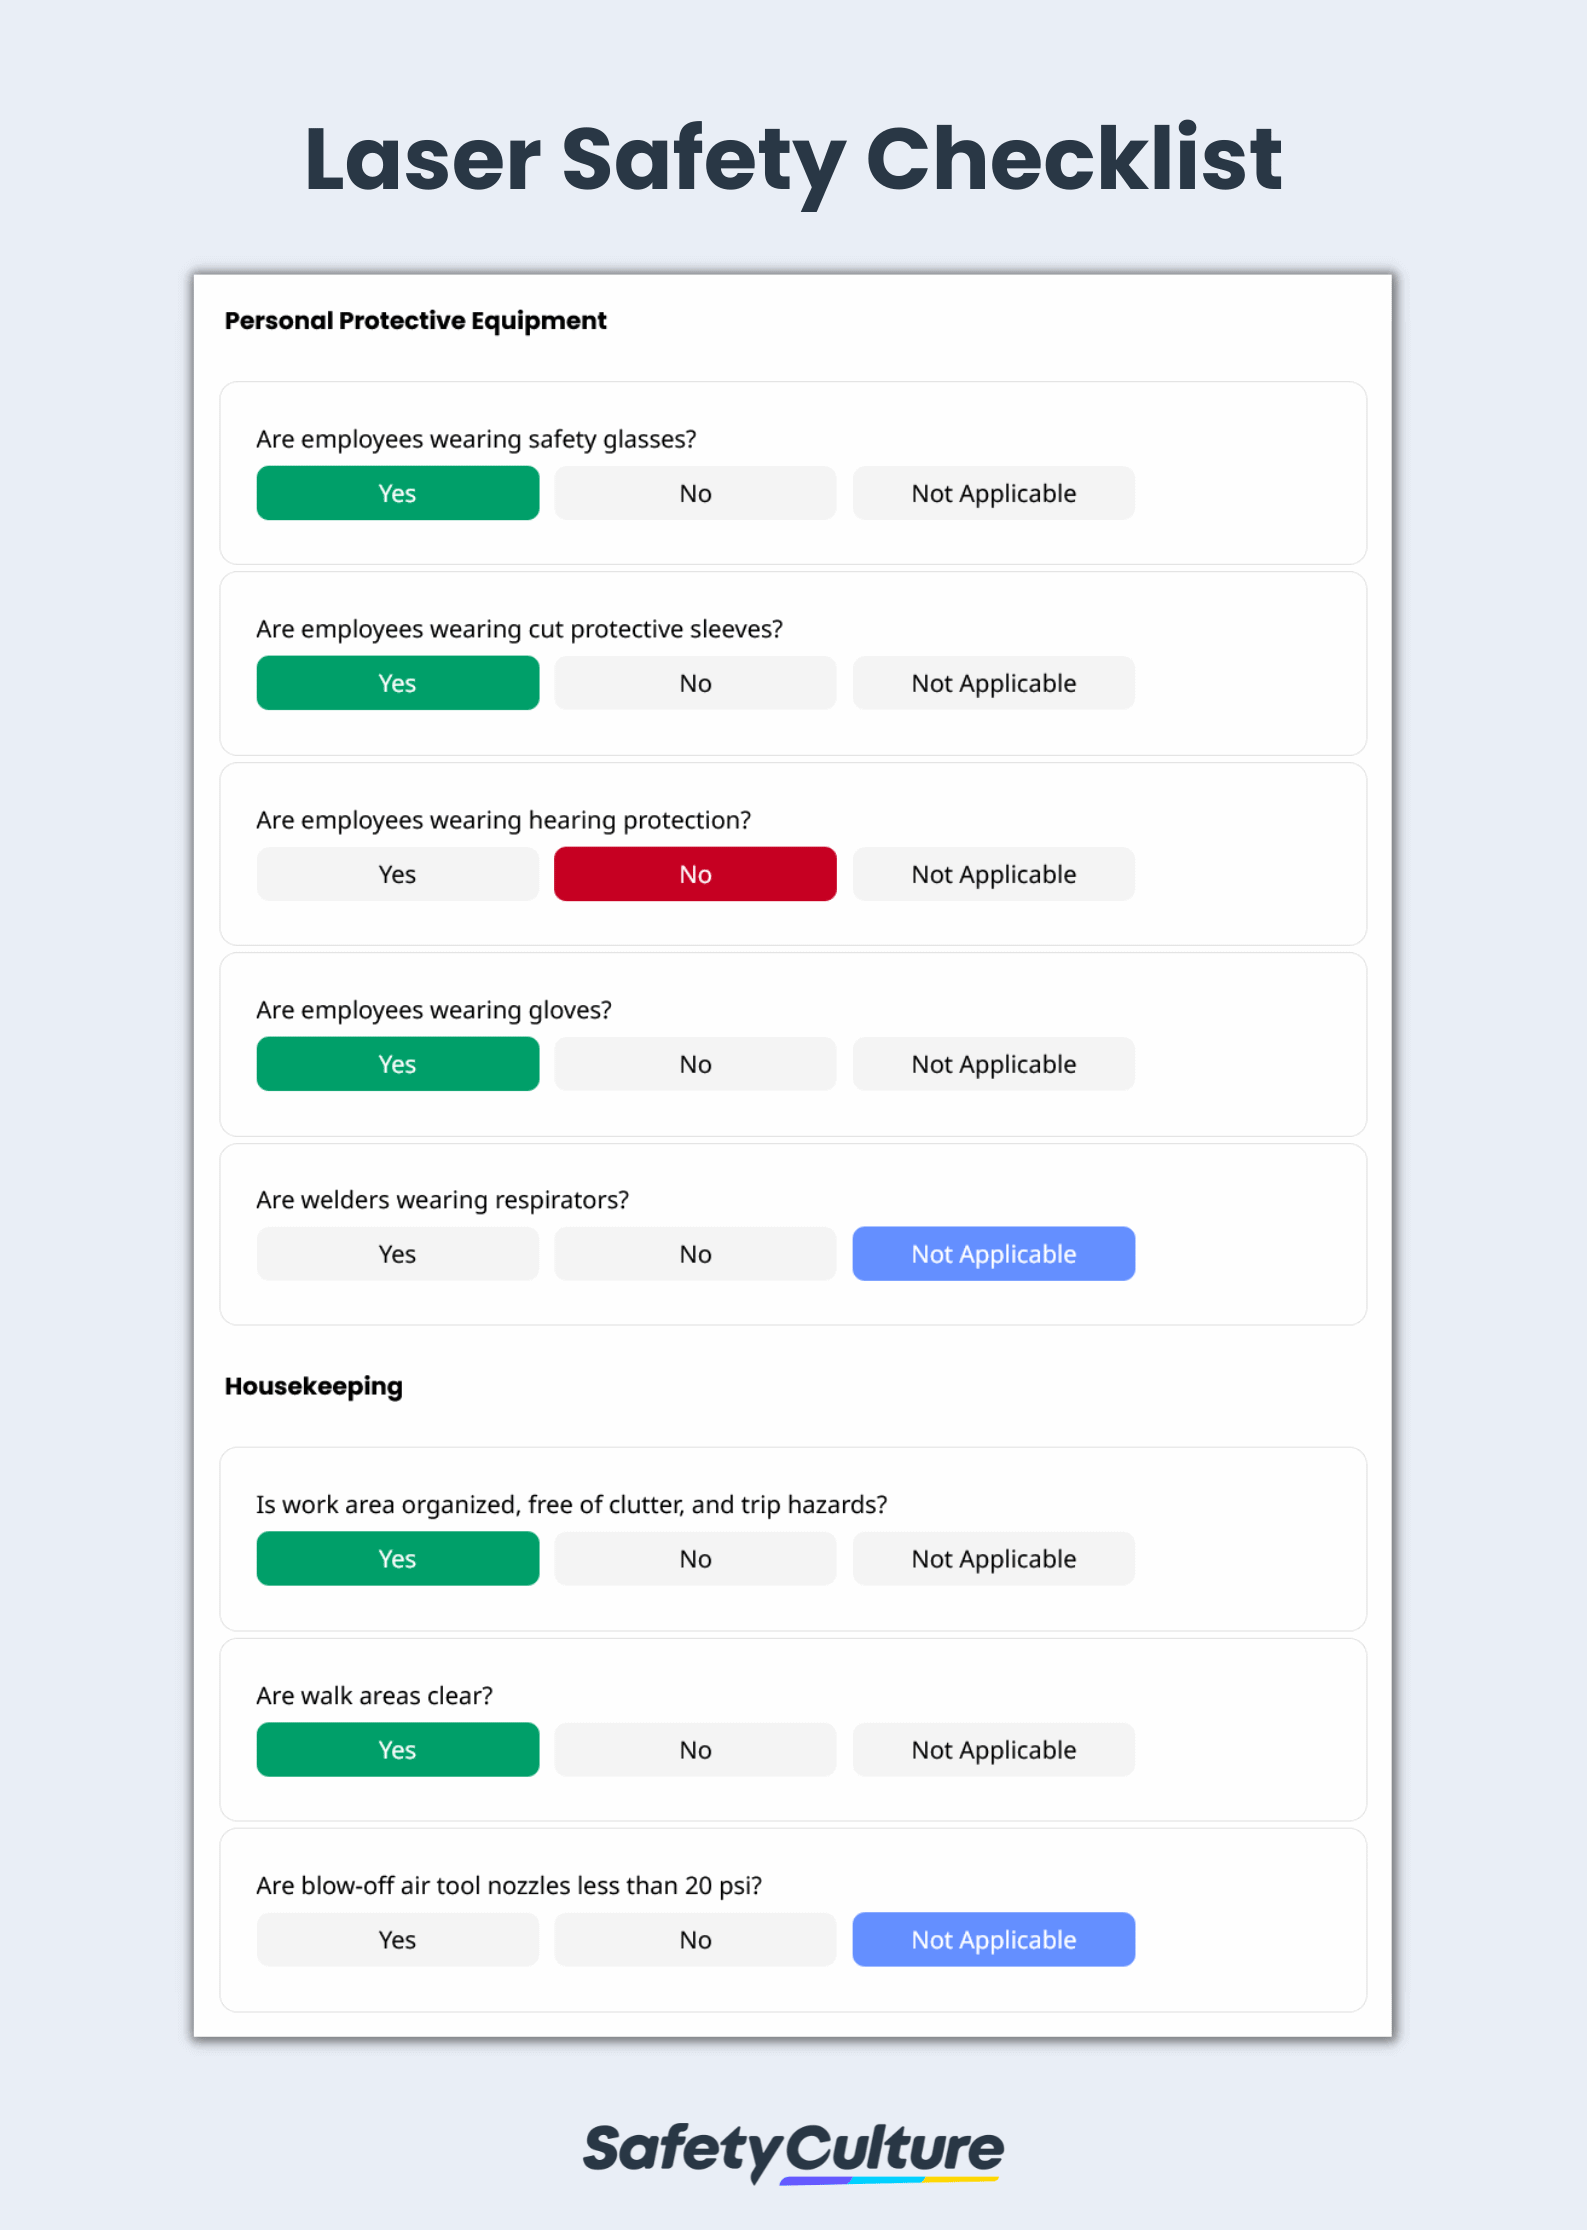
Opening a laser pointer requires patience, the right tools, and strict safety practices. Always identify the housing type (threaded, crimped, or glued) before attempting disassembly because each requires a different approach. Remove the battery first to de-energize the circuit and prevent accidental activation. Wear laser safety goggles rated for the appropriate wavelengths, especially when working with green 532 nm pointers that contain invisible IR radiation.
Whether you’re fixing a broken switch, upgrading optics for more power, or exploring DPSS technology, the disassembly process reveals the surprising complexity inside these tiny devices. Take photos during disassembly for reference during reassembly. Remember the golden rule: when it is fixed, stop messing with it. With care and patience, even crimped or glued lasers can be opened and restored, unlocking new uses from a simple pointer.