How to Mount a Laser Level: Quick Steps
Mounting a laser level correctly is the foundation of accurate alignment in any construction, remodeling, or DIY project. Whether you’re installing cabinets, hanging drywall, or laying tiles, a poorly mounted laser can lead to frustrating errors that cost time and money to fix. The good news is that most self-leveling laser levels will automatically level themselves once their mounting surface is within ±4° of true level. This guide walks you through every reliable method to mount a laser level, from professional tripod setups to clever alternatives when equipment is limited. You’ll learn step-by-step procedures, common mistakes to avoid, and pro tips for achieving precision no matter your job site conditions.
Tripod Mounting with Dual-Level Setup
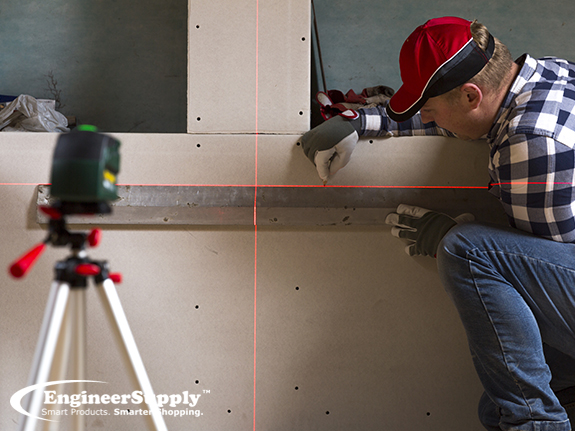
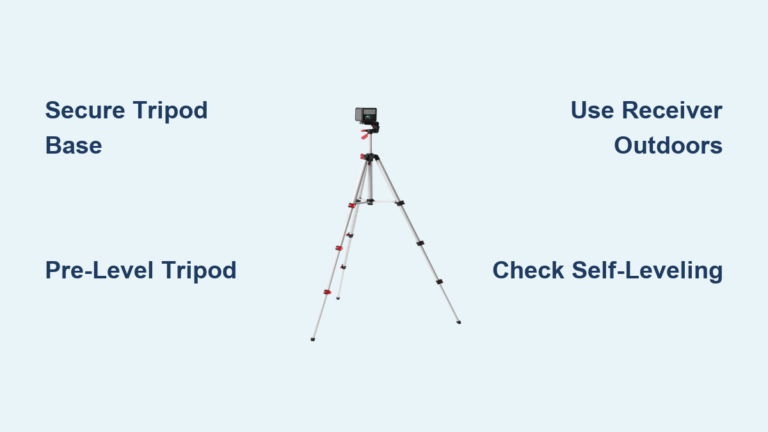
Using a tripod is the most precise way to mount a laser level, especially for large or multi-point alignment tasks. A quality tripod with dual spirit levels ensures your laser activates its self-leveling mechanism on the first try.
Level the Tripod Base First
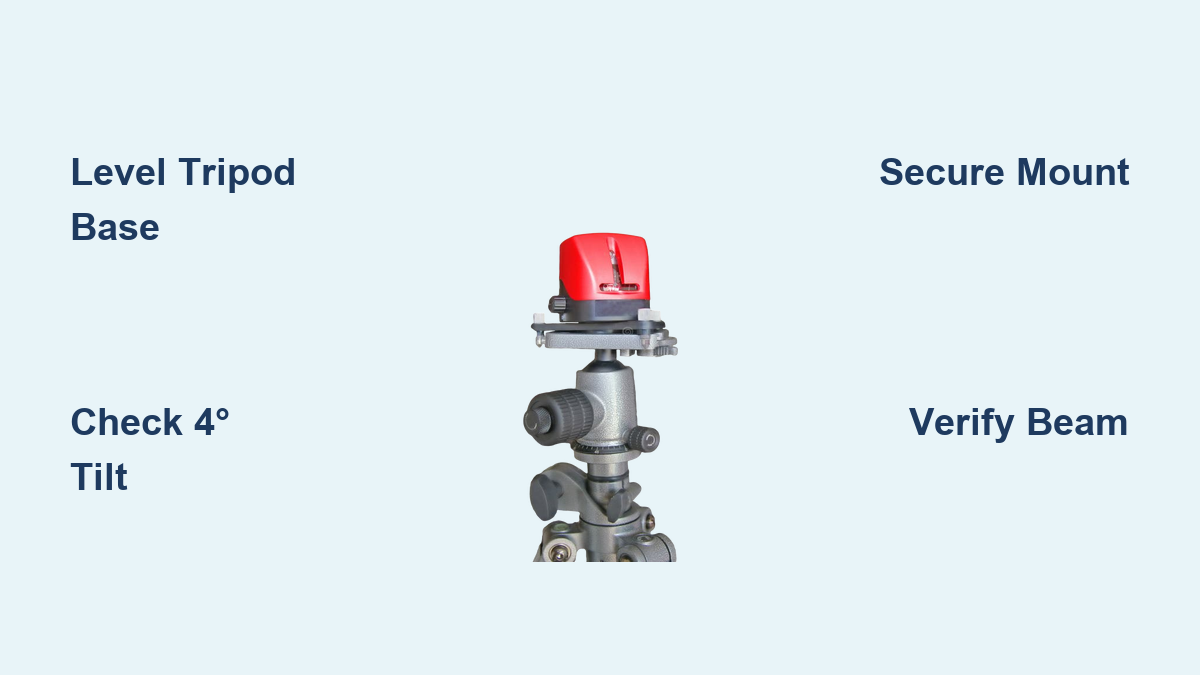
Start by placing the tripod on a stable surface. Use the bullseye bubble level built into the base to balance the legs. Loosen each leg clamp and adjust leg length until the bubble centers. Once level, tighten all clamps securely. This step ensures the tripod body is evenly supported and prevents wobbling during use.
Pro Tip: On uneven ground, extend one or two legs longer while keeping the third short to maintain a level base.
Adjust the Mounting Plate
Even if the base is level, the mounting plate must also be aligned. Locate the linear spirit level on the plate and loosen the securing screw. Slide the plate forward or backward until the bubble centers. Retighten the screw to lock it in place. At this point, the mounting surface should be within 4° of level, which is the threshold needed for self-leveling activation in most laser models.
Attach the Quick-Release Plate
Insert the laser’s 1/4″-20 threaded mounting plate into the tripod’s socket. Orientation does not matter as long as it seats fully. Tighten the wing nut firmly to prevent slippage during operation.
Mount and Lock the Laser Unit
Slide the laser with its base attached into the quick-release slot until you hear a distinct click. Then engage the quick-release lever to lock it in place. This prevents accidental dislodging from vibration or bumping during your project.
Power On and Verify Self-Leveling
Turn on the laser and watch the projected line. A steady green line means self-leveling is active and accurate. A blinking line means the unit is outside the 4° range, so recheck both levels and adjust as needed. Once stable, the laser will project consistent horizontal and vertical lines across walls, floors, or ceilings.
Remove Safely After Use
After finishing your work, turn off the laser. Flip the quick-release lever to unlock and pull the unit straight out. Store all components together to avoid losing small parts like wing nuts or mounting plates.
Magnetic Mounting on Metal Surfaces

When a tripod is not practical, magnetic mounting offers a fast, damage-free solution, especially in metal-framed buildings. This method works best with lasers that have a built-in magnetic base.
Use Steel Studs or Corner Beads
If your laser has a magnetic base, attach it directly to exposed steel wall studs or metal drywall corner beads at outside wall corners. These ferrous metal surfaces provide strong adhesion and are often already plumb, saving setup time. Corner beads are vertically aligned during drywall installation, making them ideal reference points for vertical laser alignment.
Create a DIY Magnetic Backing Strip
No metal surface available? Cut a small strip from a steel shim using snips. Wrap the top edge with tape or cloth to protect walls. Lean the strip in a corner and mount the laser on it. This hack works well for temporary ceiling grid layouts or drop-ceiling installations.
Limitations to Consider
Magnets lose grip on painted or thick-coated metal. Vibration or drafts may shift the laser over time. This method is not suitable for heavy-duty rotary lasers. Always double-check alignment after mounting to ensure accuracy.
Wall Mounting with Adhesive Hooks
For lightweight lasers and short-term jobs, adhesive hooks offer a no-drill, no-damage mounting option. This approach is perfect for quick tasks where precision is moderate.
Choose the Right Hook
Use 3M Command Hooks rated for at least 3 to 5 lbs. Select small, low-profile versions designed for indoor use. Check the weight rating to ensure it can support your specific laser model.
Install at Desired Height
Clean the wall surface with alcohol. Press the hook firmly for 30 seconds. Wait one hour before hanging the laser to allow full adhesive strength to develop. Hang the laser from the hook if it has a hanging notch or loop.
When to Avoid This Method
Avoid adhesive hooks for long-duration projects because adhesive weakens over time. Do not use them in high-vibration areas or outdoors where UV and moisture degrade the adhesive. This method works best for quick, one-off tasks like hanging curtain rods or aligning shelves under cabinets.
Mounting on a Ladder Safely
A stepladder can double as a laser platform when other options are not available. This method works well for mid-height work like installing picture rails or aligning towel bars.
Position the Ladder Correctly
Place the ladder opposite your target wall. Ensure it is on a flat, non-slip surface. Lean the laser against the top rung or set it on a flat spot if available.
Secure the Laser
Use a rubber mat, clamp, or hook-and-loop strap to prevent tipping. Even slight movement can throw off alignment and ruin your measurements.
Safety First: Never leave a ladder-mounted laser unattended. Bumping the ladder shifts the beam instantly, and always ensure the ladder is stable before mounting the laser.
Elevated Platform Setup for High Ceilings

Need to reach 7 feet or higher? Combine furniture and tools to gain height safely without climbing on stacked objects.
Build a Stable Stack
Common combinations include table plus chair plus tripod, or workbench plus step stool plus laser. Ensure each layer is level and secure before adding the next. Test stability by gently shaking the structure before placing your laser.
Add Anti-Slip Protection
Place non-slip pads between layers to prevent shifting. This is especially important on smooth surfaces like hardwood or tile floors.
Use Case for Ceiling Work
For drop ceilings or crown molding, stack platforms to bring the laser near ceiling height. Mount the laser on the tripod on top and project lines around the perimeter. Caution: Never climb on stacked furniture. Use a separate ladder for access while keeping the laser platform stationary.
Floor or Table Mounting for Multi-Wall Alignment
Sometimes the best mount is the simplest one. Place the laser directly on a stable surface when wall or tripod mounting is not feasible.
Set on a Level Surface
Use a torpedo level to confirm the table or floor area is within 4° of level. Then place the laser directly on it. This method is ideal for projecting across adjacent walls during baseboard installation or switch plate alignment.
Rotate for Multiple Walls
Rotate the laser head to sweep lines across corners. This allows you to maintain consistent elevation throughout an entire room without repositioning.
Pro Tip: Mark the exact position on the floor with masking tape so you can return to the same spot later if needed.
Key Compatibility Factors to Check
Not all lasers work the same way. Understanding your equipment ensures you choose the right mounting method.
Standard 1/4″-20 Thread
Most lasers use a 1/4″-20 threaded base, which is the universal standard for tripods and quick-release plates. Confirm compatibility before purchasing mounting accessories.
Built-In Spirit Levels
Even when using a tripod, check the laser’s own dual spirit levels to verify alignment. These built-in levels help confirm that the laser itself is level, independent of the mounting surface.
Magnetic Base Availability
Laser models designed for metal studs or HVAC work often include strong magnets. Look for this feature if working in commercial or steel-framed environments where magnetic mounting saves time.
Quick-Release Mechanism
This feature saves time during setup and teardown. It also ensures repeatable positioning when remounting the same laser multiple times throughout a project.
Troubleshooting Common Mounting Issues
Even experienced users run into problems. Here is how to fix them fast.
Laser Blinks Instead of Staying On
This indicates the unit is outside the self-leveling range, which is greater than 4° off-level. Recheck both the tripod base and mounting plate levels. Adjust one leg slightly and re-level. Ensure the surface is not vibrating from foot traffic or machinery nearby.
Beam Drifts Over Time
A drifting beam is usually caused by a loose wing nut or unstable platform. Tighten all clamps and fasteners. Avoid placing the laser on soft carpet or uneven flooring. Switch to a sturdier surface like plywood if needed.
Mount Does Not Hold Laser Securely
This may indicate a worn quick-release lever or misaligned plate. Inspect for wear or debris. Replace damaged parts. Confirm the mounting plate clicks fully into place before operating.
When a Laser Level Is Not Necessary
For simple tasks, a laser may be overkill. Here is what professionals use instead.
Use a Tape Measure and Masking Tape
For hanging curtain rods, measure down from the ceiling at both ends. Apply horizontal masking tape at that height. Add vertical strips for side measurements. Install brackets where tapes intersect. Use a torpedo level to verify final alignment.
Invest in a Torpedo Level
For most homeowners, a $10 torpedo level is sufficient for daily DIY tasks. A laser level shines in complex, multi-point, or long-distance alignment, like tiling an entire bathroom or framing a partition wall. Many professional installers trust experience over tools for non-critical jobs.
Final Tips for Accurate Laser Mounting
Always wait 10 to 15 seconds after powering on. A steady green line confirms self-leveling is active. Ensure the laser is mounted straight because tilted bases cause skewed projections even if the line appears level. Use a laser detector outdoors where bright light makes the beam invisible. Regularly inspect mounting hardware for wear, especially wing nuts and quick-release levers, and clean threads occasionally with dry silicone spray.
Frequently Asked Questions About Mounting a Laser Level
What is the self-leveling range for most laser levels?
Most self-leveling laser levels activate within a ±4° tilt range. Outside this range, the laser will blink or fail to project a steady line, requiring manual adjustment.
Can I mount a laser level without a tripod?
Yes, you can use magnetic bases on metal studs, adhesive hooks for temporary setups, ladders for mid-height work, or stable floor and table surfaces. Each method has specific applications and limitations.
Why does my laser blink when I turn it on?
A blinking laser line means the unit is outside the acceptable leveling range, which is greater than 4° off-level. Recheck your tripod base and mounting plate levels and adjust accordingly.
What is the standard thread size for laser level mounts?
The universal standard is 1/4″-20 threading, which is compatible with most tripods and quick-release plates available today.
How do I mount a laser level on a ceiling?
For ceiling work, use an elevated platform like a table with a tripod on top, or stack a chair on a table to reach higher. Ensure the structure is stable before mounting the laser.
Key Takeaways for Mounting Your Laser Level
Mounting a laser level correctly comes down to one critical principle: get the laser within 4° of level so self-leveling engages. Whether you use a tripod with dual spirit levels, magnetic mounting on steel studs, adhesive hooks for temporary jobs, or a simple floor mount, the goal remains the same. Choose the method that fits your specific space, tools, and task. Prioritize stability, double-check alignment before each use, and maintain your mounting hardware regularly. With the right technique, even makeshift mounts can deliver professional results. Now you are ready to mount any laser level with confidence and precision.