How to Gap Laser Iridium Spark Plugs
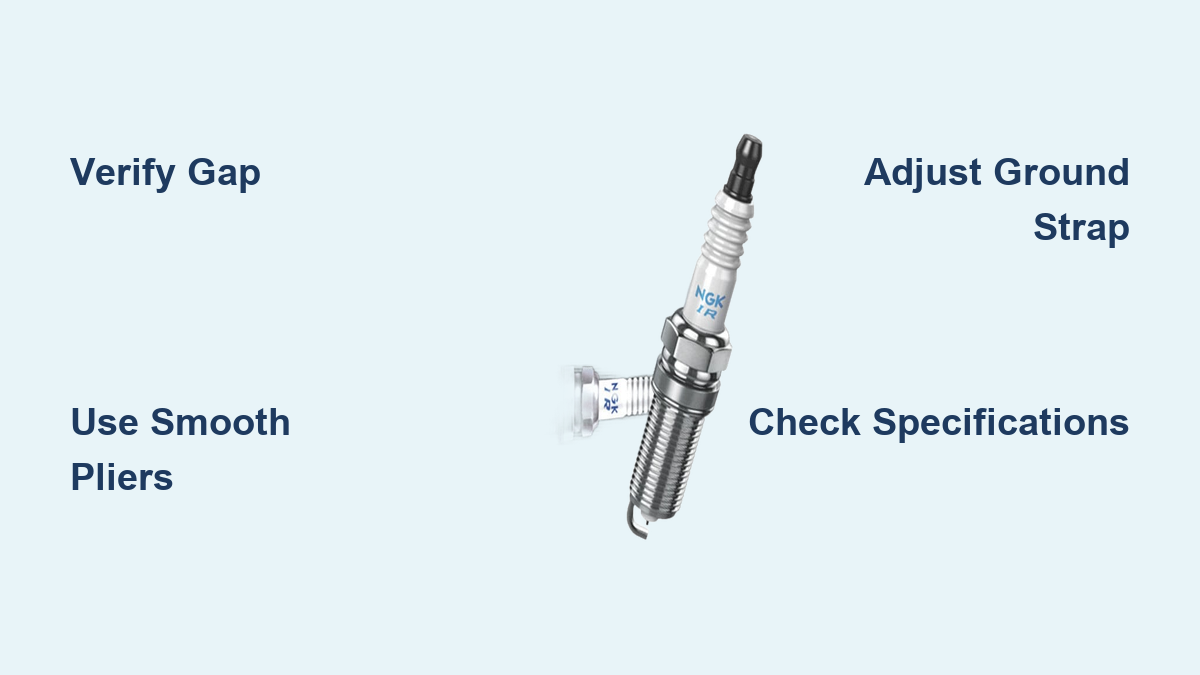
If you’re installing laser iridium spark plugs, you might assume they arrive ready to go straight out of the box. After all, they’re labeled “pre-gapped.” But here’s the truth: pre-gapped does not mean correctly gapped for your specific engine. A gap that’s off by just 0.005 inches can cause misfires, poor fuel economy, or engine damage under load. This guide walks you through safe tools, correct techniques, manufacturer specs, and real-world adjustments so you can gap your laser iridium plugs with confidence and avoid costly mistakes.
Why Verify the Gap on Pre-Gapped Plugs
Even premium laser iridium plugs like NGK Iridium IX or Denso Iridium Power are pre-set for common applications, not necessarily your engine. A single plug model may fit multiple engines with different gap specifications. Plugs can also be jostled during shipping, altering the gap from the factory setting. OEMs often specify tight tolerances that factory pre-gapping does not always meet. Treat every iridium plug as pre-gapped but unverified. Always check the gap, even if it only takes 30 seconds.
The Risk of Skipping Verification
Modern ignition systems are forgiving and can often jump gaps larger than specification. However, this forgiveness comes at a cost. Incorrect gaps lead to inconsistent spark timing, reduced combustion efficiency, and accelerated electrode erosion over time. In high-performance or forced induction applications, an incorrect gap can cause misfires under load, power loss, or detonation. The short answer is that verification takes moments but prevents expensive problems down the road.
Tools You Need for Gapping Iridium Spark Plugs

Having the right tools makes the difference between a successful gap adjustment and a destroyed spark plug. Here is what you need:
• Wire-type feeler gauge (both metric and imperial)
• Smooth-jaw needle-nose pliers (grip only the ground strap)
• Torque Solution or KD Tools 6-wire gap tool
• Magnifying glass or LED inspection light
• Vise with soft jaws for controlled closing
Tools to Avoid
Certain tools pose serious risks to iridium plugs. Wedge-style gap tools can crack the porcelain insulator or shear off the iridium tip entirely. Using pliers on the center electrode will destroy the plug because iridium is brittle and will fracture under lateral pressure. Hammering directly on the electrode causes internal damage that cannot be seen but ruins the plug. Never use imperial feeler gauges on metric-specified plugs, as this leads to incorrect gap settings.
How to Check the Spark Plug Gap
Start by identifying the correct gap specification for your vehicle using the owner’s manual, factory service manual, or NGK/Denso cross-reference catalog. Select a wire-type feeler gauge matching the target gap. Insert the wire between the center iridium electrode and the ground strap. Look for slight drag. If the gauge slides through easily, the gap is too wide. If it won’t fit, the gap is too narrow. Test adjacent sizes for accuracy and rotate the plug to recheck, since some ground straps are not perfectly aligned.
Pro Tip: Use a bright LED light or magnifier. Fine-wire iridium electrodes are hard to see, and small gaps are easy to misread.
Safely Opening a Narrow Gap

When the gap is too narrow, you need to bend the ground strap outward. Never pry between the center and ground electrode, as this applies lateral force to the brittle iridium tip and will crack the insulator or break the weld.
Using Needle-Nose Pliers
Grip only the end or side of the ground strap with smooth-jaw pliers. Avoid the center electrode entirely. Gently bend the strap upward in small increments. Recheck with the feeler gauge after each adjustment. Tap the top of the strap lightly with the pliers to settle spring-back. Repeat until the correct gap is achieved.
Using a Threaded Gap Tool
Torque Solution-style tools have 12mm or 14mm threaded holes that hold the plug securely. Insert the plug into the appropriate hole and use a plastic pick or insulated tool to lift the ground strap. This method eliminates the risk of dropping or twisting the plug during adjustment.
Safely Closing a Wide Gap
When the gap is too wide, you need to close it by tapping the plug body. Never press down on the center electrode, as this cracks the porcelain insulator.
Controlled Tapping Method
Hold the plug by the ceramic insulator or metal shell. Tap the side of the plug body against a clean, flat surface like a workbench. Each tap closes the gap by approximately 0.001 to 0.002 inches, so go slowly. Recheck frequently with the feeler gauge and stop when the correct gap is achieved.
Using a Vise with Soft Jaws
Clamp the plug body only in a vise with soft jaws. Apply gentle downward pressure on the ground strap with a finger or plastic tool. This method provides more control for precise adjustments on high-performance engines.
Common Gap Specifications by Engine Type

| Application | Recommended Gap |
|---|---|
| Stock Naturally Aspirated | 0.028–0.035″ (0.71–0.89 mm) |
| Turbocharged / Supercharged | 0.024–0.030″ (0.61–0.76 mm) |
| High-Energy Ignition (MSD, etc.) | 0.032–0.036″ (0.81–0.91 mm) |
| Motorcycles / ATVs | 0.040″ (1.0 mm) |
| Modified Forced Induction | Reduce by 0.004–0.008″ per 50 hp added |
Real-World Examples
The Dodge Challenger Hellcat 6.2L HEMI requires 0.031″ (0.79 mm) gap, which is critical for handling 1,500+ psi cylinder pressure. The Infiniti G35 VQ35HR typically uses 0.043–0.044″ (1.10 mm) with Denso Iridium plugs. Honda K-Series engines (K20/K24) specify 0.028–0.030″ (0.71–0.76 mm). Always confirm using your vehicle’s factory service manual or a trusted plug database.
Adjusting Gap for Modified Engines
Forced Induction Applications
Turbochargers and superchargers increase cylinder pressure, which raises the voltage needed to fire the spark. A wider gap may exceed coil output, causing misfires under boost. Reduce the gap by 0.004 to 0.008 inches depending on the power level. For example, if the stock gap is 0.032″ and you add 10 psi of boost, reduce to 0.026–0.028″.
Nitrous Oxide Systems
Nitrous dramatically increases cylinder pressure beyond what forced induction alone creates. Reduce the gap by 0.005 to 0.008 inches to ensure reliable ignition under these extreme conditions.
High-Output Ignition Systems
Systems like MSD, Crane, or Nology produce stronger sparks that can support wider gaps. You can safely increase the gap by 0.002 to 0.005 inches for a larger flame kernel and better combustion, but only if your ignition system can handle the increased voltage demand.
What NOT to Do When Gapping Iridium Plugs
The center electrode on laser iridium plugs is not adjustable. Any attempt to bend or press it will void the warranty and likely ruin the plug. Never use wedge-style gap tools, as they can shear off the iridium tip. Never apply pressure to the center electrode, as this cracks the insulator. Never over-bend the ground strap, as this causes metal fatigue and premature failure. Never skip the gap check, as shipping damage is common even with premium plugs.
Warranty Voidance
Physical damage from improper gapping voids the manufacturer warranty. NGK, Denso, and Bosch will not replace a plug with a broken iridium tip or cracked insulator due to user error. This damage is easily visible upon inspection, so warranty claims will be denied.
Performance Impact of Incorrect Gapping
Too Wide a Gap
A gap that’s too wide requires higher firing voltage. This may exceed coil output, causing misfires under load or at high RPM. The result is hesitation, stumbling, rough idle, and accelerated electrode erosion from excessive arcing.
Too Narrow a Gap
A gap that’s too narrow produces a smaller flame kernel, which reduces combustion efficiency. This leads to poor fuel economy, reduced power, carbon buildup, and potential fouling in rich-running engines. The symptoms can mimic a weak ignition system, leading to misdiagnosis.
Final Inspection and Installation Tips
After gapping, inspect each plug for cracks in the porcelain insulator, bent or twisted center electrode, loose or cracked ground strap weld, damaged threads, and oil or debris on electrodes. If any damage is visible, replace the plug immediately. A damaged iridium plug cannot be repaired and will cause misfires.
Installation Checklist
Confirm the correct part number and verify the heat range is suitable for your application. Check the gap one final time before installation. Clean spark plug holes with compressed air. Hand-thread each plug to prevent cross-threading, then use a torque wrench to secure to spec. Start the engine and listen for misfires or rough idle, then test drive under load.
Frequently Asked Questions About Gapping Laser Iridium Spark Plugs
Can I use a standard gap tool on laser iridium spark plugs?
No, you should avoid wedge-style gap tools entirely. These can crack the porcelain insulator or shear off the iridium tip. Use a wire feeler gauge for checking and needle-nose pliers or a threaded gap tool for adjustments.
Do laser iridium spark plugs really need to be gapped?
Yes, you should always verify the gap even though they are pre-gapped. The same plug model often fits multiple engines with different specifications, and shipping can alter the gap. Verification takes moments and prevents performance issues.
What happens if the spark plug gap is too wide?
A gap that’s too wide requires higher voltage than your coils can produce, causing misfires under load or at high RPM. This leads to rough idle, hesitation, reduced power, and accelerated electrode wear.
What happens if the spark plug gap is too narrow?
A gap that’s too narrow produces a smaller flame kernel, reducing combustion efficiency. This causes poor fuel economy, reduced power, carbon buildup, and potential fouling.
How much force does it take to adjust an iridium spark plug gap?
Very little force is needed. When opening the gap, bend the ground strap in small increments. When closing the gap, one light tap on the plug body closes the gap by approximately 0.001 to 0.002 inches. Go slowly and recheck frequently.
Should I use anti-seize on laser iridium spark plugs?
No, NGK specifically advises against anti-seize on iridium plugs with trivalent metal coating. The coated threads are designed to prevent seizing, and adding lubricant can cause over-torquing and thread damage in aluminum cylinder heads.
Key Takeaways for Gapping Laser Iridium Spark Plugs
Always verify the gap with a wire feeler gauge before installing any iridium spark plug, regardless of whether it is pre-gapped from the factory. Use proper tools like smooth-jaw pliers or threaded gap tools, and never use wedge-style tools that risk damaging the brittle iridium tip. Adjust only the ground strap by bending or tapping, and never touch the center electrode. Match your gap specification to your engine type, reducing for forced induction or nitrous and increasing slightly for high-output ignition systems. Finish with a visual inspection and proper torque installation to ensure reliable ignition, optimal power, and long plug life.