How to Set Up a Laser: Quick Guide
Setting up a laser level correctly is essential for achieving precision in construction, renovation, and grading tasks. Whether you’re installing cabinets, laying pipes, or preparing a concrete slab, a properly configured laser ensures accuracy, saves time, and eliminates costly errors. Modern laser levels like DeWalt cross-line or Pacific Laser Systems 360 models feature auto-leveling, slope modes, and dual indoor and outdoor functionality that streamline complex alignment jobs. This guide walks you through every step of laser setup, from mounting and leveling to slope calibration and outdoor detection, using only the most reliable techniques and tools.
Prepare Your Workspace Before Mounting
Clear the work area of debris, tools, and tripping hazards before setting up your laser. Ensure the ground or floor is firm and stable because soft soil, loose gravel, or warped subflooring can cause the tripod to shift during use. For outdoor setups, choose compacted ground to prevent settling. Indoors, clean the surface beneath tripod feet to avoid contamination or slippage. Avoid placing the laser near heavy machinery, foot traffic, or vibrating equipment because even minor tremors can disrupt auto-leveling mechanisms and compromise beam stability.
Test Surface Stability Before Proceeding
Press down gently on the tripod legs after placement. If movement occurs, reposition or reinforce with stakes or weights. Test stability by gently shaking the tripod and observing whether the laser indicator shows any disturbance. Mark a safety perimeter in high-traffic zones or use sandbags to anchor the tripod securely.
Mount the Laser on a Stable Tripod
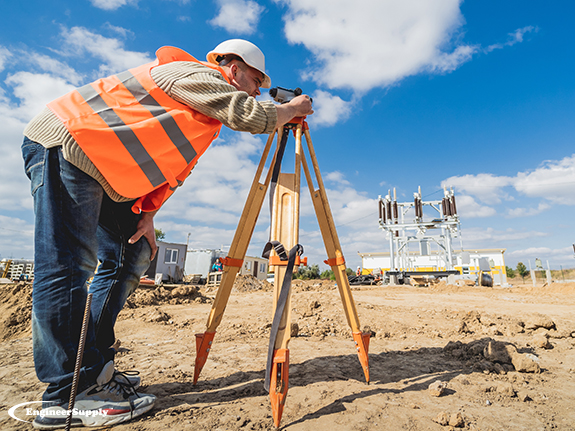
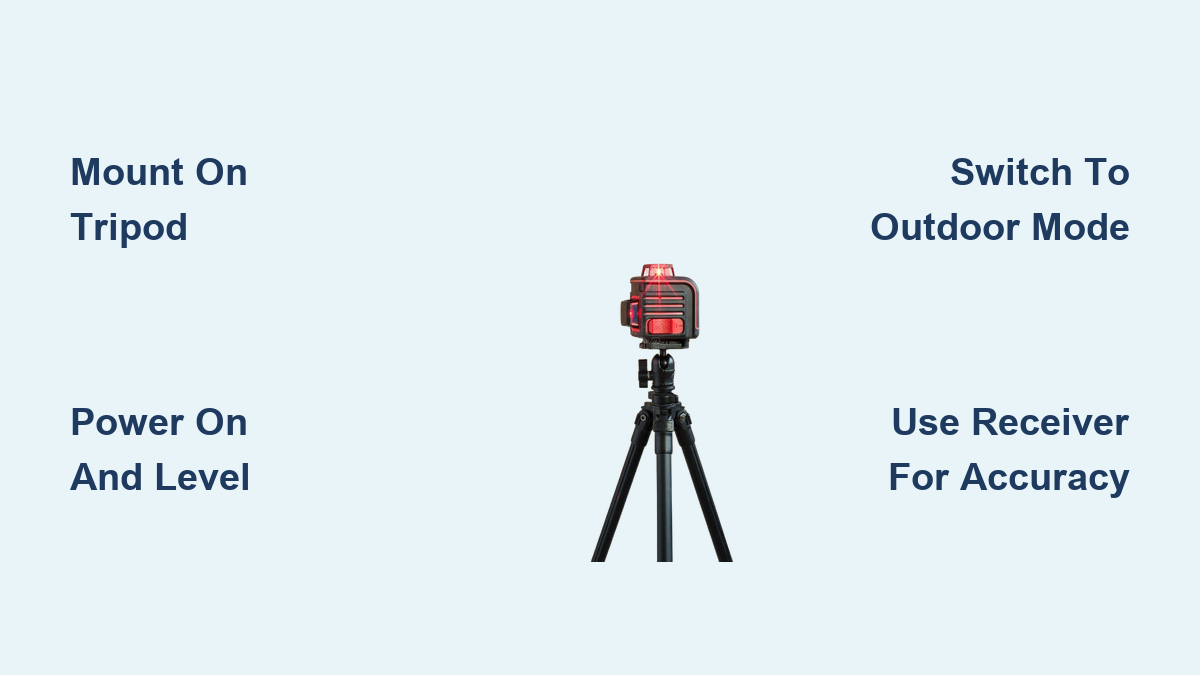
Secure the laser on a tripod with a standard 1/4-inch threaded mount to ensure compatibility across brands and allow precise height adjustment. Position the unit where it has a clear line of sight to all target areas, avoiding obstructions like walls, scaffolding, or equipment. Orient the laser so its built-in sight guides point in the intended beam direction, especially critical for slope work. Set the tripod height so the beam intersects the grade rod or target at an easily readable point, typically between waist and shoulder level.
Use Micro-Adjustment Features for Precision
For fine vertical control, use a tripod with a micro-adjustment knob or crank. This allows sub-millimeter changes crucial for tile alignment or ceiling grid leveling. If your tripod lacks this feature, consider upgrading to a model with fine-adjustment capability for professional results.
Power On and Level the Beam
Turn on the laser and wait 10 to 30 seconds for the internal mechanism to stabilize. Most modern units emit a flashing light or sound when out of level. Once the beam locks, the indicator becomes solid or emits a continuous beep, confirming true horizontal or vertical alignment. If the laser fails to level, check if it is tilted beyond its auto-range, usually plus or minus 4 to 6 degrees, and reposition the tripod before retrying.
Perform Manual Leveling When Required
For non-self-leveling models, use the built-in bubble vials. Adjust each tripod leg incrementally while watching the vial until the bubble centers. Rotate the laser 360 degrees to confirm the beam maintains consistent elevation because any drift indicates improper leveling. With rotary lasers, spin the unit slowly and observe the beam on surrounding walls or surfaces to verify stability.
Switch Between Indoor and Outdoor Modes
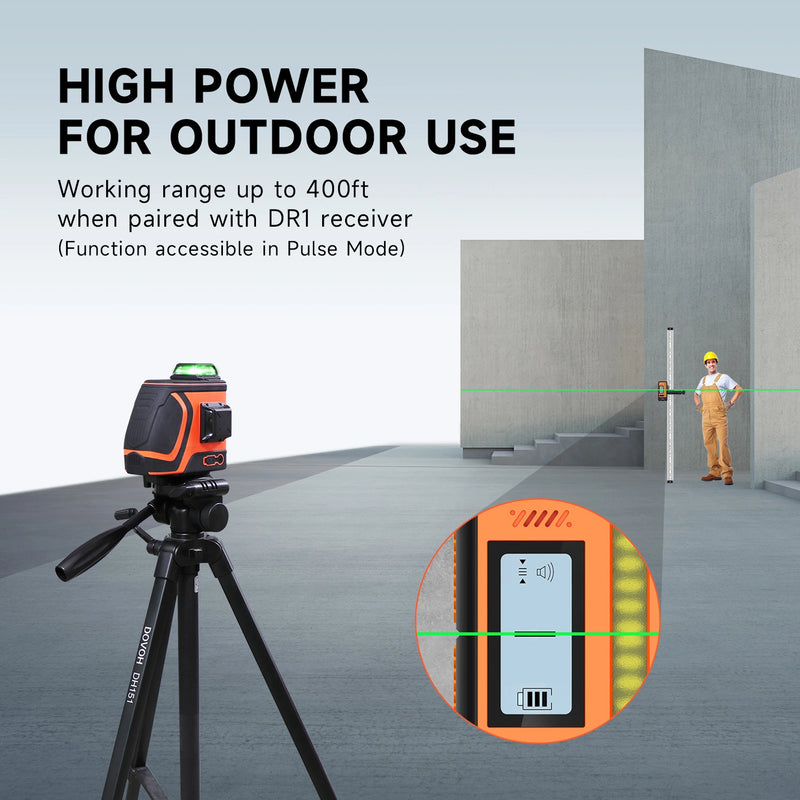
Select indoor mode for bright, continuous beams visible in low-light environments, ideal for tiling, cabinetry, or drop ceilings. Use outdoor mode for pulsed beams detectable by a receiver in daylight. Confirm the correct mode indicator is active because mismatched settings cause missed detections. This dual-mode functionality is standard on models like the Pacific Laser Systems 360.
Activate Slope Mode for Drainage and Grading
Press the mode button twice quickly to activate slope function on most models. Start in level mode, take a baseline reading, then tilt the laser to achieve the desired pitch, commonly 2 percent or 1/4 inch per foot for sewer pipes or drainage. Remember that pressing down on the back side tilts the front downward, like a teeter-totter, and use the opposite button to reverse the slope direction.
Project Reference Lines for Any Project
Use the 360-degree horizontal beam as a baseline for marking stud positions, tile courses, or ceiling grids. For tiling, project the line at the base of the first row and mark it with chalk, then lay tiles along this guide for perfect alignment. Engage vertical beam mode to plumb walls, align columns, or install cabinets. Test accuracy with a two-point plumb check by marking the beam on a wall, flipping the laser 180 degrees, and comparing the new mark because misalignment indicates calibration drift.
Apply Cross-Line for Interior Projects
Cross-line lasers project intersecting horizontal and vertical beams, perfect for hanging shelves, pictures, or backsplashes. The 90-degree intersection ensures square placement without additional measuring. In rooms with exposed grout lines, verify electrical box alignment with the laser because misaligned outlets are immediately visible and reflect poor craftsmanship.
Set Slopes Without Complex Calculations
Skip calculations by replicating natural slopes. Set the laser to level mode, take a reading at Point A on the grade rod, then move to Point B and adjust the rod until the receiver beeps. The difference in rod heights defines the slope, and tilting the laser locks in this angle. For engineered grades like 2 percent pipe slope, measure a round distance of 10 feet and calculate the drop as 2.4 inches. At the second point, adjust the rod to be 2.4 inches lower than the first, then tilt the laser downward until the beam hits this new point and lock the angle.
Use Receiver Feedback for Accurate Grading
Listen for the receiver beep tone as it approaches alignment because it speeds up when close, confirming accuracy. The receiver displays up, down, or dead-center on front and back LCDs, providing real-time feedback for precise grade control.
Use Receivers for Outdoor Accuracy
Mount the receiver on a grade rod and place the rod base on your reference block. Raise or lower the rod until the receiver beeps and shows center on both front and back LCDs, then clamp it securely at this height to maintain consistency across measurements. First reading might be at 1 foot 11-1/4 inches, and moving to the next block requires adjusting until the beep confirms level match.
Verify Gravel Base for Concrete Pours
Set the receiver to the target height, for example, 2 feet 6-1/2 inches for a 4-inch concrete slab over gravel. Walk the site checking multiple points, adding or removing gravel until all readings match. After raking and compacting, recheck to ensure a perfectly level foundation. After confirming two level points at corner blocks, stretch a string between them as a physical guide to install the rest of the first course quickly and accurately.
Mount Flexibly for Any Surface
Attach the laser directly to metal surfaces using magnetic back plates, enabling hands-free operation in tight or elevated spaces like ceiling grids, steel studs, or structural beams. Avoid plastic or paper corner beads because they cannot support magnetic attachment. Use built-in brackets or clips to secure the laser to metal framing for temporary setups. Attach an L-bracket for horizontal beam adjustment, sliding it sideways to shift the beam while accounting for slight overshoot due to spring-back.
Use Precision Accessories for Fine-Tuning
For precision work, use accessories like the Milwaukee Laser Track Clip at $25 or the 360-Degree Quick Connect Mount at $50, which allow smooth vertical and lateral movement. Keep all accessories in dedicated slots inside the carrying case for easy access and organization.
Avoid Common Setup Mistakes
Never use unstable surfaces like soft ground or wobbly floors because they cause beam drift. Always use a tripod on firm terrain and test stability before marking. Do not ignore self-leveling limits because if the laser flashes continuously, it is outside its leveling range, so reposition the tripod closer to level before powering on. Never guess distances because slope errors compound when measurements are estimated. Always use a tape measure.
Perform Regular Calibration Checks
Perform a two-wall test indoors by marking beam height on opposite walls, moving the laser, and comparing. Deviation over 1/16 inch per 10 feet means recalibration is needed. For outdoor grading lasers, use the three-peg test by staking Points A, B, and C in a straight line with B in center, leveling at B and recording rod readings at A and C, then moving to A and measuring at C to compare expected versus actual readings.
Verify and Maintain Accuracy
Test indoor level accuracy by placing the laser midway between two walls about 20 feet apart, marking beam height on both walls, moving the laser near one wall and projecting to the far wall, and comparing the new mark with the original because any mismatch greater than 1/16 inch indicates drift. Check outdoor calibration using the three-peg method and follow manufacturer guidelines because some units require factory service for recalibration.
Clean and Store Your Laser Properly
Wipe lenses with a microfiber cloth and never use abrasive cleaners. Check tripod threads and mounts for wear or looseness. Keep the laser in a sealed case with desiccant to prevent moisture buildup, storing in a dry, dust-free environment. Avoid drops and impacts because internal pendulums and motors are sensitive, and most professional models offer 2 to 5 year warranties covering accidental damage.
Apply Lasers to Real Projects
Use outdoor mode, a grade rod, and receiver to set the first row of retaining wall blocks level, then stretch a string line between corner blocks as a guide. For concrete slabs, set the receiver to the slab-over-gravel target height, check multiple points across the site, and rake and compact until all readings match. Mount the laser on a tripod and project a horizontal line for cabinet installation, measuring up or down to cabinet height and marking all mounting points from the same reference.
Perfect Ceiling and Electrical Installations
Clip the laser magnetically to a metal ceiling grid and project a 360-degree level line, then measure up from the beam to set uniform ceiling height across the room. Mark outlet and switch locations before finishing walls and use the laser line to ensure all boxes are level, critical when backsplashes expose grout lines. Misaligned electrical boxes are a telltale sign of sloppy work, and a laser eliminates this issue entirely.
Maximize Outdoor Performance
Use a laser target plate or reflective card to see the beam in bright sunlight, and work in shaded areas when possible. Choose green lasers because they offer up to 4 times better visibility than red beams indoors. Use sandbags or guy wires to anchor the tripod in windy conditions, and avoid midday sun in open fields because heat shimmer can distort beam visibility. Choose lasers rated IP54 or higher for outdoor jobs, with IP66 models fully dustproof and waterproof for rainy or dusty sites.
Frequently Asked Questions About Setting Up a Laser
How do I know if my laser is properly leveled?
Most self-leveling lasers indicate level status with a steady light or continuous beep. If the laser flashes continuously, it is outside its auto-leveling range, typically plus or minus 4 to 6 degrees, and you need to reposition the tripod closer to level before attempting again.
Can I use a laser level outdoors in bright sunlight?
Yes, but you need to switch to outdoor mode and use a laser receiver or target plate. The pulsed beam is detectable by the receiver even in daylight, and green lasers provide better visibility than red models in bright conditions.
How do I set a specific slope percentage with my laser?
Measure a round distance like 10 feet, calculate the drop for your desired percentage, adjust the grade rod to that lower height at the second point, and tilt the laser until the beam hits the adjusted rod. For a 2 percent slope over 10 feet, the drop is 2.4 inches.
What is the best way to check laser accuracy?
For indoor level lasers, perform a two-wall test by marking beam height on opposite walls, moving the laser, and comparing marks. For outdoor grading lasers, use the three-peg test by staking three points in a line and comparing elevation readings from different positions.
How often should I calibrate my laser level?
Check accuracy monthly with the two-wall test or after any significant impact or drop. If deviation exceeds 1/16 inch per 10 feet, recalibration is needed, and some models require factory service for this.
Key Takeaways for Setting Up Your Laser
A properly set up laser level transforms complex alignment tasks into fast, accurate, one-person jobs. By following these steps, preparing the site, mounting securely, leveling correctly, and using the right mode, you ensure precision across every project. Whether you are a DIYer, electrician, or contractor, mastering laser setup means fewer errors, faster completion, and results that look professionally done because they are. Take time to verify accuracy with calibration checks, choose the appropriate mode for your environment, and invest in quality accessories like receivers and target plates for outdoor success.