How to Use a Laser Level for Straight Lines
If you have ever tried to hang a shelf, install tile, or align cabinets using just a bubble level and a tape measure, you know how frustrating it can be to get everything perfectly straight. Small errors compound over distance, leading to crooked lines and amateur results. That is where a laser level for straight line work becomes indispensable. This precision tool projects a visible, continuous beam across walls, ceilings, or floors, creating an instant reference line that stays true over long distances.
Using a laser level is not complicated, but doing it right ensures professional-grade accuracy. Whether you are a DIYer mounting pictures or a contractor laying out electrical boxes, this guide walks you through every step to use your laser level effectively. From setup and alignment to marking and troubleshooting, you will learn how to achieve flawless straight lines every time.
Choose the Right Laser Level Type for Your Project

Select the Best Line Projection for Straight Line Work
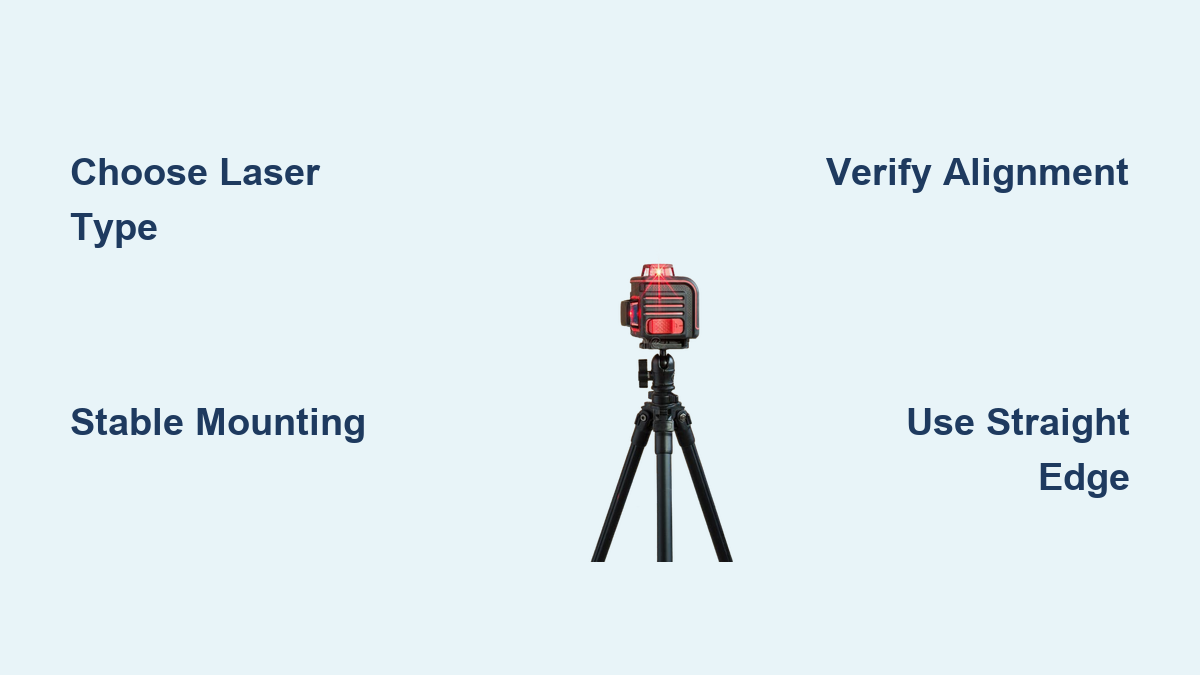
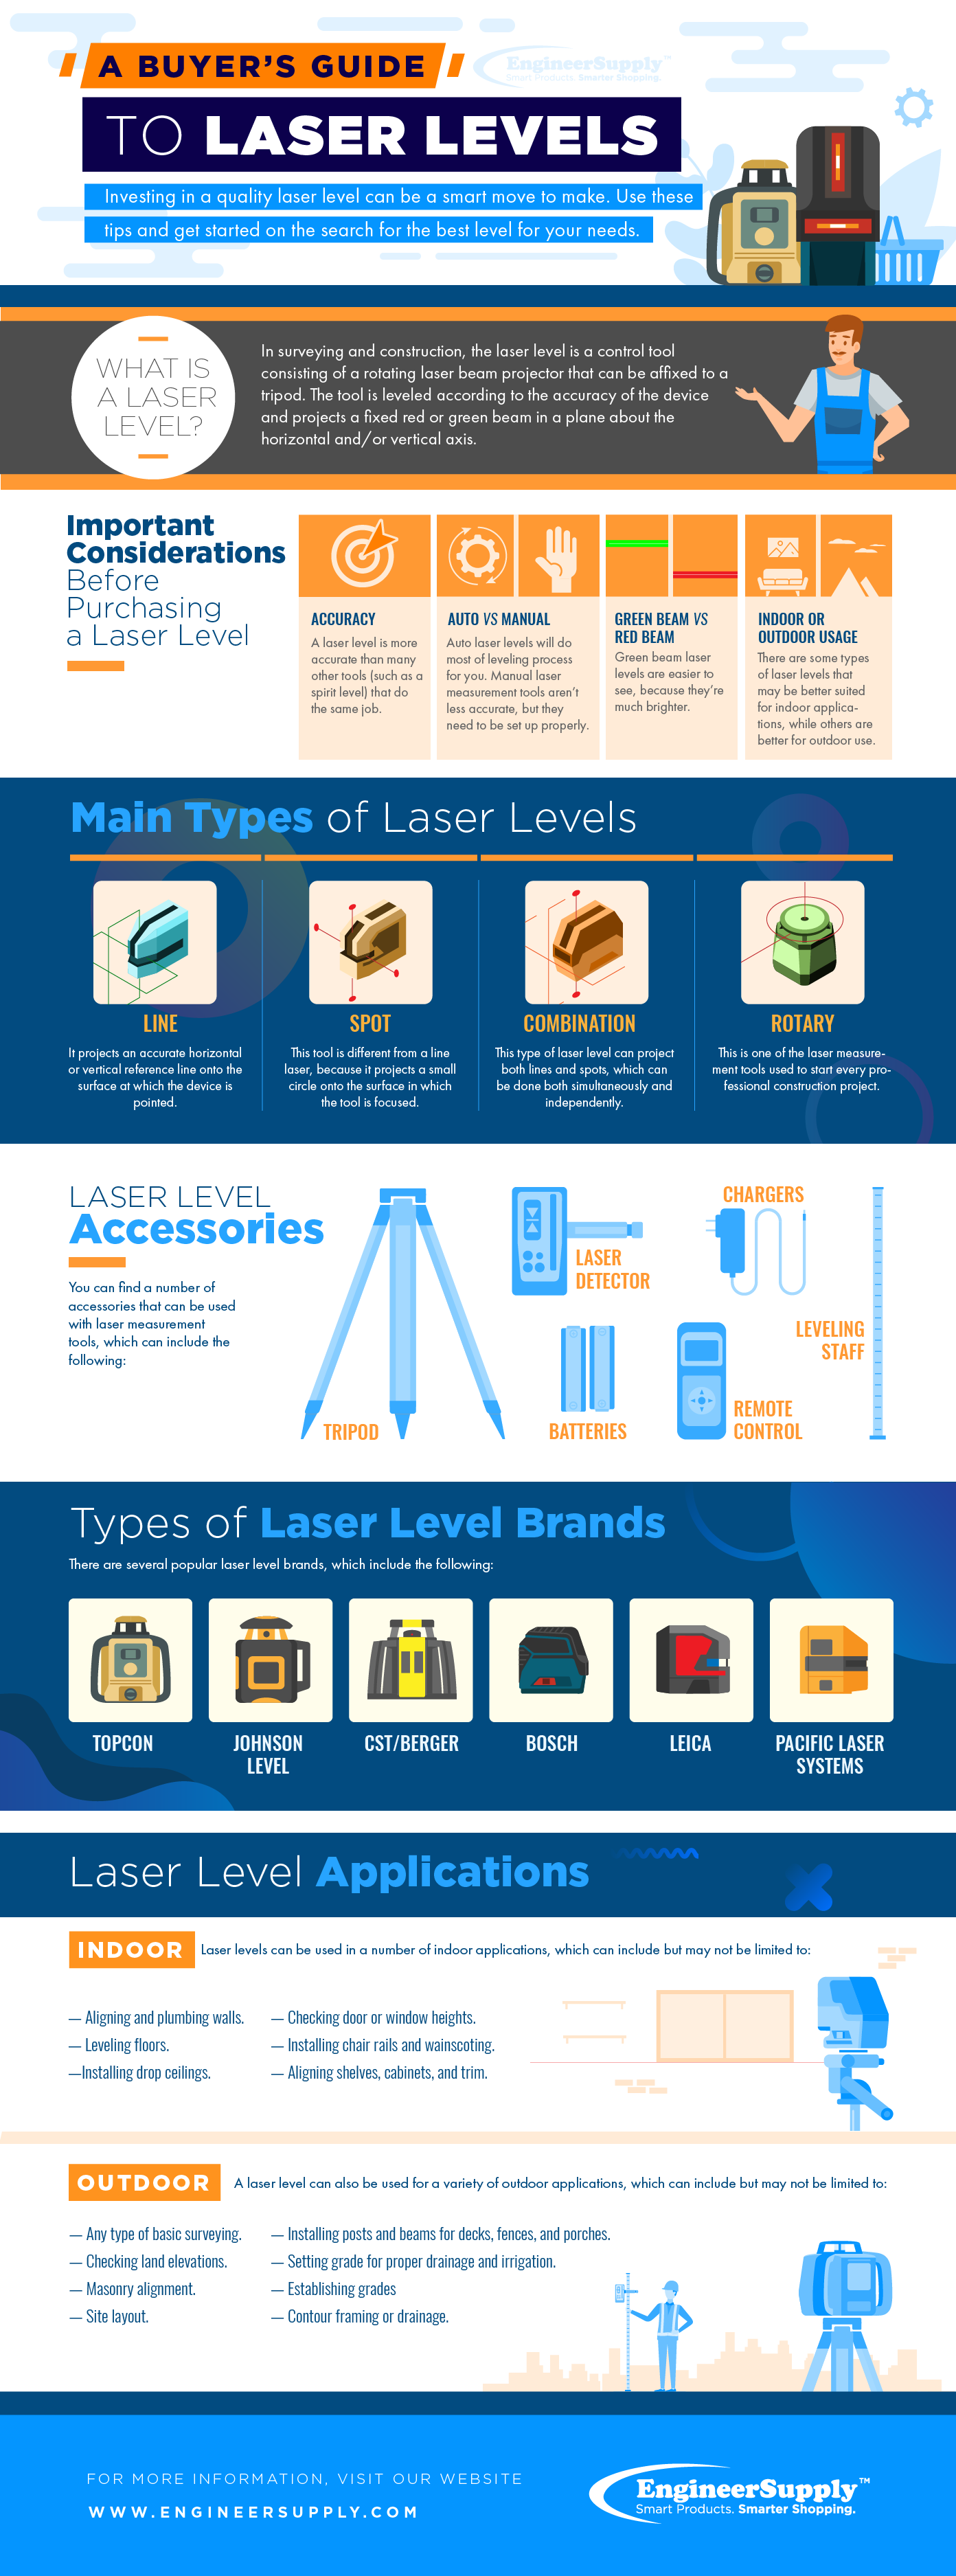
Not all laser levels are the same, and your choice depends on the number and direction of lines you need. Line lasers project one or more visible straight lines horizontally, vertically, or both. Cross-line lasers emit intersecting horizontal and vertical beams, forming a plus shape, which is ideal for cabinet and tile layout. Multi-line lasers offer up to 16 lines in various planes, including diagonals, for complex room layouts. Rotary lasers spin 360 degrees and are best for grading or ceiling alignment over large areas.
For most indoor straight-line tasks such as hanging shelves, tiling, or picture framing, a self-leveling cross-line laser is optimal. It delivers two perfectly straight reference lines with minimal setup.
Match Laser Color to Your Lighting Conditions
Laser visibility varies significantly by color. Red lasers around 635 nanometers are common in budget models but harder to see in bright rooms. Green lasers around 532 nanometers are up to 400% more visible because the human eye is most sensitive to green light. Use green lasers indoors, especially in well-lit kitchens or bathrooms. For outdoor work beyond 50 feet, both red and green lasers require a laser detector since sunlight washes out the beam.
Set Up the Work Area Properly
Clear and Prepare Your Space
Before turning on the laser, prepare your workspace thoroughly. Remove trip hazards like cords, tools, or debris. Wipe down walls to eliminate dust or obstructions that could block the beam. Dim overhead lights or close blinds to enhance beam visibility. Gather essentials including measuring tape, pencil, straight edge, tripod, spare batteries, and safety glasses.
A clean, stable environment prevents misalignment and ensures accurate line projection throughout your project.
Gather Mounting Tools in Advance
Most laser levels have a standard 1/4 inch-20 threaded base for tripod mounting. Have these ready before you begin. You will need a camera tripod or adjustable stand, a magnetic mount for steel studs or ceiling grids, a clip bracket that attaches to framing members, and an adhesive metal plate to create magnetic attachment points on drywall.
Plan your mounting method before powering on the laser to avoid repositioning mid-job.
Mount and Position the Laser Correctly
Use a Stable Base or Tripod
Place the laser on a flat, immovable surface such as a floor, sawhorse, or sturdy bucket if height allows. For precise height control, use a tripod. It is the most reliable option for long walls or ceiling work. Ensure all tripod legs are locked and seated firmly. Avoid soft carpet or wobbly furniture that could shift during use.
Attach to Metal Surfaces with Magnets
Many models feature built-in magnets. Use them to stick directly to steel studs, suspended ceiling grids, or metal corner beads. This allows hands-free operation on vertical or overhead surfaces. Pro tip: install metal corner beads during drywall finishing for future alignment projects since plastic or paper beads will not hold the magnet.
Secure with Brackets or Alternative Methods
If no tripod or magnet is available, use a clip bracket to latch onto wooden or metal framing. You can also tape the unit to a shelf or cabinet, but only if movement is impossible. Hang lightweight lasers from hooks, ensuring zero sway. Never rely on unstable supports because even slight shifts ruin accuracy.
Power On and Activate Self-Leveling
Engage and Release the Pendulum Lock
Before turning on the laser, engage the pendulum lock during transport to protect the internal mechanism. Once positioned, disengage the lock so the self-leveling system can function. Forgetting this step causes inaccurate leveling or flashing beams.
Allow Time for Automatic Leveling
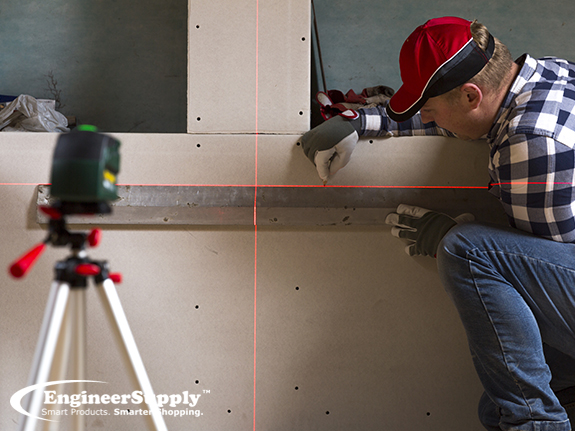
Turn on the laser and select your mode: horizontal, vertical, or cross-line. Wait 30 to 120 seconds for the internal pendulum to stabilize. A solid beam means it is level. A flashing or pulsing beam indicates it is out of self-leveling range, typically plus or minus 4 to 5 degrees. If flashing occurs, manually adjust the tripod or base until the unit levels itself.
Check Bubble Vials for Manual Alignment
Even self-leveling models have spirit vials. Use them to pre-level the tripod or verify alignment. On manual models, center the bubble before powering on. This is critical on uneven floors where self-leveling range is exceeded.
Project and Verify the Laser Line
Aim at Target Surface and Observe the Beam
Point the laser toward the wall or ceiling where you need the line. For long runs, ensure the beam reaches both ends without obstruction. Use green lasers for better visibility on glossy tiles or bright paint. If the beam disappears, reduce ambient light or use a laser detector card to spot it.
Confirm Accuracy at Multiple Points
Do not assume the line is true just because the laser is level. Verify across distance by measuring from the floor to the laser line at left, center, and right of the wall. All measurements should match within plus or minus 1/8 inch at 30 feet. If not, recheck mounting stability, tripod leveling, or surface flatness.
Adjust for Textured or Uneven Walls
On bumpy surfaces like brick or stucco, project the line 1 to 2 inches in front of the wall. Use a ruler to transfer the height at key points back to the surface. Mark those points and connect with a straight edge to avoid distortion caused by surface irregularities.
Transfer the Line Permanently
Use a Straight Edge to Mark
Never trace the laser beam freehand. Instead, hold a metal ruler or long level flush against the projected line. Draw along the edge with a pencil, marker, or chalk. This ensures a crisp, straight physical line.
Choose the Right Marking Material
Match your marking tool to the task. Pencil is best for temporary layout lines. Masking tape is ideal for tiling because you can apply tape and mark on it for clean, reusable reference. Use chalk for long, dark, or temporary surfaces like subfloors. Always mark all reference points before turning off the laser.
Mark Fixtures and Fastener Locations
Extend the laser use beyond just lines. For cabinets, mark bracket positions along the horizontal line. For outlets, use a vertical line to center switch boxes. For shelves, mark pilot holes with consistent spacing. The laser eliminates guesswork and ensures symmetry.
Apply Advanced Techniques for Precision
Create Angled Lines with Degree Rotation
Many lasers rotate on a calibrated base. Level the unit at 0 degrees. Rotate housing to 45 degrees or another angle marked on the dial. Project a diagonal straight line for stair trim, sloped ceilings, or design accents. Transfer with a straight edge just like horizontal lines.
Run Continuous Lines Around a Room
For ceiling grids or baseboard alignment, place laser on a metal corner bead at one wall corner. Rotate slowly to project a level line around the entire perimeter. Mark each wall at consistent height. This guarantees a perfectly level installation even in irregular rooms.
Align Electrical and Plumbing Boxes
Before drywall, use cross-line laser to project horizontal and vertical references. Center outlets, switches, and conduits at standard heights, typically 48 inches for switches. Mark box locations precisely to eliminate uneven installations.
Troubleshoot Common Issues Fast
Fix Poor Laser Visibility
If you cannot see the beam in bright light, switch to a green laser model. Dim room lights or close curtains. Use laser-enhancing glasses or a detector card to spot the beam in challenging conditions.
Stabilize a Shaky Mount
If the line jumps or flickers due to vibration, place the laser on a hard, flat surface. Tighten all tripod knobs. Avoid touching the unit during use to maintain stability.
Correct Out-of-Level Errors
If the beam flashes or measurements are uneven, re-level the tripod using the built-in bubble vial. Ensure the pendulum lock is disengaged. Move to a flatter surface if beyond self-leveling range.
Extend Battery Life
If the beam is dim or leveling is slow, use lithium AA batteries because they last longer, especially in cold areas. Turn off the laser when not in use and carry spares for long jobs.
Maintain Your Laser for Longevity
Lock Pendulum After Use
Always re-engage the pendulum lock before moving or storing the unit. This prevents internal damage from shocks or drops during transport or storage.
Clean the Lens Regularly
Wipe the laser window with a soft, lint-free cloth. Dust or smudges scatter the beam and reduce clarity, affecting your straight-line accuracy.
Store Properly
Keep the laser in a dry, temperature-controlled case. Avoid leaving it in hot cars or damp basements to prevent condensation and sensor drift over time.
Calibrate Periodically
Test accuracy every few months by projecting the laser at 20 to 30 feet. Mark the line on two walls. Flip the laser 180 degrees and reproject. If the new line does not match, recalibrate per manufacturer instructions.
Optimize for Key Straight-Line Projects
Install Tile and Backsplashes Perfectly
Project a horizontal starting line at tile base height. Use vertical lines to align edges and maintain grout spacing. Verify outlet boxes are level and adjust before tiling. Green lasers excel here, especially on reflective porcelain or glass tiles.
Hang Pictures and Art in a Row
Set laser at desired eye-level height, typically 57 to 60 inches. Use the horizontal line to align multiple frames. This ensures consistent height across long gallery walls with no more crooked picture rows.
Mount Shelves and Cabinets Level
Mark bracket positions along the laser line. Use vertical line to align cabinet edges. This prevents wobbling and gaps, allowing even beginners to achieve professional results.
Frame Walls and Align Studs
Project vertical lines to mark stud centers. Use horizontal line for top and bottom plates. Cross-line mode helps frame corners accurately, speeding up layout and improving structural alignment.
Layout Electrical and Plumbing
Mark outlet and switch centers at standard heights. Use vertical line to align multiple boxes in a row. This reduces drywall patching and cover plate gaps, a must for electricians and finish carpenters.
Know When to Upgrade Your Tool
For Bright Rooms: Use Green Laser
If red beams vanish in daylight, upgrade to a green laser model. The visibility boost pays off in kitchens, bathrooms, and showrooms where lighting is challenging.
For Outdoor Work: Add a Detector
For retaining walls, foundations, or grading, use a rotary laser with detector. The receiver beeps when aligned even in sunlight, so you do not need to see the beam.
For Complex Layouts: Get Multi-Line or 360-Degree Models
Large renovations benefit from 16-line 4D lasers for instant ceiling, wall, and floor references. 360-degree rotary models provide whole-room elevation control, saving time and reducing setup changes.
Final Tips for Flawless Results
Always verify alignment at three or more points, checking left, center, and right positions. Use a straight edge when marking, never trace freehand. Mark everything before powering off the laser. Lock the pendulum after each use to protect the internal mechanism.
Invest in a 60-dollar cross-line laser because it pays for itself in saved time and rework. The tool does the work, allowing beginners to handle complex tasks like inset tile work with confidence.
Whether you are a weekend warrior or a seasoned pro, mastering how to use a laser level for straight line ensures every project looks precise, professional, and perfectly aligned.
Frequently Asked Questions About Using a Laser Level for Straight Line
Can a laser level be used on all wall surfaces?
Yes, laser levels work on drywall, plaster, brick, concrete, and textured walls. On bright or reflective surfaces, use a green laser or laser detector for better visibility.
Can one person use a laser level without assistance?
Yes, especially with self-leveling models, tripods, or magnetic mounts. For high or complex installations, a second person may improve safety and efficiency but is not strictly necessary.
How do you adjust a laser level on uneven walls?
Use self-leveling mode, adjust tripod angles, and verify alignment at multiple points with a measuring tape. For textured walls, project the line slightly in front and measure back to the wall.
What is the best way to mark a laser line permanently?
Use pencil for temporary marks, masking tape for tiling projects, and chalk for dark or temporary surfaces. Always mark before turning off the laser to ensure accuracy.
How do you ensure straight lines over long distances?
Use a high-accuracy model with plus or minus 1/8 inch at 50 feet accuracy. Verify the line at three or more points and avoid movement during marking. For distances over 100 feet, use a laser detector.
Key Takeaways for Using a Laser Level for Straight Line
The most important steps are choosing the right laser type for your project, setting up a stable mounting position, and verifying accuracy at multiple points before marking. Green lasers offer superior visibility indoors and are worth the investment for any serious DIYer or professional. Always lock the pendulum when storing the laser and calibrate periodically to maintain accuracy over time.