How to Use a Laser Level for Grading: Step-by-Step Guide
If you’re shaping land for a patio, preparing a foundation, or installing a drainage system, using a laser level for grading ensures precision that traditional methods cannot match. Without accurate slope and elevation control, water pooling, structural damage, and costly rework become likely. A rotary laser level eliminates guesswork by projecting a consistent 360-degree reference plane across your site, allowing you to measure cut and fill points with confidence. Whether you are a DIYer or a professional, mastering this tool transforms uneven terrain into professionally graded surfaces.
In this guide, you will learn how to set up your laser correctly, calculate slopes using proven formulas, mark grade points with precision, and avoid mistakes that compromise accuracy. These techniques are trusted by construction pros and work for projects ranging from backyard patios to full-scale excavations.
Set Up the Laser on Stable Ground
Choose the Right Tripod Location
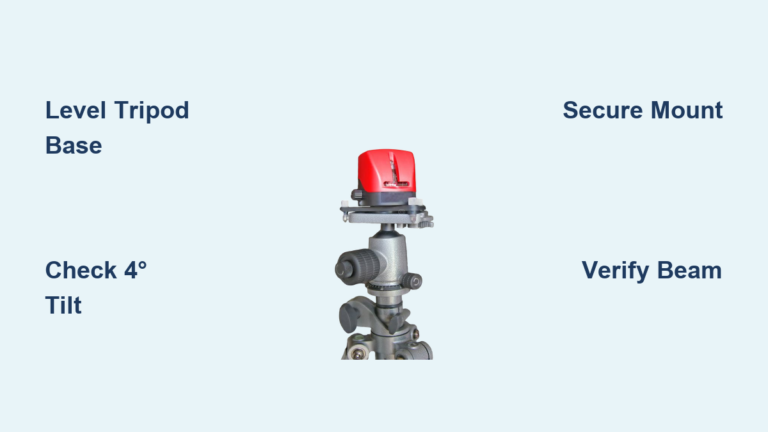
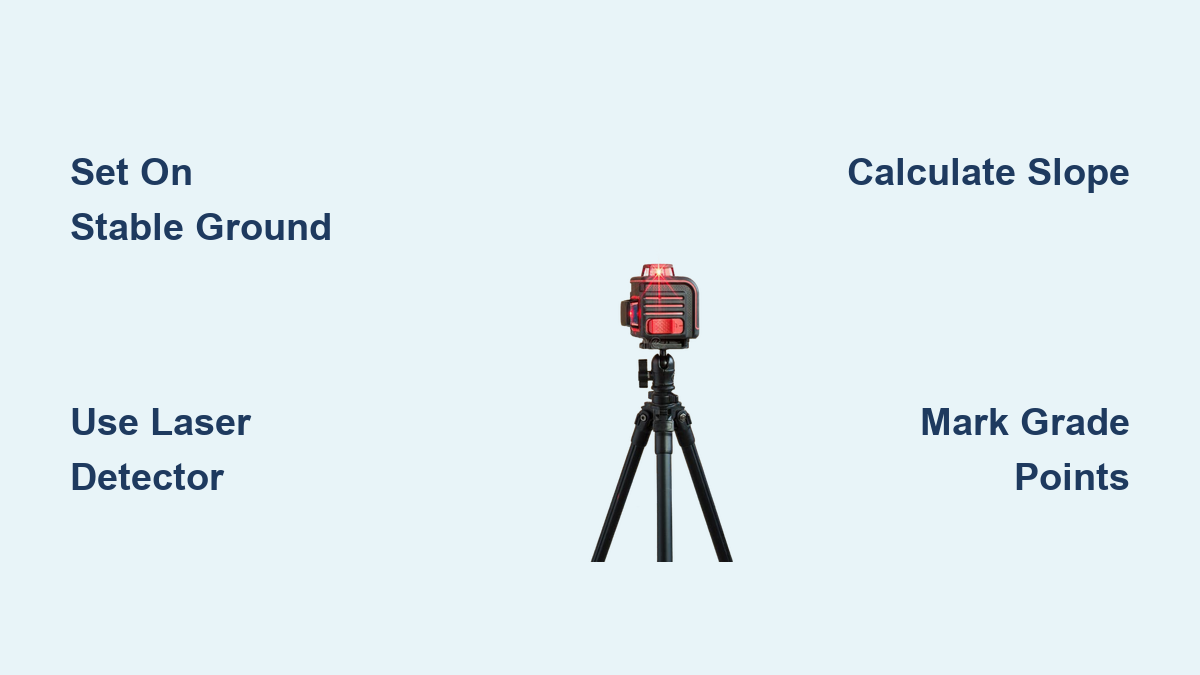
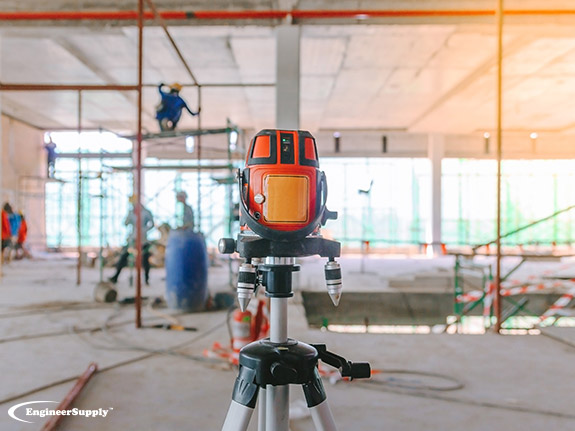
Place the tripod on firm, level ground away from foot traffic, machinery, or wind exposure. Avoid soft soil, slopes, or areas prone to vibration. The laser must remain perfectly still because any movement compromises accuracy. Position the tripod near the center of your work zone when possible to ensure visibility to all key points.
Mount and Power On the Laser
Secure the rotary laser to the tripod and tighten the mounting screw. Turn it on and allow 10 to 30 seconds for self-leveling to complete. High-end models like the Johnson 40-6535 or Topcon RLH5B emit an audio or visual signal when calibration is finished. Never touch or adjust the unit during this phase. Once leveled, confirm the beam rotates smoothly and consistently across the work area.
Optimize for Outdoor Visibility
In bright sunlight, the red or green beam may be invisible to the naked eye. This is normal. Use a laser detector instead of relying on sight. For best results, work during early morning or late afternoon when glare is reduced. High-output lasers with 2,000-foot range improve detection under harsh conditions.
Establish a Benchmark Elevation
Locate a Known Reference Point
Start with a fixed elevation point such as a surveyed benchmark, foundation, curb, or sturdy stake. This becomes your reference elevation, the baseline for all measurements. If no official mark exists, create one by averaging multiple subgrade readings taken with the grade rod. For example, measurements of 27.5, 28, 28, 28, and 28 inches yield an average subgrade elevation of approximately 28 inches.
Measure Height of Instrument (HI)
Hold the grade rod vertically at the reference point. Slide the laser detector up until it receives the beam and emits a steady tone. Record the measurement where the detector aligns with the rod markings. Example: detector reads 4 feet 4 7/8 inches. This is your HI. Write down the HI and keep it visible because you will use it repeatedly to calculate elevations across the site.
Attach and Calibrate the Grade Rod
Mount the Laser Detector Correctly
Slide the detector onto the grade rod and lock it in place temporarily. Ensure the battery is charged and the sensitivity setting is appropriate. Outdoor grading usually requires high sensitivity for accurate readings in varying light conditions.
Use Audio Feedback to Find Grade
Move the rod to the reference point. Adjust its height until the detector emits a steady tone, meaning it is aligned with the laser plane. Fast beeping indicates the rod is too high, so lower it. Slow beeping indicates the rod is too low, so raise it. A steady tone means on-grade, and you can stop adjusting. Once aligned, note the rod reading and fix the detector at that height for consistent use throughout the project.
Calculate and Apply Desired Slope
Determine Target Grade Percentage
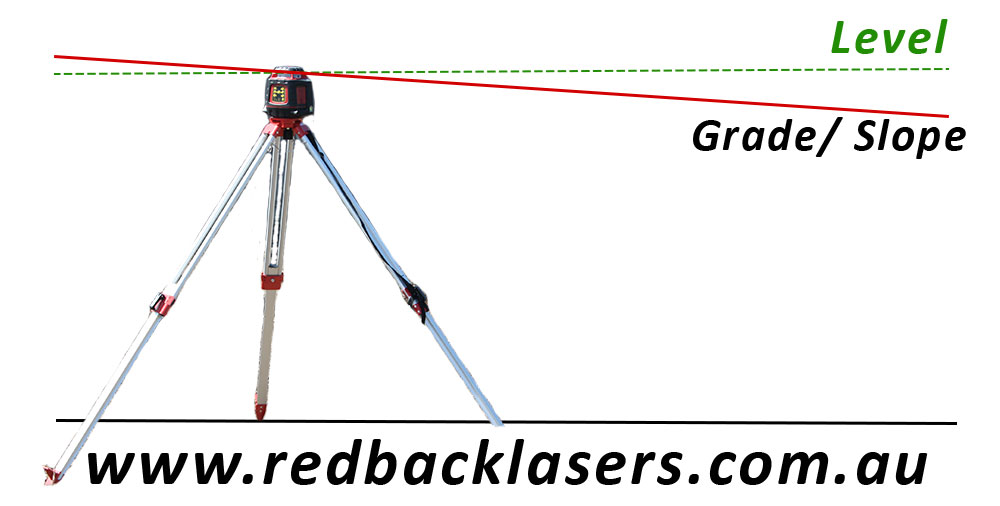
Most drainage applications require a 1 to 2 percent slope away from structures for proper water runoff. Use this formula to calculate fall. Fall in inches equals slope percentage multiplied by distance in feet. Example: a 2 percent slope over 50 feet equals 0.02 times 50, which equals 1 foot or 12 inches of fall.
Adjust Detector for Downhill Elevation
At the far end of the slope, lower the detector by the calculated fall amount. If your starting elevation is 28 inches and you need a 12-inch drop, set the detector to 16 inches on the rod. Move the rod to that location and adjust until you get a steady tone. This marks the correct finished grade. For concrete slabs, subtract slab thickness from subgrade. A 4-inch slab on a 28-inch subgrade means top-of-slab grade is 24 inches.
Measure and Mark Multiple Grade Points
Take Readings Across the Work Area
Walk the grade rod to various locations, including corners, midpoints, and edges. At each spot, adjust the rod until the detector gives a steady tone. Read the measurement on the rod. If the reading is greater than target, the ground is too high and requires excavation. If the reading is less than target, the ground is too low and requires fill material. Example: target equals 24 inches. Rod reads 26 inches, so cut 2 inches. Rod reads 21 inches, so fill 3 inches.
Mark Final Grade with Stakes and Paint
Drive stakes into the ground at each measured point. Mark the target height with spray paint or a nail. Connect points with string lines to visualize the slope. For walls or forms, snap a chalk line by hammering a nail at the marked height, hooking the chalk line, pulling tight, lifting slightly, and releasing. Use pre-marked stakes or colored tape for solo work to speed up identification.
Verify Accuracy and Consistency
Sweep Detector to Confirm Alignment
At each point, slowly move the detector side-to-side across the laser beam. If the tone stays steady, the beam is centered and your elevation is accurate. If the tone changes, the rod may be tilted or the laser misaligned. Re-center and recheck before proceeding.
Recheck Laser Level Periodically
Environmental factors like wind, temperature shifts, or accidental bumps can knock the laser out of level. Pause every 30 to 60 minutes to verify the unit is still self-leveled and stable. This simple habit prevents small errors from becoming big problems.
Double-Check Long-Distance Elevations
Measure the difference between your benchmark and a distant point. A discrepancy of approximately 2 feet indicates significant cut or fill. Recalculate if needed to ensure smooth transitions across the entire work area.
Avoid Common Grading Mistakes
Do Not Set Up on Unstable Ground
Soft soil or sloped terrain causes tripod wobble and laser drift. Always use solid footing. If necessary, place plywood under the tripod legs for added stability on soft ground.
Never Skip Self-Leveling Time
Rushing setup leads to false readings. Wait until the laser completes its internal calibration before taking measurements. Most models take 10 to 30 seconds, and this time is essential for accuracy.
Keep the Grade Rod Vertical
Tilting the rod, even slightly, creates false elevations. Use a rod level or plumb bob attachment to ensure perfect vertical alignment at every measurement point.
Follow Drainage Code Requirements
Most building codes require at least a 1 percent slope for 10 feet around foundations. Ignoring this risks water intrusion and structural damage. Always verify local requirements before starting your project.
Do Not Rely on Visual Beam in Sunlight
The laser beam is often invisible in daylight. Always use a detector, not your eyes, to confirm alignment. This is one of the most critical mistakes to avoid for accurate outdoor grading.
Choose the Right Laser for Your Project
Rotary Lasers for Outdoor Grading
Rotary models project a 360-degree beam, ideal for large-scale grading. They work with detectors to extend range up to 2,000 feet. Self-leveling versions save time and reduce error, making them the preferred choice for most professionals.
Red vs. Green Laser Beams
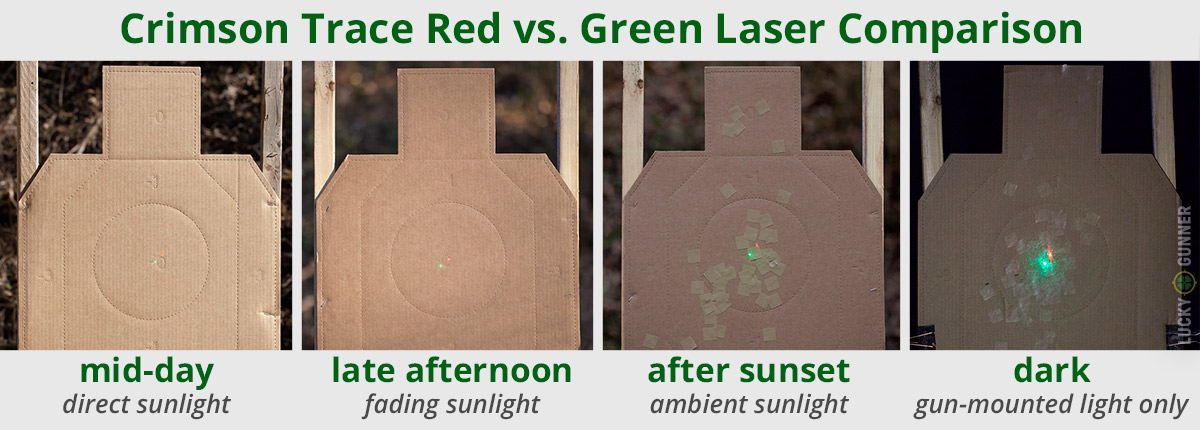
Red lasers offer better battery life, lower cost, and proven durability outdoors. Green lasers are more visible to the human eye, which makes them best for indoor or shaded areas. Professionals often prefer red lasers for grading because they last longer in full sun and rugged conditions.
Accuracy and Range Specifications
Standard accuracy is plus or minus 1/4 inch per 100 feet. High-end accuracy is plus or minus 1/16 inch at 100 feet, available on models like the Topcon RLH5B and Johnson 40-6535. Working range reaches up to 2,000 feet with a detector. Entry-level kits start around $200, while professional-grade systems run $400 to $800.
Maintain Your Equipment for Longevity
Care for Batteries and Power
Use lithium or high-quality alkaline batteries. Rechargeable batteries drain quickly in cold weather, so keep spares on hand. Check power levels before and during use to avoid mid-job failure.
Store Properly After Use
Keep the laser in a padded, dry case. Avoid extreme heat or cold, which damages internal sensors and optics over time. Proper storage extends the life of your investment significantly.
Clean Optics Gently
Wipe lenses with a soft, dry microfiber cloth. Never use solvents or abrasive materials. Damaged optics reduce accuracy and may require expensive replacement.
Check IP Rating for Durability
Look for dust- and water-resistant models rated IP54 or higher. Many professional lasers survive drops and rain, but protection extends lifespan and maintains accuracy in tough job site conditions.
Key Takeaways for Precise Laser Grading
Using a laser level for grading brings professional precision to any site by eliminating the guesswork inherent in traditional string and line level methods. The core process involves setting a stable tripod on firm ground, establishing a benchmark elevation from a known reference point, calculating your desired slope using the fall formula, and marking cut and fill points with a detector-equipped grade rod. Always verify accuracy by sweeping the detector, rechecking the laser periodically, and double-checking long-distance elevations. Avoid the most common mistakes, including setting up on unstable ground, skipping self-leveling time, and relying on visual beam detection in sunlight. Choose a rotary laser with self-leveling capability, appropriate accuracy for your project, and sufficient range. Maintain your equipment through proper battery care, storage, and gentle lens cleaning. Whether you are pouring concrete, building a deck, installing a French drain, or preparing a foundation, mastering these techniques delivers smooth, code-compliant results that stand the test of time.
Frequently Asked Questions About Laser Level Grading
What is the typical accuracy of a laser level for grading?
Most construction-grade laser levels offer plus or minus 1/4 inch per 100 feet. High-end models like the Topcon RLH5B and Johnson 40-6535 achieve plus or minus 1/16 inch at 100 feet for superior precision.
How far can a laser level project its beam?
Indoors, visibility ranges from 200 to 300 feet. Outdoors without a detector, visibility is 100 to 200 feet. With a compatible laser detector, range extends up to 2,000 feet.
Are laser levels usable in direct sunlight?
The beam is often invisible in bright sun. Use a laser detector to capture the signal reliably. High-output models improve outdoor performance, but detection equipment is essential.
How do I ensure accurate readings on sloped terrain?
Set up the laser on stable, level ground using a tripod. Avoid placing it on the slope itself. Use a detector to maintain elevation consistency across uneven ground.
Can I use a laser level for both indoor and outdoor projects?
Yes, most rotary lasers are dual-purpose. Outdoor use requires a detector and consideration of sunlight, wind, and terrain conditions. Indoor work typically does not need a detector.
How do I create a slope with a laser level?
Calculate the desired fall using the formula. For example, 1 percent slope over 100 feet requires a 12-inch drop. Adjust the detector down by that amount at the endpoint, and mark the transition gradually across your work area.