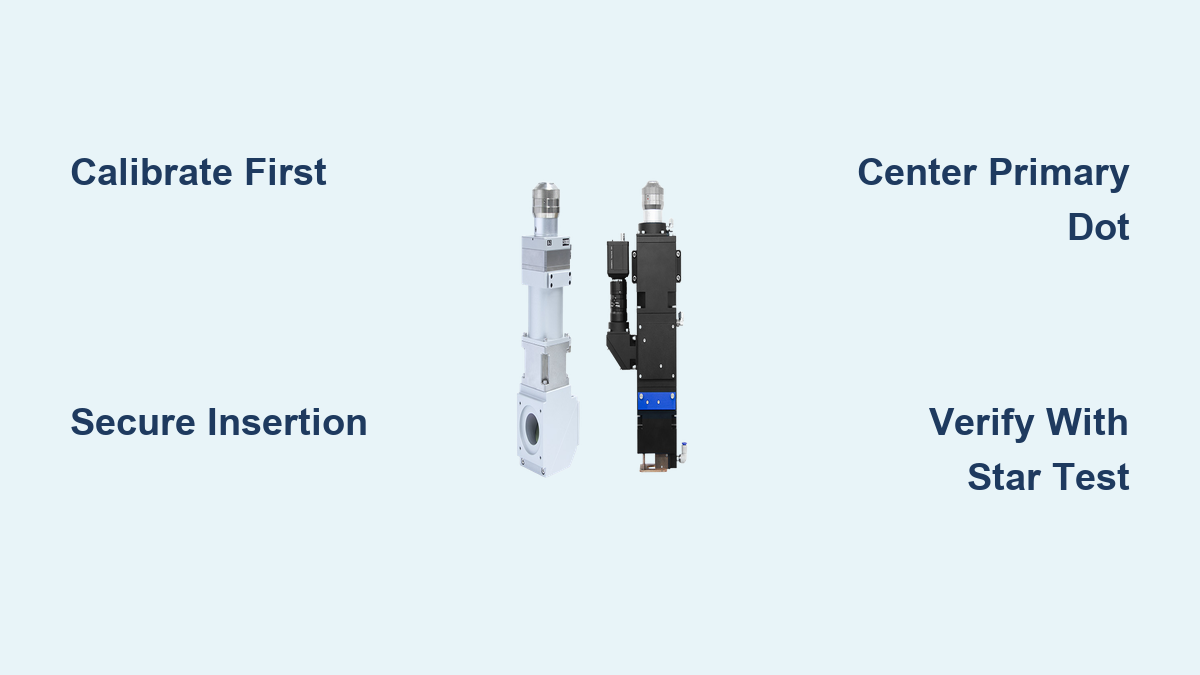
How to Use a Laser Collimator: Quick Guide
If your Newtonian telescope delivers fuzzy star images, blurry planetary details, or distorted diffraction patterns, the culprit is likely misaligned optics. A laser collimator is a precision tool that ensures your telescope’s primary and secondary mirrors are perfectly aligned along the optical axis, restoring sharpness, contrast, and resolution. This guide walks you through every step, from calibration and setup to advanced techniques and final verification, so you can achieve perfect alignment in under 10 minutes.
Whether you own a budget SVBony or a premium Howie Glatter, you will learn how to use your laser collimator correctly, avoid common pitfalls, and confirm results with real-world testing. By the end, you will have the confidence to maintain optimal collimation for your telescope.
Calibrate Your Laser Collimator Before First Use

Before trusting any alignment, you must calibrate the laser collimator itself. Most models, especially those under $100, arrive misaligned from the factory. A skewed laser beam gives false readings, leading to worse performance than no collimation at all.
Perform a Rotation Test
Insert the laser into the focuser and power it on. Observe where the beam hits the primary mirror. Rotate the collimator 180 degrees in the focuser and check the beam position again. If the dot shifts significantly, more than 1/8 inch, your laser is misaligned and needs adjustment.
Build a Calibration Jig for Precision
For reliable results, build a simple wooden calibration jig. Cut a 2-inch hole in a wooden block at least 3/8 inch thick. Insert a snug 2-inch to 1.25-inch adapter into the hole. Place the laser in the adapter, wrapping it with painter’s tape if it fits loosely. Position a target several feet away and rotate the laser to four positions, marking the beam spot each time. If the marks form a circle larger than 1/4 inch, the laser needs internal adjustment.
Adjust Internal Alignment Screws
Locate the three Allen screws near the laser diode, which are often hidden under a label. Using a 2 mm wrench, loosen one screw slightly while tightening another. Make 1/8-turn adjustments and retest after each change. The goal is to get all beam marks to cluster within 1/8 inch to 1/4 inch over a full 360-degree rotation.
Pro Tip: Increase the projection distance by pointing the laser across a garage or long room. This amplifies beam movement and makes small misalignments easier to detect.
Insert and Secure the Collimator Properly
A loose or tilted collimator ruins accuracy. Even minor wobble introduces alignment errors that degrade image quality. Proper insertion is the foundation of reliable collimation.
Choose the Right Barrel Size
Use a 2-inch laser collimator if your focuser supports it. It reduces tilt error compared to 1.25-inch models used with adapters. If you must use a 1.25-inch laser in a 2-inch focuser, ensure the adapter fits snugly. Any wobble at this connection is a major source of error.
Eliminate Focuser Play
Check for slop in the focuser drawtube before inserting the laser. If present, wrap the laser barrel with painter’s tape to create a friction fit. Avoid overtightening compression rings, which can deform the barrel and cause binding.
Insert Correctly
Slide the laser into the focuser with the target end facing the primary mirror. The open aperture should point toward the back of the tube. Tighten the compression ring just enough to hold the laser securely without movement.
Align the Secondary Mirror
The secondary mirror directs light from the primary to the eyepiece. Misalignment here causes the laser beam to miss the center mark, throwing off the entire optical path.
Center the Beam on Primary Mirror
Look down the front of the telescope and observe where the laser dot strikes the primary. Adjust the three perimeter tilt screws on the secondary holder. Loosen one screw slightly while tightening another to pivot the mirror. Use 1/8-turn increments and recheck the beam position after each adjustment. Stop when the dot is centered within the doughnut sticker, which should be 3/8 inch to 1/2 inch in diameter.
Visual Aid: If only two mirror clips are visible through the focuser, the secondary is misaligned. Adjust until all three clips appear symmetrically.
Avoid Common Tension Issues
Uneven screw pressure causes alignment to shift after tightening. Balance your adjustments by working opposite screws. For example, loosen the top screw while tightening the bottom screw to maintain proper tension.
Fine-Tune Secondary Rotation and Position
Laser collimation does not detect rotational or fore-aft errors. It only measures tilt. You must manually verify these for full alignment.
Check Rotation Visually
The secondary mirror should face the focuser directly. Rotate the entire assembly until it appears round and centered when viewed through a Cheshire eyepiece or collimation cap. Rotational misalignment is invisible to lasers, so this visual check is critical.
Adjust Fore-Aft Position
Use the central bolt to move the secondary along the tube axis. The goal is for the reflected image of the primary mirror to fill the secondary evenly, with no edge cut-off. As expert Gary Seronik notes, even if the secondary is not perfectly centered, as long as you see the entire primary reflected, you are fine.
Align the Primary Mirror
This step ensures the return beam reflects straight back into the laser aperture. When perfect, the return dot vanishes entirely, proving the primary is correctly angled.
Adjust from the Back of the Scope
Move to the rear of the telescope and observe the returning laser beam on the collimator’s target. Loosen the locking screws slightly, but do not remove them. Turn the three collimation screws in small 1/8-turn increments. Each screw moves the mirror in its direction. Aim to eclipse the return beam, making it disappear into the central hole.
Retighten Locking Screws Evenly
Once aligned, gently retighten the locking screws in a star pattern. Recheck alignment after tightening because minor shifts are common. On an 8-inch or 12-inch Newtonian, this step takes under 30 seconds with practice.
Verify Stability with Reinsertion Test
A single alignment is not enough. Test consistency across multiple insertions to ensure your system is stable.
Remove and Reinsert in Different Orientations
Take out the laser collimator and rotate it 90 degrees before reinserting. Repeat for 180 degrees and 270 degrees. Check if alignment holds throughout. If the beam stays centered on the primary and the return beam remains eclipsed, your system is stable and reliable.
User Tip: A high-quality 2-inch laser like the Hotech or Howie Glatter shows stable alignment across multiple insertions, proving excellent fit and build quality.
Boost Accuracy with Advanced Methods

For fast Newtonians or astrophotography, basic laser use is not enough. Upgrade your technique with these advanced methods.
Use the Aperture Stop Method
Remove the angled target disk on GSO-type models. Tape a 1mm hole in cardboard between the laser lens and target. The laser spot now covers the entire center mark. Align using the shadow of the center mark instead of the dot. This method detects tiny misalignments invisible to standard techniques, ideal for f/4 to f/5 systems.
Perform Barlowed Laser Collimation
This method eliminates reliance on laser alignment entirely. Insert a Barlow lens into the focuser, then place the laser into the Barlow using a commercial tool or DIY target. The beam expands and reflects back as a broad ring. Adjust the primary until the return ring is centered around the laser aperture. As Zane Landers explains, the Barlowed method is the most reliable for critical alignment.
Add an XY Adjustment Plate
Mount the laser on a micro-adjustable XY plate. Instead of turning primary mirror screws, fine-tune the collimator’s position. This enables real-time adjustment while viewing through a Cheshire or TuBlug.
Try TuBlug or Hotech SCA-L
These tools let you view the return beam from the front, eliminating trips to the back of large Dobsonians. They are great for big scopes but avoid if your focuser is not robust because added weight can cause sag.
Combine Tools for Best Results
No single tool does it all. Combine methods for foolproof collimation that you can trust.
Start with Visual Check
Before powering on the laser, use a collimation cap or naked eye. Verify the secondary appears round and centered. Confirm all three mirror clips are visible.
Follow This Proven Workflow
Use this sequence for reliable results every time. Inspect visually first, checking mirror clips and center mark. Use a collimation cap to verify secondary alignment. Calibrate your laser with a rotation test. Insert the laser and secure it in the focuser. Adjust secondary tilt to center the beam on the primary. Adjust primary tilt to center the return beam. Optionally use Barlowed laser for final precision. Verify with a star test. Retighten locks to prevent drift. Perform a reinsertion test to confirm stability.
Expert Sequence: As Zane Landers advises, the best collimation routine is Cheshire first, laser second, star test last. That is how you get perfect results every time.
Confirm with a Star Test
The ultimate proof of collimation is not the laser. It is the stars. Always verify with a star test to ensure your theory meets practice.
Run the Star Test
Point at a bright star like Polaris or Vega. Defocus slightly and observe the diffraction pattern. Correct collimation shows concentric rings with a centered Airy disk. Misalignment produces asymmetric rings, an offset core, or comet-like flaring.
Interpret Results Correctly
A disc with a hole is normal and depends on whether you are intrafocal or extrafocal. True misalignment shows a lopsided pattern in both focus directions. Some users mistake intrafocal artifacts for collimation issues, so focus correctly before diagnosing.
Critical Note: Always verify with a star test. Theory must meet practice.
Avoid Common Collimation Mistakes
Even experienced users make errors that degrade performance. Avoid these pitfalls to maintain optimal alignment.
Overtighten Screws
Overtightening can crack the secondary mirror holder or bind the primary mirror. Use gentle, even pressure when making adjustments.
Ignore Focuser Slop
A wobbly focuser introduces alignment drift. Use painter’s tape on the laser barrel or upgrade to a Crayford-style focuser with no play.
Skip Calibration
Assume any laser under $100 is misaligned. Test and adjust before first use. Budget models like the SVBony almost always require calibration.
Rely Solely on Laser
Lasers detect tilt but miss rotation and position errors. Always combine with visual tools like a Cheshire eyepiece or collimation cap.
Adjust Front Four Screws
On the secondary holder, the four front screws control offset. Do not touch them unless you are experienced. The three perimeter screws control tilt and are all you should adjust.
Maintain Optimal Alignment
Collimation is not a one-time task. Keep your telescope performing at its best with regular maintenance.
Re-Collimate Regularly
Re-collimate before every observing session, especially after transport. Check alignment after temperature changes because tube flexure affects collimation. If you notice soft focus or asymmetric stars, re-collimate immediately.
Lock Screws After Adjustment
Locking screws prevent drift during observing. Do not overtighten. Just apply enough pressure to hold the mirror in place.
Store Safely
Avoid bumps or drops. Even minor impacts can knock mirrors out of alignment. Store your telescope in a protected location.
Choose the Right Laser Model
Not all laser collimators are equal. Your choice affects accuracy and ease of use.
Top Recommended Models
• Howie Glatter ($310): Factory-aligned, durable, hybrid barrel. Best for fast Newtonians and astrophotography.
• Farpoint ($154): Similar build, reliable. Great for serious visual observers.
• Hotech SCA ($200+): Self-centering adapters, 45-degree view. Ideal for users who hate walking to the back of the scope.
• Apertura ($60): Includes 45-degree window, affordable. Good for budget-conscious beginners who are willing to calibrate.
• SVBony ($25): Lowest cost option. Good for beginners willing to spend time calibrating.
General Rule: Budget models require calibration. Assume any laser under $100 is misaligned until tested.
Safety and Best Practices
Protect your eyes and equipment while collimating.
Laser Safety First
Never look directly into the beam. Class IIIa lasers can cause permanent eye damage. Be aware of reflections off tools and mirrors. Standard laser goggles do not block 650 nm red light effectively. Use low-power mode when possible.
Best Practices Summary
Start with visual tools before using your laser. Never adjust the front four screws on the secondary. Lock primary screws after adjustment. Re-check collimation after any transport. Combine Cheshire, laser, and star test for the best results.
Gary Seronik’s Final Word: Collimation is not hard. It is necessary, like changing oil. Do not let complicated guides scare you. Most nights, you will just confirm it is fine and go back to stargazing.
Frequently Asked Questions About Laser Collimators
What does a laser collimator do?
A laser collimator projects a beam along your telescope’s optical axis to align the primary and secondary mirrors. It ensures both mirrors are precisely angled to deliver sharp, high-contrast images.
How often should I collimate my telescope?
Re-collimate before every observing session. Check alignment after transport, temperature changes, or any impact. Large Dobsonians may need more frequent checks due to mirror shift during movement.
Can I use a laser collimator on a Schmidt-Cassegrain telescope?
Laser collimators are not generally recommended for SCTs. These telescopes require secondary mirror adjustment via front screws, and the star test is the preferred verification method.
Why does my laser dot move when I rotate the collimator?
This indicates your laser collimator is misaligned. Perform a rotation test and adjust the internal alignment screws. Budget models almost always require this calibration.
Do I need a 2-inch or 1.25-inch laser collimator?
Use a 2-inch model if your focuser supports it. The larger barrel reduces tilt error significantly compared to 1.25-inch models used with adapters.
What is the best way to verify collimation is correct?
The star test is the gold standard. Point at a bright star, defocus slightly, and check for concentric rings with a centered Airy disk. Asymmetric patterns indicate misalignment.
Key Takeaways for Using Your Laser Collimator
Laser collimation transforms fuzzy telescope views into crisp, high-fidelity images when done correctly. The most critical step is calibrating your laser first because budget models almost always arrive misaligned. Always combine your laser with visual tools like a Cheshire eyepiece and verify results with a star test. For fast Newtonians at f/5 or faster, use advanced methods like the aperture stop or Barlowed laser technique for precision alignment. Re-collimate regularly, especially before observing sessions and after any transport. With proper technique, you can achieve perfect alignment in under 10 minutes and enjoy the sharp, detailed views your telescope is capable of delivering.