How to Make a Laser Diode: Simple Guide
The search term “how to make a laser diode” leads thousands of curious hobbyists down a frustrating path every year. The harsh reality is that fabricating a laser diode from scratch is impossible for anyone without access to a semiconductor fabrication facility. The process requires million-dollar equipment, ultra-cleanrooms, toxic gases, and nanometer-precision manufacturing that simply cannot be replicated in a garage or hobby workshop. However, what you absolutely can do is use, power, and integrate real laser diodes into exciting electronics projects. This guide shows you the realistic path from extraction to application.
Rather than trying to grow gallium arsenide crystals or etch microscopic semiconductor junctions, you can extract laser diodes from old devices, purchase them pre-made, and build functional projects like engravers, tripwire alarms, and robot sensors. This article walks you through every step of working with actual laser diodes safely and effectively.
Why Laser Diode Fabrication Isn’t DIY-Friendly
The Industrial Process Behind Laser Diodes
Manufacturing a laser diode involves extremely sophisticated semiconductor processes that no hobbyist can replicate. The core steps include epitaxial growth using specialized chambers to deposit ultra-thin layers of doped semiconductors like gallium arsenide, followed by photolithography to pattern microscopic waveguides and electrical contacts at scales measured in nanometers. Ion implantation and diffusion techniques create the precise doping profiles needed for light amplification, and the final step involves cleaving and coating semiconductor wafers to form the mirrored optical cavities that enable lasing.
These manufacturing stages require vacuum chambers, hazardous chemicals like arsine, and precision measurement tools that cost millions of dollars. The equipment alone for a basic semiconductor fab runs into tens of millions of dollars, putting fabrication completely out of reach for individual experimenters.
The Practical Reality Check
Attempting to build a laser diode from raw materials is comparable to trying to smelt iron ore to forge a wrench from scratch. While technically logical in principle, the infrastructure requirements make it practically impossible. Multiple electronics experts confirm that no one with typical DIY tools or electronics experience can safely or legally replicate these processes, especially considering the hazardous chemicals involved and regulatory compliance needs.
What You Can Actually Do With Laser Diodes
From Fabrication to Integration
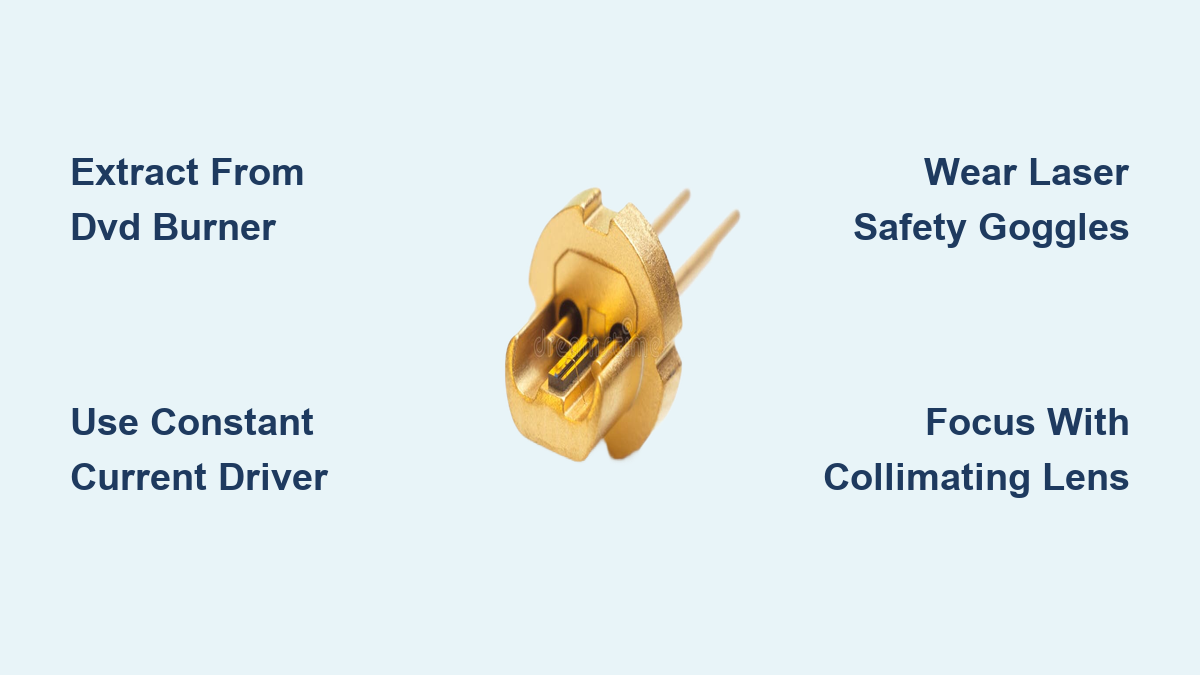
The good news is that working with laser diodes is entirely achievable once you understand the realistic approach. Instead of manufacturing the semiconductor device itself, you can extract diodes from discarded electronics, purchase them from reputable suppliers, and focus on the skills that actually matter for hobbyists. These skills include understanding how to power them safely with constant current drivers, wiring them correctly to prevent instant destruction, focusing their beams with collimating lenses, and integrating them into creative projects.
Thousands of hobbyists successfully work with laser diodes every year, building everything from DIY engravers to robot vision systems. The key is shifting your focus from impossible fabrication to practical integration.
Sourcing a Laser Diode: Practical Methods

Extract From DVD and Blu-Ray Burners
One of the most rewarding ways to get laser diodes is by extracting them from old optical drives. DVD and Blu-ray burners contain powerful laser diodes capable of burning and engraving materials.
Steps to extract your diode:
- Find a working DVD or Blu-ray burner drive, preferably from a desktop computer rather than a slim laptop drive
- Disassemble carefully by removing all screws from the outer casing and opening the housing
- Locate the laser sled assembly inside and move the lens mechanism to access the diode mounted in a metal housing
- Unsolder the three pins connecting the diode to the circuit board
- Use a multimeter in diode mode to identify the anode and cathode before connecting anything
Blu-ray burners contain particularly valuable 405nm violet diodes producing 150 to 250 milliwatts, excellent for engraving dark plastics and wood.
Buying Bare Laser Diodes Online
When extraction feels like too much effort, purchasing directly online offers the fastest path to getting started. Several trusted sources serve hobbyists well.
Recommended suppliers include:
- Roithner-Laser.com offers the widest range of wavelengths with detailed specifications and datasheets for every product
- eBay and AliExpress provide budget-friendly options, though always verify seller ratings before purchasing
- Digi-Key and Mouser stock industrial-grade diodes with full documentation and safety certifications
- Amazon sells laser diode modules in packs of ten for under ten dollars, perfect for experimentation
When shopping, pay close attention to wavelength measured in nanometers like 405nm or 650nm, output power in milliwatts or watts, and the package type such as 5.6mm TO-can for mounting compatibility.
Using All-in-One Laser Modules
For the simplest path to working with lasers, purchase a complete laser module with built-in driver electronics and focusing lens. These modules typically operate at 3V, 5V, or 12V with just two wires for connection. The internal constant current circuit protects the diode from damage, making these ideal for beginners. Simply search Amazon for “laser diode module 5V” to find affordable options that work straight out of the package.
Building a Safe Power Driver for Your Laser Diode
Why Laser Diodes Need Special Handling
Laser diodes are far more sensitive than LEDs or other electronic components. Connecting a laser diode directly to a battery or voltage source will destroy it almost instantly. Unlike LEDs which tolerate a range of currents, laser diodes require precise constant current regulation to function. Without proper driver circuitry, thermal runaway occurs where increased current generates heat, which then allows even more current to flow, creating a destructive feedback loop that kills the diode in seconds.
Voltage spikes as brief as one-tenth of a second can permanently damage the semiconductor junction, and static discharge can fry the diode before you even power it up. This is why every laser diode project begins with a proper driver circuit.
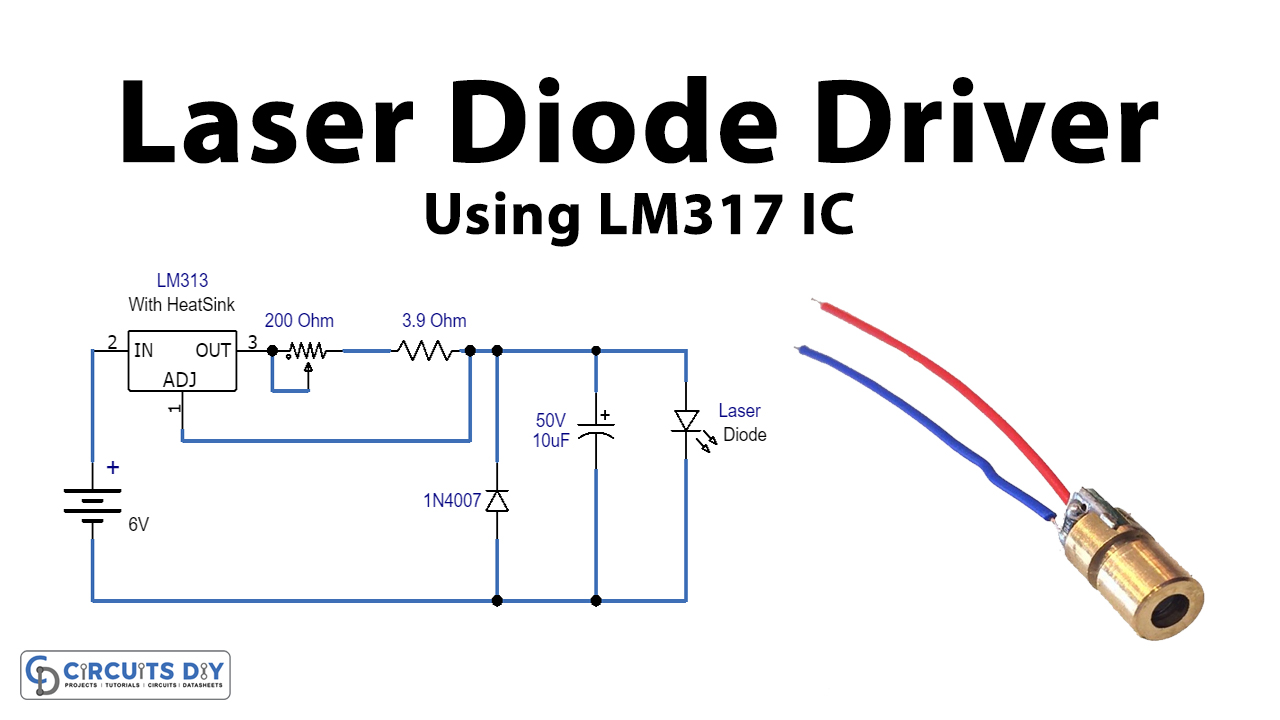
Building an LM317 Constant Current Driver
The LM317 voltage regulator makes an excellent adjustable current source for laser diodes. This simple circuit delivers safe, controllable current without complex components.
Required components:
- LM317 voltage regulator IC
- Resistor to set current value
- Optional potentiometer for adjustable power output
- 1N4007 diode for reverse polarity protection
- Optional capacitors for input and output filtering
- Heatsink for the LM317 when driving higher power diodes
Current calculation uses the formula: I equals 1.25 divided by the resistor value. For example, to achieve 100mA output, use a 12-ohm resistor since 1.25 divided by 0.1 equals 12.5 ohms. Round to the nearest standard resistor value.
Assembly steps:
- Connect the input terminal to a 5V to 12V power supply
- Connect the output terminal to the laser diode anode
- Link the adjust pin to the cathode through your current-setting resistor
- Add a reverse protection diode across the input and output connections
- Mount the LM317 on a heatsink if operating above one watt of power
The potentiometer enables you to adjust the current up and down to control the power of the laser safely.
Wiring and Connecting a Laser Diode Properly
Understanding 3-Pin Configurations
Many laser diodes, especially those extracted from optical drives, feature three pins with distinct functions. Understanding these connections prevents instant destruction of your diode.
Pin functions:
- Pin 1 (Anode) connects to the positive terminal from your driver output
- Pin 2 (Cathode) serves as the ground or negative return path
- Pin 3 (Monitor Photodiode) detects back-emitted light for automatic power control feedback loops
The monitor photodiode allows for precise control over output power by providing feedback to the driver circuit. For basic hobby use, this pin can often be ignored or tied to ground. However, connecting it to an op-amp creates automatic power control that maintains consistent laser output despite temperature changes or component aging.
Critical warning: Reversing polarity destroys laser diodes instantly. Always double-check your connections before applying power, and include reverse polarity protection in your circuit design.
Focusing the Beam With the Right Optics
Why Collimation Matters
Bare laser diodes emit highly divergent elliptical beams, typically spreading 6 degrees by 25 degrees from the output facet. This makes the light useless for most practical applications without optical modification. A collimating lens focuses this divergent light into a tight, parallel beam that maintains its size over distance.
Lens options:
- Integrated module lenses come pre-focused and work right out of the box for fixed applications
- Adjustable lens housings allow you to screw the lens in or out to change the focal point
- Glass lenses handle higher power without melting or warping, while plastic lenses work adequately for low-power applications
Mounting procedure:
- Place your lens in a TO-can holder or brass housing designed for your diode package type
- Screw the lens in or out while observing the beam spot size at your target distance
- Lock the position with thread locker compound once optimal focus is achieved
A properly focused 405nm diode can burn through black electrical tape or engrave lightweight wood, making this step essential for engraving projects.
Managing Heat for High-Power Diodes
Why Cooling Matters
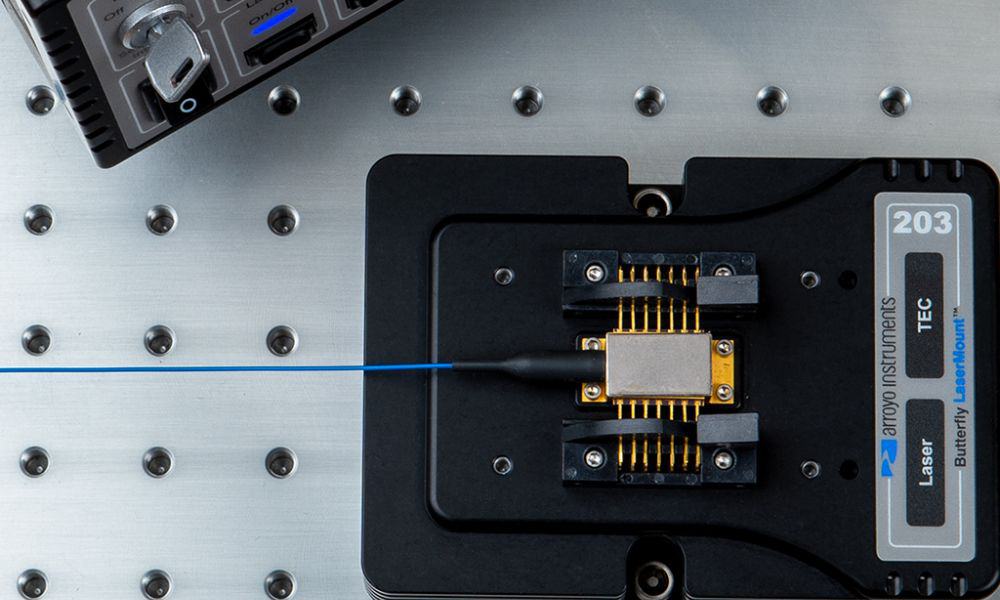
Diodes operating above 100 milliwatts generate significant heat that directly impacts lifespan and performance. Without proper thermal management, your diode will degrade rapidly and may fail catastrophically. Heat causes the wavelength to drift, reduces output efficiency, and can crack the semiconductor junction.
Cooling solutions:
- Aluminum heatsinks provide essential heat dissipation for diodes above 200 milliwatts
- Thermal interface material improves heat transfer between the diode and heatsink when applied sparingly
- Active cooling using small fans or thermoelectric coolers becomes necessary for diodes exceeding 500 milliwatts
Always mount high-power diodes in a metal module housing or copper block that provides both mechanical stability and thermal conductivity. Overheating reduces lifespan and can cause catastrophic failure, so monitor operating temperatures during extended use.
Essential Laser Safety Practices
Understanding Laser Hazards
Even small laser diodes pose serious risks that no hobbyist should underestimate. The human eye focuses laser light onto the retina, converting a 5 milliwatt beam into energy density millions of times higher than at the source. Permanent retinal damage can occur instantly with even brief exposure to Class 3B lasers.
Laser classification guide:
| Class | Power Range | Risk Level | Common Examples |
|---|---|---|---|
| Class 1 | Under 0.39mW | Safe under normal use | CD players |
| Class 2 | Under 1mW | Safe due to blink reflex | Red laser pointers |
| Class 3R | 1-5mW | Avoid direct eye exposure | Some laser pointers |
| Class 3B | 5-500mW | Hazardous; diffuse reflection safe | Laboratory lasers |
| Class 4 | Above 500mW | Fire and skin burn hazard | Industrial cutters |
Safety requirements:
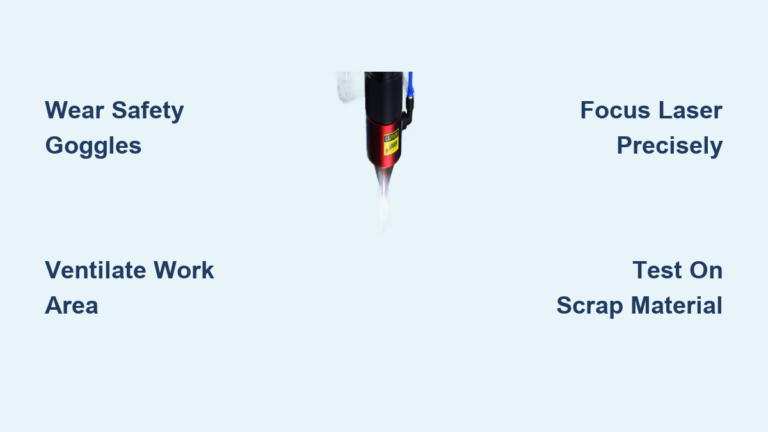
- Always wear laser safety goggles rated specifically for your diode’s wavelength
- Never point lasers at people, animals, or reflective surfaces including mirrors and windows
- Secure the beam path with enclosures or beam stops before powering on
- Work in controlled areas with warning signs posted
- Keep beam paths below eye level whenever possible
One hobbyist reported seeing a permanent watermark in their vision after viewing a DVD laser diode directly, indicating likely retinal damage. This serves as a stark reminder that laser safety is never optional.
Exciting Projects You Can Build With Laser Diodes
DIY Laser Engraver
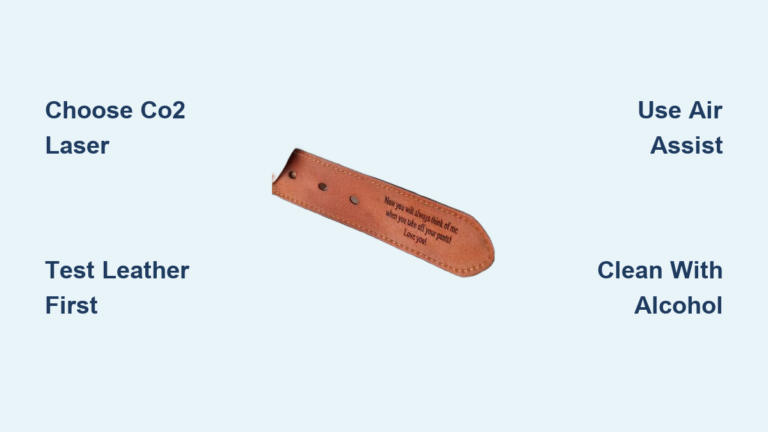
Extract a 405nm diode from a Blu-ray burner and pair it with a 3D-printed mount holding a focusing lens. Control the movement using an Arduino with GRBL firmware driving stepper motors. This setup engraves dark wood, leather, anodized aluminum, and various plastics with impressive detail.
Laser Tripwire Alarm
Use a 5mW red laser module like the KY-008 pointed at a photoresistor or photodiode. When the beam breaks, a 555 timer in monostable mode triggers a buzzer for an adjustable duration. This project teaches fundamental electronics while creating a useful security device.
Robot Distance Sensor
Modulate a laser diode and measure the time-of-flight or triangulation angle to calculate distance. This technique gives robots precise distance sensing capabilities similar to commercial LIDAR systems at a fraction of the cost.
Laser Light Show
Combine red, green, and blue laser modules with servo-controlled mirrors called galvanometers. Program patterns via Arduino to create synchronized light displays that respond to music or display animated shapes.
Troubleshooting Common Laser Diode Problems
No Light Output
When your diode produces no beam, check polarity first since reversed connections destroy diodes. Test with a multimeter in diode mode expecting 1.8 to 2.5 volts forward voltage drop. Verify your driver circuit is actually delivering current using an ammeter in series with the circuit.
Dim or Flickering Beam
Dim output typically indicates overheating, so add a heatsink immediately. Unstable power supplies cause flickering, so use a regulated source rather than raw batteries. Check all solder joints for cold cracks or loose connections that create intermittent contact.
Sudden Death
Instant failure usually means overcurrent from inadequate driver protection, electrostatic discharge from improper handling, or optical feedback from reflective surfaces near the diode aperture. Always use current-limiting circuitry, handle diodes with grounded wrist straps, and avoid reflective materials in the beam path.
Extending the Life of Your Laser Diode
Best Practices for Longevity
Laser diodes typically last 5,000 to 10,000 hours under proper operating conditions. Running your diode at 80% of its rated current significantly extends lifespan while sacrificing minimal output. Avoid rapid on/off cycling that stresses the semiconductor junction, and implement soft-start circuits that gradually ramp current on power-up.
Store unused diodes in anti-static bags away from humidity and temperature extremes. Handle only when properly grounded to prevent static discharge damage. These simple habits ensure your diodes remain functional for years of creative projects.
Frequently Asked Questions About Laser Diodes
Can I Make a Laser Diode From Scratch at Home?
No, fabricating a laser diode requires semiconductor fabrication facilities with epitaxial growth chambers, photolithography equipment, and precision doping tools costing millions of dollars. The processes involve toxic gases and sub-micron manufacturing tolerances impossible to achieve outside industrial settings.
What’s the Difference Between a Laser Diode and an LED?
Laser diodes produce coherent light where all light waves are synchronized in phase and direction, creating a focused beam. LEDs produce incoherent light spreading in multiple directions. Laser diodes also require a threshold current to begin lasing, while LEDs operate across a range of currents without such requirements.
How Do I Know What Wavelength My Laser Diode Is?
The wavelength is determined by the semiconductor material composition set during manufacturing and cannot be changed. Red diodes typically measure 650-670nm, violet/blue are 405-450nm, and green diodes around 520nm. Check the original device specifications or measure with a spectrometer if uncertain.
Can I Power a Laser Diode Directly From a Battery?
Never connect a laser diode directly to any power source without current regulation. Laser diodes require constant current drivers to prevent thermal runaway and instant destruction. Even a brief voltage spike kills the junction permanently.
What Happens If I Reverse the Polarity on a Laser Diode?
Reversing polarity almost certainly destroys the laser diode instantly. The semiconductor junction experiences reverse breakdown, creating localized heating that permanently damages the device. Always verify polarity before connecting and include reverse protection diodes in your circuit design.
Are Cheap Laser Diodes From eBay Reliable?
Some cheap laser diodes work adequately for hobby projects, but quality varies significantly. Reputable suppliers like Digi-Key, Mouser, and Roithner-Laser provide datasheets and quality guarantees. For critical applications, purchase from established distributors rather than random sellers.
Key Takeaways for Working With Laser Diodes
The phrase “how to make a laser diode” leads to an important realization: fabrication is impossible for hobbyists, but practical application is entirely achievable. Focus your efforts on sourcing diodes from DVD drives or trusted suppliers rather than attempting impossible manufacturing. Always use constant current drivers like the LM317 circuit to protect your investment from instant destruction. Prioritize safety by wearing appropriate goggles and never pointing beams at people or reflective surfaces.
Start with a low-power module or extracted diode, learn the fundamentals of proper driving circuitry, then progress to more ambitious projects like engravers and robot sensors. The real skill isn’t fabrication, it’s understanding, controlling, and applying laser technology safely and creatively. Get a diode, power it right, shine it safely, and build something cool.