How to Laser Cut Wood: A Complete Guide
Laser cutting wood transforms raw material into precise, intricate designs with minimal effort once you know the right settings, tools, and safety practices. Whether you are crafting wooden signs, inlays, puzzles, or architectural models, this guide covers every step from choosing the right laser and wood type to executing clean cuts and avoiding common pitfalls. You will learn how to set up your machine, optimize power and speed settings, handle tricky materials like veneers, and finish pieces like a professional.
This comprehensive guide walks you through selecting equipment, preparing materials, executing cuts, and maintaining your laser cutter for long-term success. By the end, you will be equipped to cut wood safely, efficiently, and with professional results.
Choose the Right Laser Type for Wood Cutting
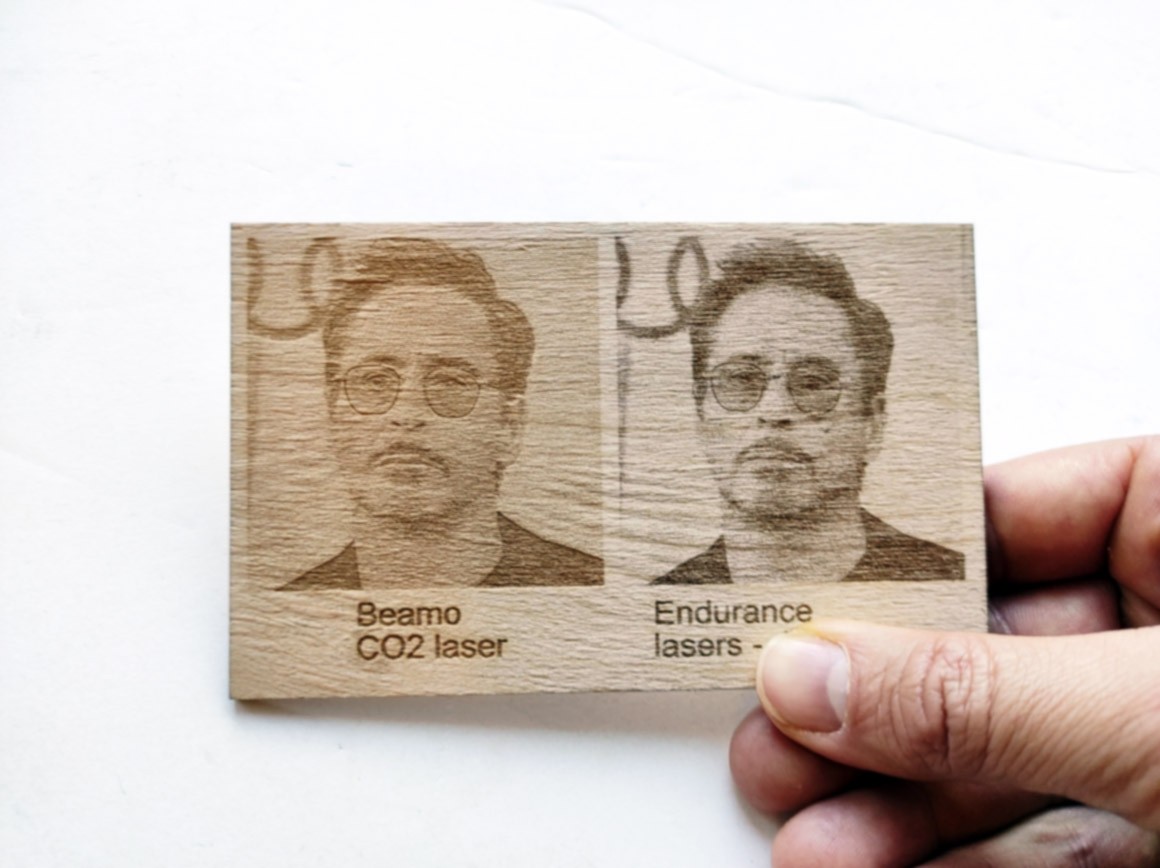
CO₂ lasers dominate wood cutting due to their superior absorption by organic materials. Their 10.6 µm wavelength interacts strongly with cellulose and lignin, the core components of wood, making them ideal for deep, fast cuts. A 60 to 100W CO₂ laser can cut through 10 to 12 mm birch plywood in a single pass, which is perfect for production work.
Blue diode lasers around 450 nm are more affordable and compact but less efficient on wood. They work best for engraving and thin cuts up to 6 mm. Cutting 10 mm basswood may require 16 to 20 passes, which increases smoke and fire risk. While useful for hobbyists and CNC upgrades, diodes lack the raw power for serious woodworking.
If you plan to cut wood regularly or in thicknesses over 6 mm, invest in a CO₂ system. For light engraving and small DIY projects, a diode laser suffices.
Select Suitable Wood Types for Laser Cutting
Not all wood cuts the same under a laser. Density, grain structure, resin content, and adhesive layers dramatically affect performance.
The best woods for clean cuts include basswood, which is soft, pale, and uniform, making it ideal for beginners with minimal charring. Baltic birch plywood offers void-free, consistent plies and excellent stability, preferred for inlays and precision parts. Poplar is an affordable hardwood with straight grain that engraves well but may discolor slightly. Hard maple and walnut are dense, fine-grained woods perfect for detailed engravings and luxury finishes. MDF is extremely uniform and great for flat components but produces heavy smoke and fine dust, requiring strong filtration.
Avoid pine, spruce, and cedar due to high resin or oil content that increases fire risk and lens contamination. Larch contains pitch pockets that can ignite unexpectedly. Treated or painted wood releases toxic fumes, especially chlorine from PVC coatings.
Always test a small scrap first. Even within safe species, glue quality and moisture content vary between manufacturers.
Set Up Your Laser Machine Properly
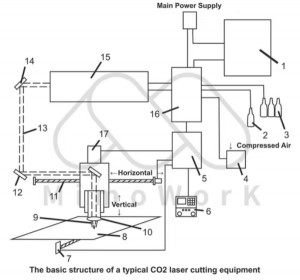
Before cutting, ensure your system is fully prepared with all essential components and safety equipment.
Your laser source should be a CO₂ tube ranging from 40 to 150W or a diode module from 5 to 20W. The work bed should use a honeycomb or slat design to reduce back-reflection. CO₂ systems require a water chiller while diode lasers need a fan for cooling. Ventilation must be at least 200 CFM with HEPA and carbon filtration. Safety gear includes OD4+ laser goggles, a fire extinguisher, and an emergency stop button.
Ensure belts are tight, rails are lubricated, and mirrors are aligned. A misaligned beam causes weak cuts and uneven edges.
Focus the Laser Accurately
The laser beam converges to a tiny point typically 0.1 to 0.2 mm in diameter. If this focal point is not precisely on the wood surface, the cut becomes wider, shallower, or incomplete.
To focus properly, lower the Z-axis until the nozzle lightly touches the material. Use a focus tool or manual gauge to adjust lens height so the focal point sits at the surface. For thick wood over 8 mm, consider mid-depth focusing to improve penetration.
Incorrect focus is a leading cause of failed cuts. Always refocus when changing material thickness.
Prepare Your Design File for Laser Cutting
Laser cutters follow vector lines, not images. Use software like Inkscape, CorelDRAW, or Adobe Illustrator to create clean SVG or DXF files.
Cut lines should use hairline strokes assigned high power and low speed. Engraving areas use grayscale raster images or vector fills where darker areas burn deeper. Organize your design into layers: a cut layer for final outlines, a pocket layer for recesses for inlays, and an inverse layer for trimming veneer with aluminum tape.
Import your design into LightBurn, the industry-standard laser software, for full control over speed, power, and pass count.
Optimize Cutting Settings for Different Wood

Too much power or too slow a speed causes excessive charring. Too little power results in incomplete cuts. Start with baseline settings and adjust incrementally.
Enable air assist during cutting to blow away smoke, reduce flaming, and protect the lens. Recommended settings vary by wood type and thickness. For 3 mm basswood, use 10 mm/s speed at 90% power in a single pass. For 6 mm plywood, use 8 mm/s at 85% power across 4 passes. For 10 mm basswood, use 8 to 12 mm/s at 90 to 100% power across 16 to 20 passes. For 6 mm MDF, use 10 mm/s at 80% power across 3 passes. For 6 mm hardwood like maple, use 7 mm/s at 95% power across 4 passes.
Always test on scrap material before cutting your final piece.
Execute the Laser Job Safely
Never leave the machine unattended. Watch for the first 30 seconds because this is when ignition most often occurs.
Secure the wood with clamps or low-tack tape. Run frame mode to verify alignment. Set the job origin to absolute or current position. Start the job and observe closely. Pause immediately if smoke thickens or flames appear. Allow cooling between multi-pass cuts. Use compressed air to clear debris after completion.
Master Wooden Inlays with Laser Cutting
Laser-cut inlays add elegance to boxes, guitars, and furniture. The process combines pocket engraving and precision veneer trimming.
You will need veneer such as maple or birch, aluminum tape with metal backing, base wood like walnut, LightBurn software, wood glue, sandpaper, and finish.
Prepare the veneer by trimming it slightly larger than your design. Bond it to aluminum tape using a rubber roller to eliminate bubbles. Design the inlay in LightBurn by creating a pocket layer to engrave a recess in the base wood and an inverse layer in fill mode that burns everything except the inlay shape.
Laser the pocket using 350 mm/s speed, 60% power, 350 LPI, fill mode, and air assist off. Run 1 to 2 passes to match veneer thickness, usually 0.5 to 0.6 mm.
Place the veneer tape-side up into the pocket and refocus the laser. Run the inverse layer job to cut through the tape and trim the veneer perfectly. Peel off the aluminum tape, glue the piece in place, and let it cure overnight. Sand flush with 220 to 400 grit paper and apply 2 to 3 coats of finish.
Maximize contrast with light veneers on dark wood and open-space designs.
Prevent and Fix Common Laser Cutting Problems
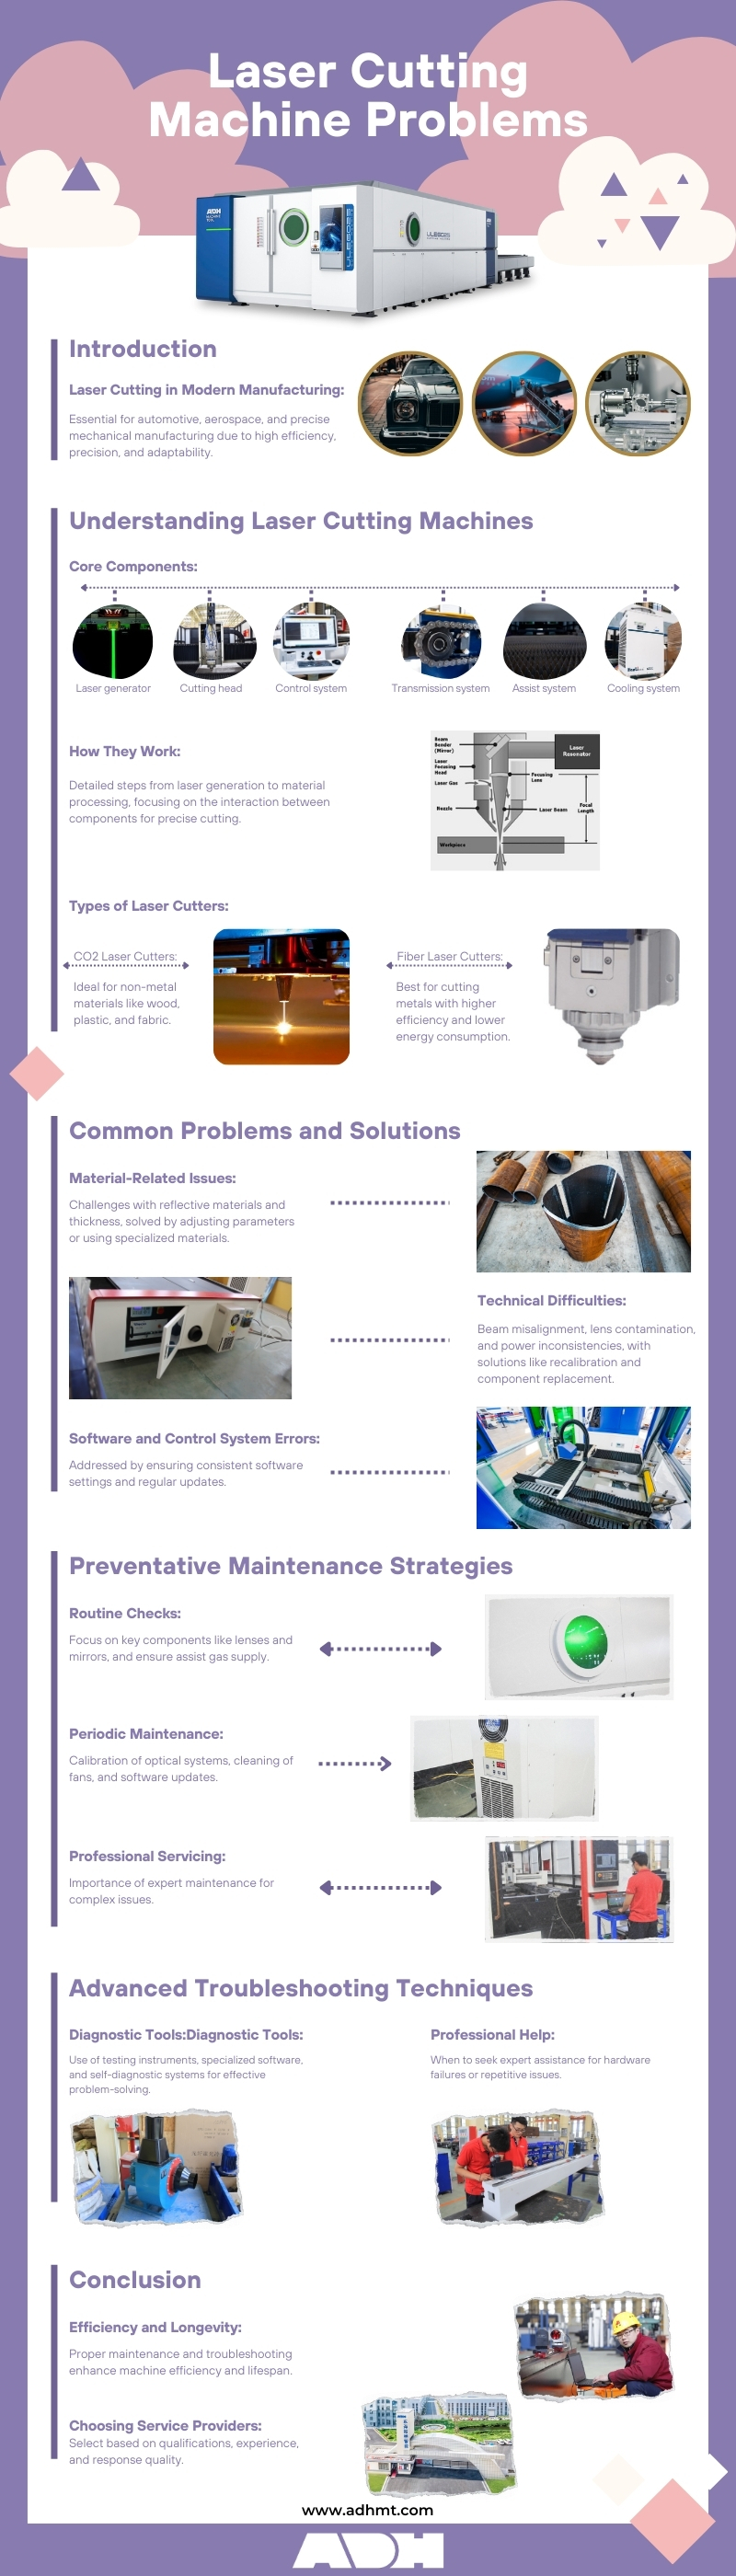
If the laser does not fully penetrate the wood, increase power or reduce speed. Clean the lens and mirrors because residue blocks beam intensity. Check focus because off-target focus widens the kerf. Ensure air assist is on because debris can block the cut path.
Dark, sooty edges mean the wood is burning too long. Increase speed slightly, reduce power by 5 to 10%, and enable air assist to cool the cut zone. Use mid-pass cleaning by blowing out debris between passes.
If shapes do not align, tighten belts on the X/Y axes. Recalibrate steps per mm in firmware. Realign the beam path because mirrors may be off-angle.
Maintain Your Laser Cutter for Longevity
Regular upkeep ensures consistent performance and extends machine life.
Weekly tasks include cleaning the lens and mirrors with isopropyl alcohol and lint-free wipes, inspecting belts for slack or fraying, and lubricating rails with manufacturer-recommended grease. Check that air assist is working and the nozzle is clear.
Monthly tasks include realigning the beam path if cut quality declines, flushing the cooling system for CO₂ tubes, and testing the emergency stop and interlocks.
CO₂ tubes last 1,000 to 10,000 hours depending on cooling and usage. Replace when power drops noticeably.
Prioritize Safety at All Times
Laser cutting wood produces smoke, sparks, and toxic fumes. Follow these critical safety rules without exception.
Wear laser safety goggles rated for your laser wavelength, rated OD4+ at 10.6 µm for CO₂ lasers. Never leave the machine running unattended. Keep a CO₂ or Class ABC fire extinguisher nearby. Use a water spray bottle for small flare-ups. Ensure ventilation is active by ducting smoke outdoors or using filtered extraction. Avoid chlorine-containing materials like PVC-coated wood.
Enclosed systems with interlocks are strongly recommended.
Choose the Right Setup for Your Needs
Select a machine that matches your use case and budget.
For hobbyists, a 40 to 60W CO₂ or 10 to 20W diode laser works well for signs and ornaments. For CNC owners, adding a blue diode upgrade like the Opt Lasers XT8 is often more economical than buying a separate machine. For small businesses, an 80 to 100W CO₂ handles full sheets and batch production. For production shops, industrial 150W or higher systems with automation and extraction provide throughput and repeatability.
Finish and Protect Your Work
After cutting, remove pieces gently to avoid chipped edges. Sand edges with 220 to 400 grit paper or steel wool. Apply finish such as oil, wax, lacquer, or shellac to enhance grain and protect from moisture. Clean the bed to prevent residue buildup on future jobs.
For inlays, sand flush after gluing and apply 2 to 3 finish coats for a seamless look.
Frequently Asked Questions About Laser Cutting Wood
What is the best laser type for cutting wood?
CO₂ lasers are best for wood cutting because their 10.6 µm wavelength is strongly absorbed by wood fibers, enabling deep cuts in a single pass. Blue diode lasers work for thin cuts and engraving but require multiple passes for thicker wood.
What wood thickness can a laser cut?
A 60 to 100W CO₂ laser can cut through 10 to 12 mm birch plywood in one pass. A 40W CO₂ handles 3 to 4 mm, while diode lasers around 10 to 20W are limited to 3 to 6 mm and require multiple passes.
Why does my laser cut incompletely?
Incomplete cuts result from low power, poor focus, dirty optics, or insufficient air assist. Increase power, refocus the laser, clean the lens and mirrors, and ensure air assist is enabled.
How do I prevent charring on wood cuts?
Increase speed slightly, reduce power by 5 to 10%, and enable air assist to cool the cut zone. Use mid-pass cleaning to blow out debris between passes.
Can I laser cut plywood?
Yes, Baltic birch plywood cuts cleanly and is preferred for precision work. Avoid low-grade plywood with voids because they cause inconsistent cuts and excessive smoke.
Is laser cutting wood safe?
Laser cutting wood is safe when proper precautions are taken. Use wavelength-appropriate safety goggles, ensure adequate ventilation, never leave the machine unattended, and keep a fire extinguisher nearby.
Key Takeaways for Successful Laser Wood Cutting
Mastering laser cutting wood requires understanding the interplay between laser type, wood selection, machine setup, and operating parameters. CO₂ lasers provide the power needed for clean cuts through thick wood, while diode lasers serve well for engraving and light cutting tasks.
Always test settings on scrap material before production. Choose appropriate wood types, focusing on basswood, Baltic birch, and quality plywood while avoiding resinous species that pose fire risks. Maintain your machine regularly by cleaning optics, checking belt tension, and ensuring proper ventilation.
With the right setup, careful attention to safety, and systematic testing, you can produce professional-quality wood cuts and inlays with precision and repeatability. Start with simple projects, build your skills methodically, and gradually tackle more complex designs.