How to Laser Cut Acrylic: Quick Steps
Laser cutting acrylic is a precise, efficient way to transform flat sheets into intricate designs with clean, polished edges. Whether you are crafting custom signage, jewelry, or industrial prototypes, understanding how to laser cut acrylic ensures professional results every time. This guide walks you through everything from choosing the right laser and acrylic type to optimizing settings, avoiding common pitfalls, and finishing your parts like a pro. With proper technique, you will achieve flame-polished edges, crisp engravings, and repeatable accuracy down to 0.1 mm.
Choose the Right Laser Type
CO₂ vs Diode: What Works Best
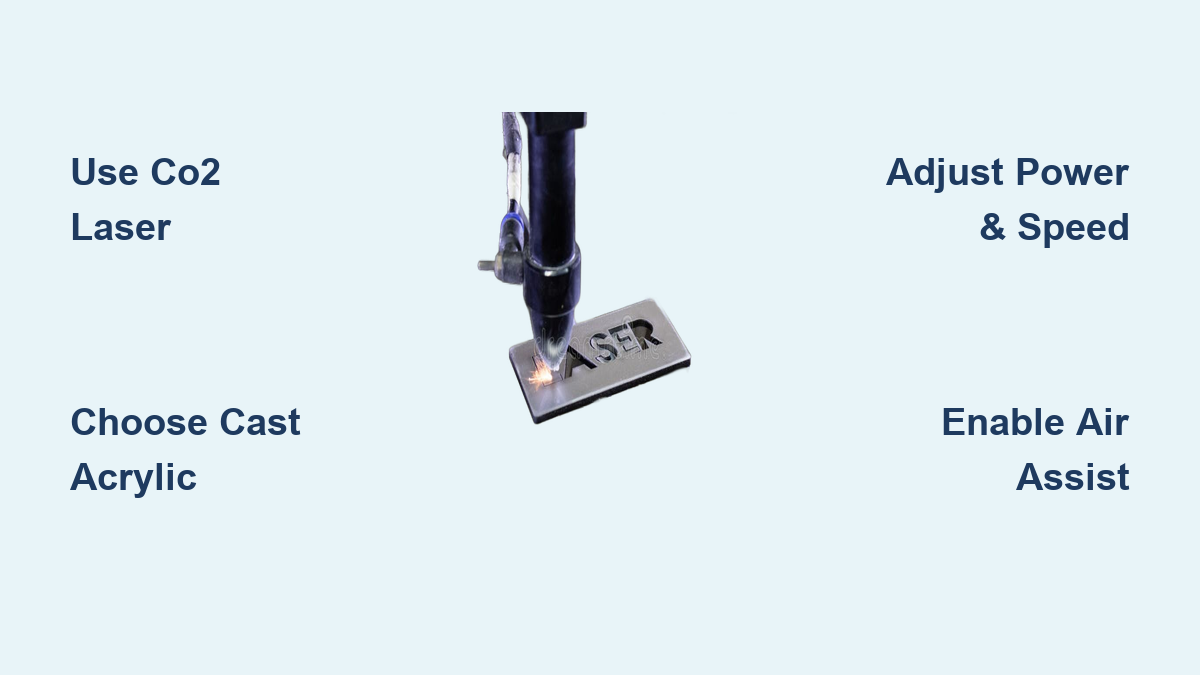
CO₂ lasers are the gold standard for cutting acrylic. Their 10.6 μm infrared wavelength is highly absorbed by acrylic, enabling fast, clean cuts even in clear or colored sheets. These machines deliver flame-polished edges naturally, especially in cast acrylic, and handle thicknesses up to 20 mm with ease. For most serious applications, CO₂ is unmatched.
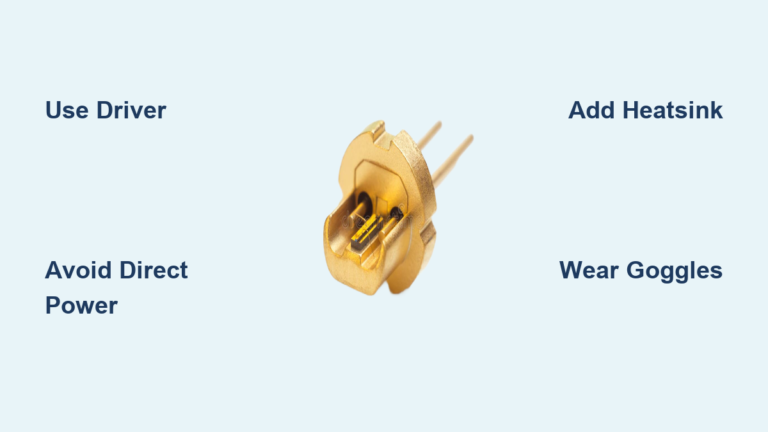
Diode lasers use blue-violet light at 450 nm and work only on dark, opaque acrylics like black or deep grey. They struggle with clear, white, or blue acrylic because the light passes through or reflects instead of being absorbed. While compact and affordable, diode lasers require multiple passes and often produce rougher edges. Use them only for light-duty projects on compatible colors.
Avoid Fiber and Crystal Lasers
Fiber lasers target metals and dark plastics but cannot cut acrylic effectively. The transparency of acrylic blocks the laser wavelength from causing proper interaction. Crystal lasers are inefficient, costly, and rarely used for this material. Stick with CO₂ for the best results across all acrylic types.
Select the Best Acrylic Material

Cast vs Extruded: Know the Difference
Cast acrylic delivers superior results for laser cutting. Made by pouring liquid resin into molds, it has higher purity and molecular weight, yielding clearer, harder, and more heat-resistant sheets. When laser cut, cast acrylic produces smooth, flame-polished edges and sharp, high-contrast engravings ideal for display pieces or precision parts.
Extruded acrylic is cheaper and more common but softer and less uniform. It tends to warp under heat and produces rougher cut edges. Reserve it for budget projects where appearance is not critical.
Pro Tip: Always opt for cast acrylic when edge quality matters. The slight cost difference pays off in finish and ease of use.
Match Acrylic Color to Laser Capability
Which Colors Cut Well
Not all acrylic colors behave the same under laser light. Here is what works best with CO₂ lasers.
Clear and transparent acrylic cuts excellently with CO₂ lasers. Diode lasers fail on this material because light passes straight through.
Black acrylic offers excellent results with both CO₂ and diode lasers. High absorption ensures clean, precise cuts.
White acrylic cuts with CO₂ but may require higher power settings. Most diode lasers cannot process it effectively.
Red, blue, and grey acrylics work well with CO₂ lasers. Avoid blue acrylic with blue diode lasers since wavelength reflection causes poor absorption.
Mirrored, glitter, and frosted acrylics are possible with CO₂ but require testing first. Coatings may burn or bubble during cutting.
Critical Rule: Never assume settings transfer between colors. Even two red sheets from different brands can react differently due to dye composition.
Prepare Design Files Correctly
Use Vector Software for Precision
Design your layout in vector-based programs like Adobe Illustrator, CorelDRAW, Inkscape, or AutoCAD. Raster images like JPEG or PNG must be traced into vectors before cutting. Export your file as SVG, DXF, AI, EPS, or DWG formats that preserve clean, scalable paths.
Optimize your design for laser cutting by following these steps.
Ensure all lines are closed paths with no gaps or overlaps.
Add registration marks for alignment during multi-step jobs.
Include tabs, slots, or holes if assembling parts.
Nest shapes tightly to reduce material waste.
Label layers clearly, such as Cut Red or Engrave Blue, for easy setup.
Warning: Overlapping vectors cause double-cutting, leading to melting and warping. Always check for duplicates in your design file.
Set Up the Laser Cutter
Focus the Beam Accurately
Proper focus is essential for clean cuts. A misaligned beam causes wide kerfs, incomplete cuts, or charring.
Use the machine red dot pointer or a focus tool to establish correct height.
For handheld units like LaserPecker LP4, maintain 150 mm or 15 cm distance from the material surface.
Manually adjust Z-height using a ruler or gauge if needed.
Position Acrylic Properly
Place the sheet flat on the bed, avoiding warped or scratched areas.
Leave protective film on during cutting to prevent surface scorching.
Elevate slightly with pins or spacers to improve airflow and reduce backside residue.
Avoid cutting near bed edges where fumes accumulate.
Optimize Laser Settings by Thickness

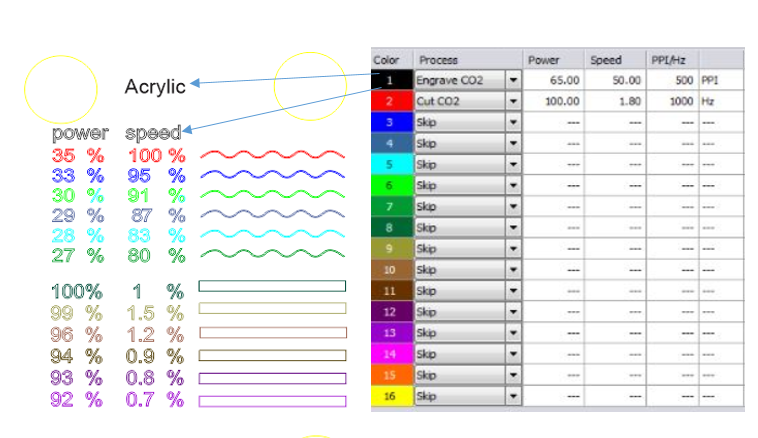
CO₂ Laser Settings for Cast Acrylic
Here are recommended starting settings for CO₂ lasers cutting cast acrylic.
For 3 mm thickness, use 80 to 90 percent power at 8 to 12 mm/s speed in a single pass for a polished edge.
For 5 mm thickness, use 90 to 100 percent power at 5 to 8 mm/s speed in 1 to 2 passes for full penetration.
For 10 mm thickness, use 95 to 100 percent power at 3 to 5 mm/s speed in 2 to 3 passes.
For 20 mm thickness, use 100 percent power at 2 to 3 mm/s speed in 4 or more passes.
Diode Laser Settings for Dark Acrylic Only
Diode lasers require specific settings for dark acrylics.
For 3 mm black acrylic, use 100 percent power at 2 mm/s speed in a single pass for clean results.
For 5 mm grey acrylic, use 100 percent power at 2 mm/s speed in a single pass.
For 15 mm black acrylic, use 100 percent power at 1 to 2 mm/s speed in 3 to 5 passes.
Pro Tip: Keep a log of successful settings per material type. Small changes in brand or color make big differences in cut quality.
Execute the Cut Safely
Enable Air Assist
Turn on air assist to blow molten acrylic from the kerf. This reduces burn marks, prevents re-solidification, and lowers fire risk. Without it, residue builds up and edges darken.
Monitor for Problems
Never leave the machine unattended while running. Watch for these issues.
Smoke or flame indicates excessive heat. Stop immediately if this occurs.
Incomplete cuts mean power is too low or speed is too high.
Warping suggests heat buildup from poor ventilation or overlapping vectors.
Use a fume extractor or work in a well-ventilated area. Acrylic releases methyl methacrylate fumes that cause headaches and eye irritation.
Handle Post-Processing Steps
Remove Protective Film
Peel off the film after cutting. If engraving, remove the film before starting. Otherwise, melted film leaves residue on frosted areas.
Clean Without Damage
Wipe parts with a microfiber cloth and a 50/50 water-isopropyl alcohol solution. Avoid ammonia-based cleaners like Windex or abrasives. They scratch and cloud the surface.
Polish Edges for Extra Shine
Cast acrylic already has a flame-polished edge. For additional shine, use a butane torch with quick passes, keeping the torch moving to avoid melting. Alternatively, buff with a rotary tool and polishing compound.
Troubleshoot Common Issues
Fix Burn Marks and Charring
This problem comes from too much power, slow speed, or no air assist. Reduce power, increase speed, enable air assist, and keep protective film on.
Resolve Incomplete Cuts
This issue stems from low power, high speed, or an unfocused beam. Increase power, slow down, refocus the lens, and run a test cut on scrap material.
Prevent Melting and Warping
This happens from overlapping vectors or excessive heat buildup. Optimize design paths, reduce passes, and improve ventilation.
Clear Lingering Fumes
Poor airflow or clogged filters cause this problem. Use a fume extractor, open windows, and clean filters regularly.
Align Misaligned Cuts
An uneven bed or incorrect Z-height causes this issue. Re-level the bed and recalibrate focus.
Understand Minimum Feature Limits
Design Within Physical Constraints
Acrylic thickness limits how small features can be. Follow these minimums to avoid breakage.
For 1.6 mm thickness, minimum hole size is 0.89 mm, minimum bridge is 0.89 mm, and minimum edge clearance is 0.89 mm.
For 3.0 mm thickness, minimum hole is 1.19 mm, minimum bridge is 1.35 mm, and minimum edge clearance is 0.89 mm.
For 5.4 mm thickness, minimum hole is 2.18 mm, minimum bridge is 2.44 mm, and minimum edge clearance is 1.63 mm.
For 12.7 mm thickness, minimum hole is 2.41 mm, minimum bridge is 2.54 mm, and minimum edge clearance is 1.78 mm.
Bridge size refers to the narrowest connecting section between parts. Stay above these minimums to avoid breakage during handling.
Follow Safety Protocols Strictly
Ventilate Fumes Effectively
Always use a fume extractor with activated carbon or HEPA filter. Let finished parts air out for several hours before handling extensively.
Wear Proper PPE
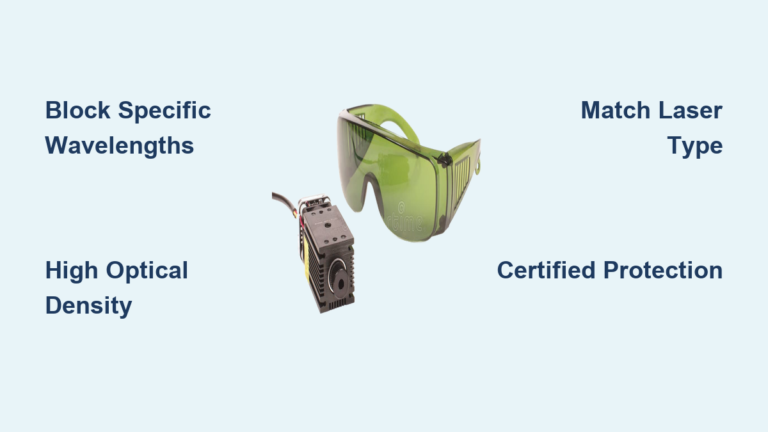
Wear eye protection with laser goggles rated for your laser wavelength. Use respiratory protection like an N95 mask or respirator with organic vapor cartridge. Protect skin with heat-resistant gloves and long sleeves.
Prevent Fires
Acrylic is flammable. Keep a Class ABC fire extinguisher nearby. Use air assist to suppress ignition. Never run the laser unattended.
Final Thoughts on Laser Cutting Acrylic
Mastering how to laser cut acrylic comes down to three key factors. First, match the right laser to the right material. CO₂ lasers handle all acrylic types while diode lasers work only with dark, opaque colors. Second, use precise settings based on thickness and color, and always test on scrap material first. Third, prioritize safety with proper ventilation, PPE, and fire prevention measures.
Start with cast acrylic and a CO₂ laser for the best results. Keep a settings log for each material you use. With practice, you will produce flawless, polished parts ready for signage, decor, prototypes, or art. Whether you are a hobbyist or professional, this process opens endless creative possibilities. Stay safe, stay precise, and keep refining your technique.
Frequently Asked Questions About Laser Cutting Acrylic
What type of laser is best for cutting acrylic?
CO₂ lasers are best for cutting acrylic. They work on all colors including clear, transparent, and mirrored acrylic. Diode lasers only work on dark, opaque colors like black and dark grey.
Can I cut clear acrylic with a diode laser?
No, diode lasers cannot cut clear acrylic. The visible light passes straight through the material without being absorbed. You need a CO₂ laser for clear acrylic.
Why does my acrylic melt or warp during cutting?
Melting and warping happen from excessive heat buildup. This is caused by overlapping vectors, too many passes, low air assist, or too much power. Optimize your design paths and reduce heat input.
Do I need to remove protective film before cutting?
Leave the film on during cutting to prevent surface scorching. Remove the film before engraving to avoid melted residue on your design.
How do I get flame-polished edges on acrylic?
Use cast acrylic with a CO₂ laser. The natural laser cutting process creates flame-polished edges on cast material without additional finishing. Extruded acrylic produces rougher edges.
What thickness of acrylic can a home laser cutter handle?
Most home CO₂ lasers up to 40 to 60 watts can cut 3 to 6 mm acrylic in a single pass. Thicker materials require multiple passes or more powerful lasers.