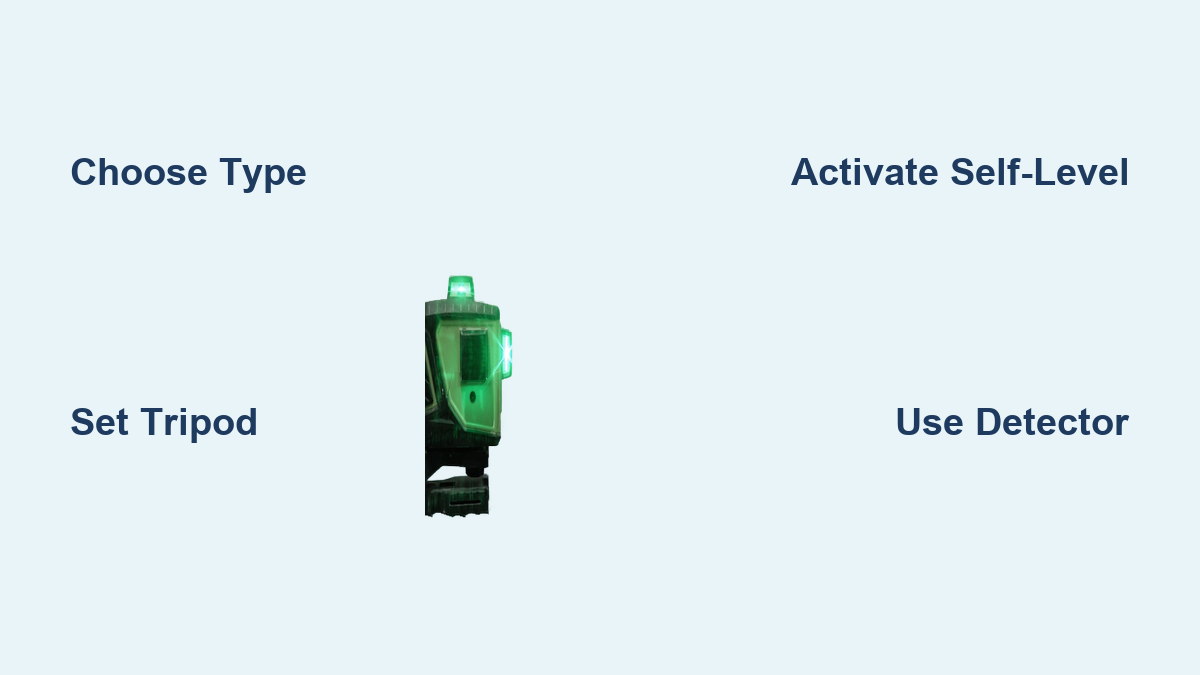
How to Use a Laser Level: Quick Guide
If you’ve ever struggled to hang shelves evenly, install cabinets straight, or grade a backyard patio, a laser level can transform your project from guesswork to precision. Unlike traditional spirit levels that require two hands and constant repositioning, a laser level projects a perfectly straight, visible line across walls, floors, or terrain—ensuring accuracy over long distances with minimal effort. Whether you’re a DIYer tackling home improvements or a contractor working on a large-scale build, knowing how to use a laser level correctly is essential for professional results.
Modern laser levels offer self-leveling technology, 360-degree visibility, and compatibility with detectors for outdoor use—making them far more efficient than dumpy levels or plumb bobs. This guide walks you through every step: choosing the right type, setting it up properly, using it for common tasks like tiling or grading, and maintaining accuracy.
Choose the Right Laser Level for Your Project

Match Type to Project Needs
Not all laser levels are the same. The best model depends on whether you’re working indoors or outdoors, the size of your job, and required precision. For small indoor jobs like hanging pictures, a cross-line laser works perfectly. It projects both horizontal and vertical lines, letting you align frames or cabinets with ease. If you’re tiling a bathroom, a multi-line laser with 90-degree square projection ensures perfect corners.
For outdoor projects like grading a driveway or leveling deck posts, a rotary laser is essential. It spins 360 degrees, giving you a continuous level plane around the entire site. When visibility drops in sunlight, these models work with a laser detector to find the beam even when it’s invisible to the eye. Green lasers are up to four times more visible than red, especially in bright indoor light, making them ideal for most professional applications.
Select by Key Features
Look for self-leveling capability, which uses internal pendulums or electronic sensors to auto-correct within plus or minus 4 to 5 degrees. Once powered on, the unit stabilizes and emits a tone—no manual adjustments needed. Avoid manual models unless on a tight budget. They rely on bubble vials and are prone to error.
Range matters too. Indoors, most lasers reach 100 feet without assistance. Outdoors, with a detector, range extends to 2,000 feet. Check battery life because green lasers consume more power. Kits often include a tripod, detector, and case, saving time and ensuring compatibility.
Set Up on Stable Ground

Position for Maximum Visibility
Place the tripod where it has a clear line of sight to all work areas. Avoid obstructions like furniture, trees, or walls that could block the beam. Walk the site first to choose the optimal spot—ideally central for indoor jobs, or slightly elevated for outdoor grading.
Ensure the ground is firm and stable. Soft soil, gravel, or wooden decks can shift during use, throwing off accuracy. For outdoor setups, use a survey-grade tripod with steel spikes that dig into the earth. Never use a camera tripod. It lacks rigidity and can wobble.
Adjust Tripod Height and Level
Extend the legs to about chest height, making it easy to view and adjust the laser. Loosen the tripod head and tilt the mounting plate until roughly level. Use the built-in bubble vial or a hand level to check. This initial leveling helps the laser self-leveling mechanism stay within its operating range.
Tighten the tripod head once close to level. Make sure all leg locks are secure and the unit does not rock. A stable base prevents drift, which is critical for precision tasks like foundation work or long-term monitoring.
Mount and Level the Laser
Secure the Unit Properly
Take the laser out of its case only when ready to mount. Align the 1/4-inch-20 threaded base with the tripod screw and hand-tighten. Do not fully tighten yet. This allows minor adjustments if needed.
Never carry the laser while attached to the tripod. Always dismount before moving to prevent damage to internal components.
Activate Self-Leveling Mode
Power on the laser and wait 5 to 10 seconds. The internal mechanism will stabilize automatically. Most units signal completion with a solid light or beep. If the unit is tilted beyond its self-leveling range, the beam will flash or emit a warning tone, indicating you need to reposition the tripod.
For manual models, use the leveling screws under the base. Adjust until the bubble vial is centered in both axes. Rotate the unit 90 degrees and recheck. Fully tighten the mounting screw only after confirming level in all directions.
Pro tip: Recheck level after final tightening because tightening can slightly shift alignment.
Use the Reference Technique
Measure Up or Down From Beam
Instead of setting the laser at exact fixture height, use the reference technique. Place the beam at a convenient location like the floor and measure up or down to your target. This avoids constant repositioning and maintains consistency across rooms.
For example, to install a countertop at 36 inches, set the laser at floor level and measure up 36 inches wherever you need a mark. Mark the wall where the measurement intersects, then align your hardware to that point. This method works for outlets, switches, shelves, and baseboards.
Transfer Points Accurately
Use the laser to transfer plumb points from floor to ceiling. For cabinet installation, project a vertical line along the wall. Mark stud centers at floor level, then extend the line upward to ensure upper cabinets align perfectly with lower ones.
For ceiling grids, clip a cross-line laser onto a metal grid. The projected lines serve as a continuous reference for uniform drop height, even in irregular rooms.
Align Fixtures and Structures
Hang Shelves and Cabinets
Decide the desired height for the top or bottom of the shelf. Make a pencil mark on the wall. Align the laser beam with that mark and lock it in place. Measure the distance from the top of the shelf to its hanging bracket. Mark this distance below the laser line on the wall. Install the bracket at that point so the shelf top aligns with the beam.
For multiple cabinets, use a horizontal cross-line to maintain a continuous reference. Combine with a stud finder to locate and mark wall studs before mounting.
Tile and Frame with Precision
In bathrooms or kitchens, establish a centerline layout using intersecting horizontal and vertical laser lines. Start tiling from the intersection to ensure symmetry. Use the lines as guides for even rows and straight edges.
Check electrical box alignment early. Run the laser across boxes to detect any that sit too deep or high. Adjust before tiling begins. For wall framing, use a vertical line to verify plumb of studs or door frames. This ensures drywall installs flush and doors hang straight.
Work Outdoors With a Detector
Engage Pulse Mode and Wear Safety Glasses
Outdoors, sunlight can wash out the laser beam. Switch to pulse mode if your model supports it. This increases beam intensity and makes it detectable by receiver even at long distances. Wear tinted laser safety glasses. They filter ambient light, making the beam more visible, and protect your eyes from reflections.
Use Detector With Grade Rod
Attach the laser detector to a telescoping grade pole. Turn on both devices. Slowly move the detector up and down the pole until it emits a steady tone, indicating the beam has been intercepted. Once aligned, lock the detector in place. The bottom of the pole now marks your reference elevation. Move to other points and adjust the pole until the detector beeps again. Mark each location with a stake.
Sound guide: slow chirp means below beam, fast chirp means above beam, and steady tone means aligned.
Calculate Elevations and Grade

Establish Height of Instrument
For grading or excavation, set a permanent benchmark—a metal pin or pipe driven into stable ground. Avoid wooden stakes because they can shift. Place the grade rod on the benchmark. Raise the detector until it beeps. Record the rod reading. Add this to the benchmark elevation to find your height of instrument. This value lets you calculate elevations at any other point by subtracting rod readings from the height of instrument.
Frequently Asked Questions About Laser Levels
What is the difference between red and green laser levels?
Green laser levels are up to four times more visible than red lasers, especially in bright indoor light or daylight. However, green lasers consume more battery power. Red lasers work well for indoor use and have longer battery life.
Can I use a laser level outdoors in sunlight?
Yes, but you need a laser detector and should use pulse mode. Sunlight washes out the laser beam, making it invisible to the eye. The detector picks up the signal and alerts you with beeps when the beam is intercepted.
How accurate are laser levels?
Most laser levels offer accuracy of plus or minus 1/16 inch per 100 feet. Professional-grade models can achieve plus or minus 1/32 inch per 100 feet. This is far more accurate than traditional spirit levels.
Do I need a special tripod for a laser level?
Yes, use a construction-grade tripod with steel spikes for outdoor work. Camera tripods are not suitable because they lack rigidity and can wobble, causing inaccurate readings.
What is self-leveling in a laser level?
Self-leveling uses internal pendulums or electronic sensors to automatically correct the laser within a specific range, typically plus or minus 4 to 5 degrees. The unit stabilizes itself and signals with a light or beep when ready.
Can I use a laser level for grading a lawn or driveway?
Yes, rotary laser levels work excellently for grading. Use the laser with a detector attached to a grade pole. Set a benchmark, calculate the height of instrument, then measure and mark elevation points across the area to establish proper drainage slope.
Key Takeaways for Using a Laser Level
Choosing the right laser level for your project is the first critical step. Cross-line lasers work best for indoor cabinetry and tiling, while rotary lasers with detectors are essential for outdoor grading and foundation work. Always select a model with self-leveling capability for best accuracy.
Proper setup cannot be overstated. Place your tripod on stable ground, ensure the mounting plate is roughly level before activating self-leveling, and always recheck level after final tightening. A wobbly or shifted base leads to costly mistakes.
The reference technique saves significant time. Instead of repositioning the laser for every measurement, set the beam at a convenient height and measure up or down to your target points. This maintains consistency across entire rooms or job sites.
For outdoor work, never skip the detector. Pulse mode, tinted safety glasses, and a grade rod work together to achieve professional-grade elevation accuracy over distances up to 2,000 feet. Whether you are a homeowner hanging pictures or a contractor grading a construction site, mastering these laser level techniques ensures precision results every time.