How to Use a Laser Engraving Machine: Quick Guide
Imagine turning a simple piece of wood into a personalized gift, etching a logo onto metal, or cutting intricate designs in acrylic—all with pinpoint precision and no physical contact. That is the power of a laser engraving machine. Whether you are a hobbyist, small business owner, or maker, learning how to use a laser engraving machine opens doors to endless creative and commercial possibilities.
But before you fire up your device, you need to understand the full workflow. This guide walks you through every essential step in mastering your laser engraver, from safety protocols and software setup to material selection and calibration. You will learn how to prepare designs, align your laser, choose optimal settings, and avoid common pitfalls.
Prepare Your Workspace and Safety Setup
Laser engraving involves significant hazards including eye injury, fire risk, and toxic fume exposure. Proper safety setup is non-negotiable.
Wear Laser-Safe Goggles Always
You must wear laser-protective goggles rated for your machine wavelength. Diode lasers at 450 nm require OD4+ blue-light filters, while CO₂ lasers at 10.6 μm need infrared-blocking lenses. Never look directly at the beam or reflective surfaces, even during alignment.
Ventilate Your Work Area
Operate your machine in a well-ventilated space or connect a fume extractor. Toxic gases from materials like PVC or PTFE can damage optics and harm your lungs. An enclosed system with exhaust ports is ideal for containing fumes and noise.
Keep Fire Prevention Tools Nearby
Laser engraving generates heat and sparks. Place a Class C fire extinguisher within reach and never leave the machine unattended during first-time jobs. Use air assist to reduce ignition risk by blowing away hot debris and cooling the surface.
Assemble and Calibrate Your Laser Machine
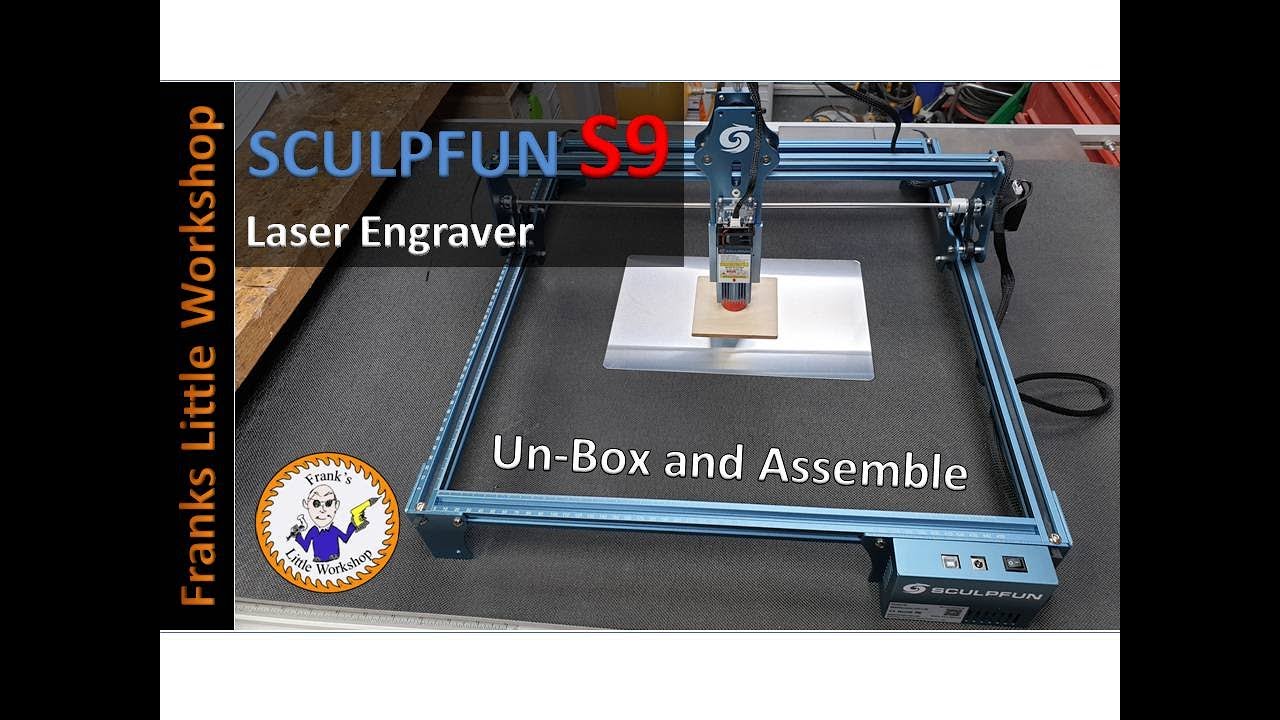
Most desktop units like the Sculpfun S9 or AtomStack X7 assemble in under 30 minutes using color-coded parts and included tools.
Complete Quick Assembly
Follow the visual manual and ensure all screws are tight. Belts should have slight tension. Too loose causes misalignment, and too tight strains motors. After assembly, power on and test axis movement.
Test Motion and Emergency Stop
Run a homing command to verify X and Y travel limits. Press the emergency stop button to ensure it cuts power immediately. For water-cooled CO₂ models, fill the chiller before powering the laser tube.
Level the Work Bed
Place a flat ruler across the bed to check for warping. Adjust leveling screws if needed. A level bed ensures consistent focus and prevents partial cuts or uneven engraving.
Choose the Right Laser Type for Your Materials
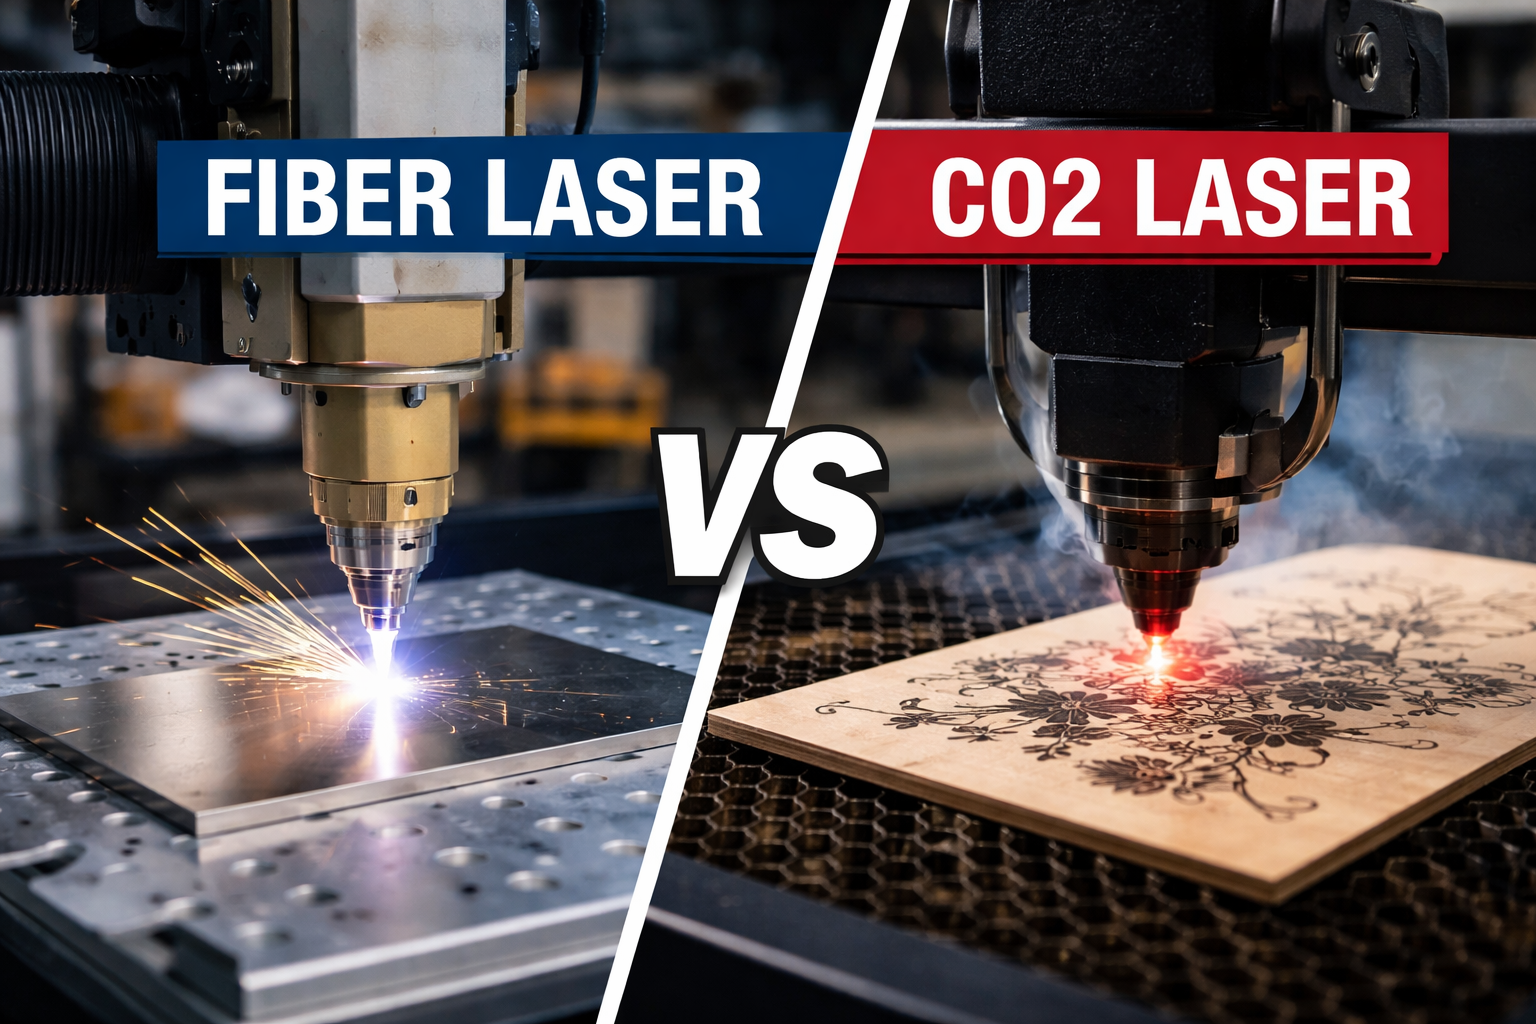
Different laser types excel with different materials. Matching your machine to your intended work is crucial.
Use Fiber Lasers for Metal
Fiber lasers ranging from 20W to 100W+ are best for engraving stainless steel, brass, or aluminum. They use infrared light absorbed well by metals. Diode or CO₂ lasers cannot effectively mark bare metal without special coatings.
Use CO₂ Lasers for Organics
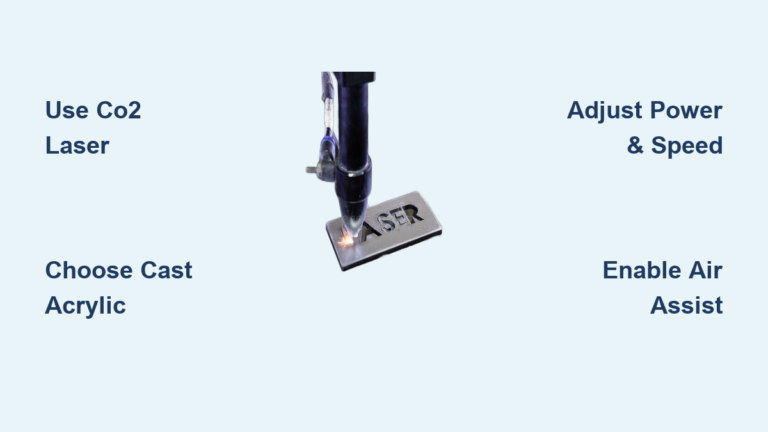
CO₂ lasers at approximately 10,600 nm excel at cutting and engraving wood, acrylic, leather, glass, and rubber. Their long wavelength is absorbed efficiently by organic materials but reflects off bare metals.
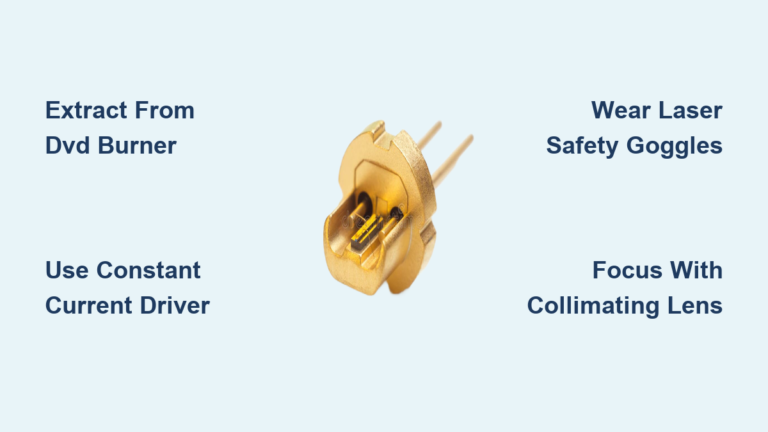
Use Diode Lasers for Budget Projects
Diode lasers from 5W to 20W are compact and affordable, ideal for beginners and hobbyists. They handle wood, cardboard, and thin plastics but struggle with thick or reflective materials.
Prepare Your Design for Laser Engraving

Your design file format determines whether the laser engraves or cuts. Understanding the difference is essential.
Create Vector Files for Cutting
Use Adobe Illustrator, CorelDRAW, or Inkscape to design crisp lines, text, or cut paths. Export as SVG or DXF. Vector files tell the laser to follow precise routes, perfect for full material separation.
Use Raster Images for Engraving
For photos, shading, or detailed textures, use JPEG, PNG, or BMP files. Darker pixels receive more laser energy, creating depth variation ideal for 3D engraving on wood or acrylic.
Combine Layers for Multi-Task Jobs
In software like LightBurn, assign different operations to layers. Use a fill layer for raster engraving, a line layer for vector cutting, and a score layer for low-power marking. This allows one-click execution of engrave-then-cut workflows.
Configure Software and Import Your Design
Laser software serves as the brain of your system, translating digital designs into machine-readable instructions.
Install LightBurn or LaserGRBL
LightBurn offers full control over power, speed, layers, and focus, compatible with most diode and CO₂ machines. LaserGRBL works well for entry-level GRBL-based systems and is free. Connect via USB, Wi-Fi, or SD card, then click Connect in the software.
Set Units and Dimensions
Always work in millimeters. Import your design and resize accurately. Use the ruler tool to confirm proportions match your material size.
Assign Power, Speed, and Passes
Start with manufacturer-recommended settings. Wood engraving typically works well at 80% power and 2500 mm/s. Acrylic cutting at 3mm may need 100% power, 10 mm/s, and 4 passes. Leather engraving often works at 60% power and 3000 mm/s. Adjust based on test results.
Focus the Laser for Maximum Precision
Accurate focus ensures the smallest beam spot size, typically around 0.1 mm, for maximum precision.
Manually Adjust Z-Height
On most diode machines, loosen the focus knob, move the head to your material surface, then re-tighten when the lens is at correct height. The focal point must sit exactly on the surface.
Use a Focus Tool
Slide a focus test paper or calibration cylinder under the lens. Adjust until there is slight resistance when pulling it out. This ensures optimal focus.
Enable Auto-Focus if Available
Higher-end models feature proximity sensors that automatically detect material height. Activate this in software settings to eliminate manual error.
Align the Design Precisely on Your Material
Proper alignment prevents wasted materials and ensures your design appears exactly where intended.
Switch to Absolute Position Mode
Many machines start from Current Position, wherever the laser head rests. This causes misalignment. In LightBurn, enable Absolute Position so the job starts from the lower-left origin at 0,0.
Set Origin with G-Code
If the laser is not at the corner, send G92 X0 Y0. This tells the software to treat the current spot as 0,0. Confirm with a test frame before running your job.
Use Frame and Location Tools
Click Frame to have the laser trace the design outline without firing, verifying placement. Use Location to jump the laser to specific points for visual confirmation.
Run a Test Engraving Before Production
Always test on scrap material before committing to your final piece. This saves materials and reveals optimal settings.
Cut a Power/Speed Grid
On scrap material, engrave a 5×5 grid varying power from 60% to 100% and speed from 1500 to 3000 mm/s. Inspect which combination gives clean marks without charring. High power combined with low speed typically causes charring, while low power with high speed produces faint engraving.
Adjust for Material Color and Thickness
Dark materials absorb more energy, so use lower power. Thick wood may need multiple passes. For 3D engraving, use grayscale images where black equals deep and white equals surface.
Execute the Final Engraving Job
With tests complete, you are ready to run your actual project.
Secure the Material
Place your piece flat on the bed. Avoid warping or tilting. Use clips or tape only if non-flammable and outside the engraving zone.
Enable Air Assist
Turn on air assist to blow compressed air at the engraving point. It clears smoke, reduces fire risk, prevents lens contamination, and improves edge quality, especially on wood and acrylic.
Start the Job and Monitor
Press the green play button in software. Watch the first 10 seconds to confirm correct starting position and beam behavior. Once stable, the machine can often run unattended, but never leave during initial project runs.
Clean and Maintain Your Laser Machine
Regular maintenance ensures longevity, accuracy, and consistent results.
Clean the Lens Weekly
After every 5 to 10 hours of use, power off and clean the lens and mirrors with 90%+ isopropyl alcohol and lens paper. Avoid touching optical surfaces with fingers. Smudges reduce beam efficiency and cause weak engraving.
Check Belt Tension Monthly
Belts should have slight flex, like a guitar string. Too loose leads to skipped steps, and too tight wears motors. Re-tension if you notice positioning errors.
Lubricate Rails Every Few Months
Apply a small amount of manufacturer-recommended lubricant to linear rails and pulleys. Wipe off excess to prevent dust buildup.
Troubleshoot Common Laser Engraving Problems
Knowing how to diagnose and fix issues saves time and prevents frustration.
Fix Blurry or Faint Engraving
This usually indicates a dirty lens, poor focus, or misaligned beam. Clean the optics, re-focus, and run a beam alignment test using tape on the laser module.
Stop Charring on Wood
Excessive power or slow speed causes charring. Increase speed to 2700+ mm/s and reduce power to 70-80%. Use air assist to cool the surface.
Solve Misaligned Cuts
Using Current Position instead of Absolute causes misalignment. Always set origin properly and use frame preview before every job.
Resolve Connection Failures
Faulty USB cables or missing drivers cause connection issues. Reinstall CH340 or CP2102 drivers and try a different USB port or cable.
Know What Materials to Avoid
Certain materials pose serious safety risks and can damage your machine.
Never Laser PVC
PVC releases chlorine gas when heated, which is corrosive to electronics and dangerous to breathe. It can ruin your machine and endanger your health.
Avoid Polycarbonate and PTFE
Polycarbonate melts unpredictably and may ignite. PTFE emits toxic fluorine compounds. Both pose serious safety risks.
Verify Coated Materials
Painted, laminated, or anodized surfaces may release unknown fumes. Test in small areas first or avoid altogether unless safety data is confirmed.
Explore Advanced Laser Engraving Techniques
Once you master the basics, these advanced techniques expand your capabilities.
Try 3D Grayscale Engraving
Import a black-and-white photo into LightBurn and set to raster mode with variable power. The laser automatically engraves darker areas deeper, creating realistic texture on wood or acrylic.
Attach a Rotary Tool
Use a rotary attachment to engrave mugs, bottles, or pens. It replaces Y-axis motion with rotation. Enable rotary mode in LightBurn and input object diameter for accurate scaling.
Create Colors on Stainless Steel
On fiber lasers, adjust pulse frequency and heat input to oxidize metal surfaces, producing gold, blue, or black hues without paint. This requires precise tuning and controlled passes.
Maximize Your Machine Lifespan
Proper care extends your laser engraver’s operational life and maintains performance.
Operate in a Clean Environment
Keep your workspace dust-free, dry, and temperature-stable. Dust clogs optics and rails. Cold environments reduce laser efficiency, especially in winter.
Replace Worn Modules
Diode lasers last 5,000 to 10,000 hours. Watch for fading engraving depth and replace the module if output weakens despite proper settings.
Use OEM Parts When Possible
Aftermarket lenses or power supplies may degrade performance. Stick with original manufacturer components for reliability and warranty compliance.
Frequently Asked Questions About Laser Engraving Machines
How long does it take to learn how to use a laser engraving machine?
Most beginners can go from unboxing to their first successful engraving within a single day. The learning curve is relatively easy compared to traditional manufacturing methods. With practice, you will produce professional-quality results consistently.
Can the same machine do both engraving and cutting?
Yes, most laser machines perform both tasks. Low-power diode lasers may only cut thin materials under 10mm, while higher-powered CO₂ and fiber lasers cut thicker materials with multiple passes.
What is the difference between laser engraving, etching, and marking?
Laser engraving removes material and creates depth and texture. Etching involves surface melting with minimal material removal. Marking discolors the surface, like annealing on metal, without removing material.
Which laser type is best for beginners?
Diode lasers are best for beginners due to their affordability, compact size, and ease of use. They handle common materials like wood, cardboard, and leather well. As you advance, you may upgrade to CO₂ or fiber lasers for broader material compatibility.
Do I need special software to run a laser engraver?
Yes, you need laser control software like LightBurn or LaserGRBL. These programs translate your designs into machine instructions, controlling power, speed, focus, and job execution. LightBurn offers more advanced features, while LaserGRBL is free and suitable for beginners.
How do I prevent wood from charring during engraving?
Increase your engraving speed and reduce power. Use air assist to blow away hot debris and cool the surface. For wood, speeds of 2500-3000 mm/s with 70-80% power typically produce clean results without charring.
Key Takeaways for Using Your Laser Engraving Machine
Mastering how to use a laser engraving machine does not require an engineering degree. It demands attention to safety, precision, and process. Start by setting up your machine in a well-ventilated area with proper safety gear, then assemble and calibrate carefully before your first job.
Always test on scrap material before production. Document your successful settings as presets in your software for repeatability. Clean your lens regularly, check belt tension monthly, and maintain a dust-free workspace.
With the right setup, you can produce professional-quality signs, gifts, and prototypes in minutes. Whether you are crafting for fun or profit, your laser engraver becomes a limitless tool once you know how to use it right.