How to Make a Laser Pen: Simple DIY Guide
Building a laser pen at home is a rewarding electronics project that combines technical skill with precision assembly. Whether you’re salvaging parts from old DVD drives or purchasing high-powered diodes online, understanding how to make a laser pen safely and effectively is essential for success. This guide covers everything from selecting the right laser diode to wiring the driver circuit and housing your final build. You’ll learn which components work best together, how to regulate current properly, and what safety measures protect your eyes and equipment. By the end, you’ll have the knowledge to build a powerful, reliable laser pen without wasting money on damaged components.
Choose the Right Laser Diode for Your Build
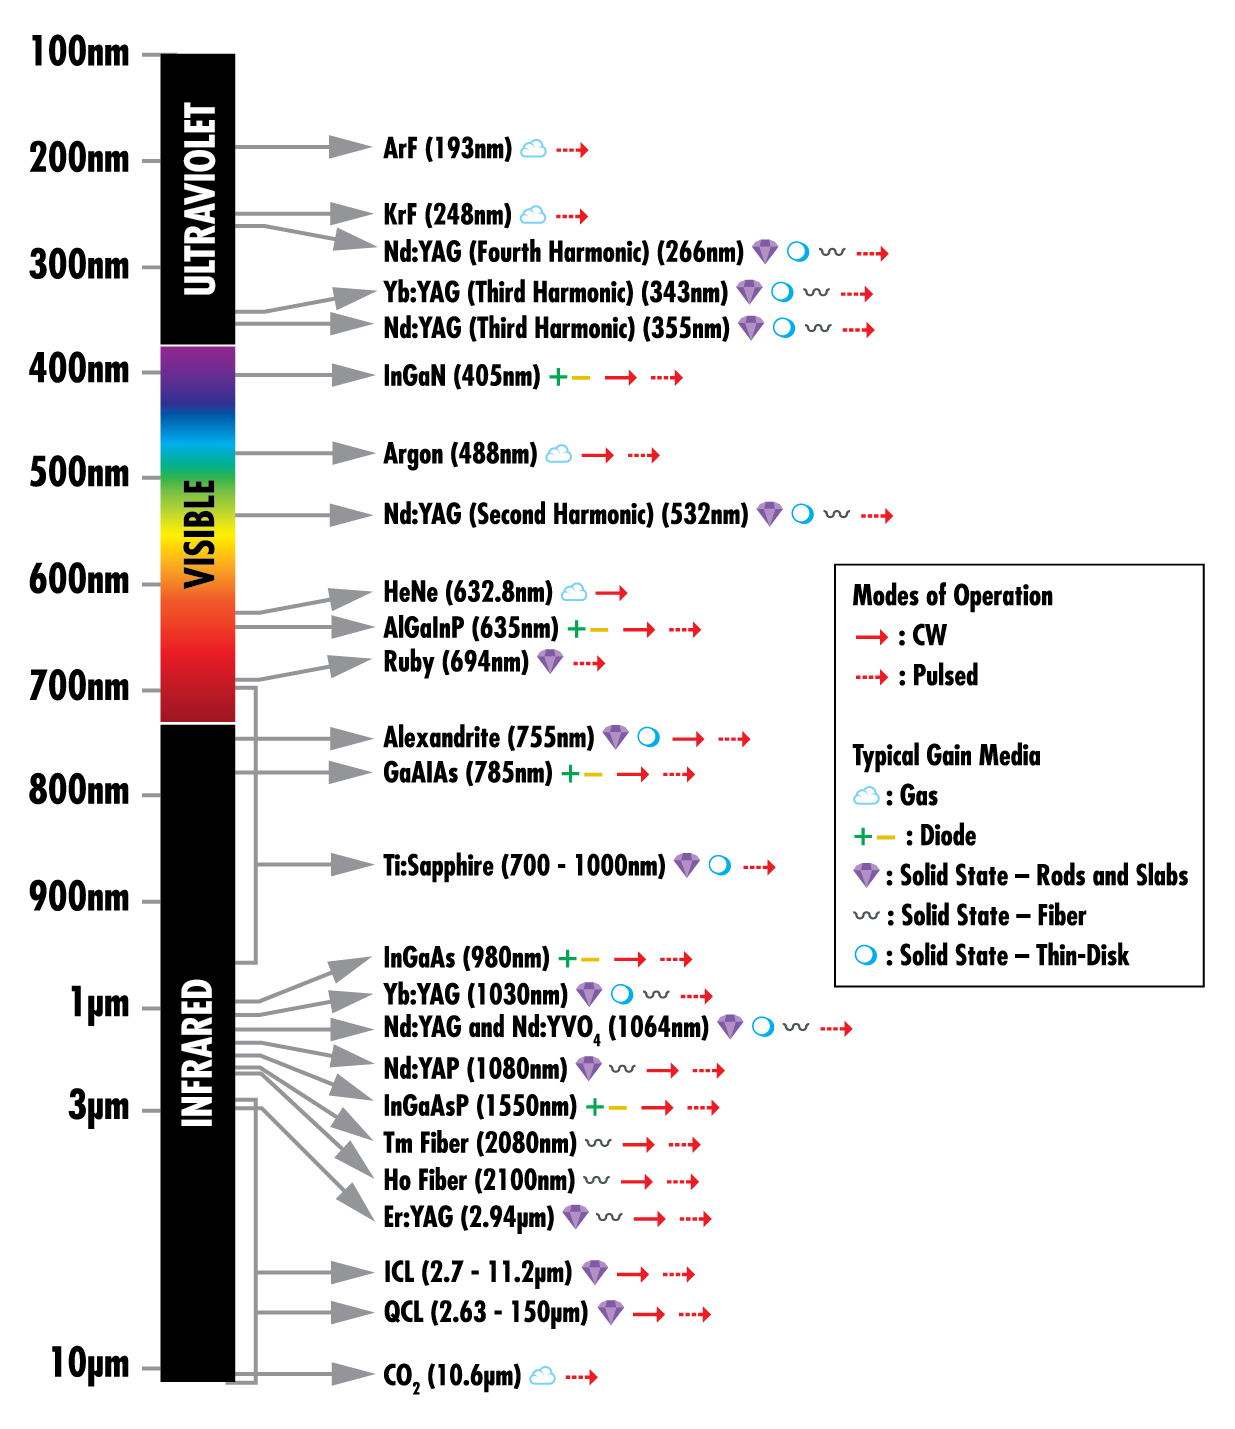
The laser diode is the heart of your project. Your choice of wavelength and power output determines what your laser can do.
Pick Based on Wavelength and Power
Red diodes (650–670 nm) from DVD burners produce 5–200 mW and work well for basic visibility. Blue-violet diodes (405 nm) from Blu-ray drives deliver 150–300 mW and can cause fluorescence and burn lightweight materials. For the best visibility and range, choose a true green diode like the PLT5520B (520–532 nm), which outputs over 100 mW with superior beam brightness and no infrared leakage. Avoid infrared diodes (780–808 nm) unless you have proper detection equipment since they emit invisible light that can cause unseen eye damage. True green diodes outperform older DPSS modules by eliminating residual infrared radiation and improving overall efficiency.
Understand Power Ratings and Capabilities
A 100 mW green laser can light matches, pop balloons, and burn black plastic. The beam remains visible up to 2.2 km on clear nights, and the spot is detectable at 1.3 km. If your laser can ignite a match or burst a balloon, the output exceeds 100 mW. Under-driving diodes extends their lifespan significantly while maintaining useful output.
Salvage Laser Diodes From Old Optical Drives
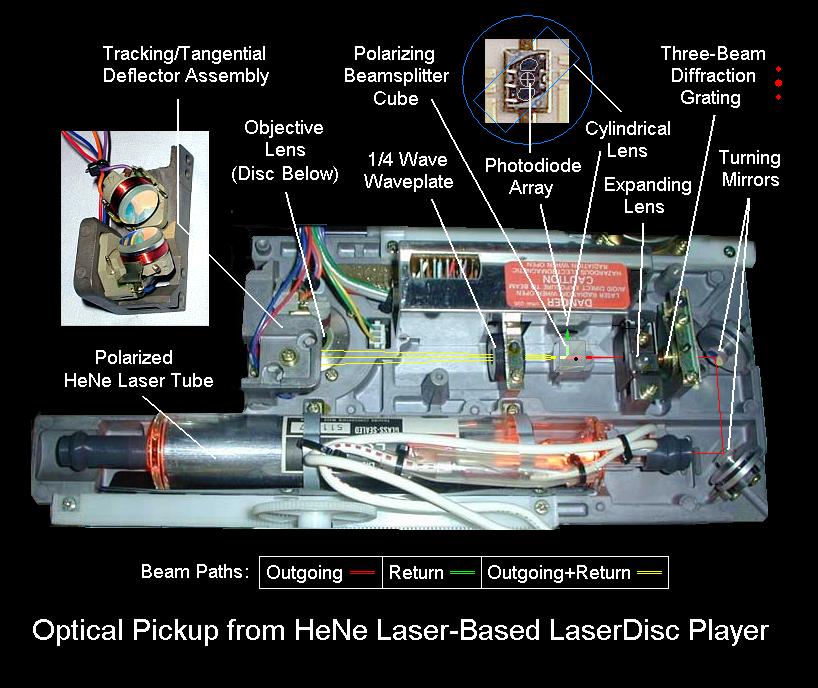
A non-working DVD or Blu-ray burner provides free diodes for your build.
Extraction Steps
Remove the outer casing screws and open the drive. Use a straightened paper clip to release the front sled mechanism. Locate the laser assembly secured by rubber mounts and screws. Remove motors and rails to access the optical block. Unscrew the diode housing and identify the diode as a small metal can approximately 5 mm in diameter. The lens is not the diode. Carefully cut around the diode with a hacksaw, avoiding damage to internal components.
Identify Pin Configuration
The top pin connects to ground (negative). The right pin carries positive voltage. The bottom pin often remains unused. Handle all components with ESD-safe tools and keep diode pins shorted with a jumper wire until soldering to prevent static damage.
Power Your Laser Pen Safely

Laser diodes require precise voltage and current. Using the wrong power source destroys components instantly.
Select Appropriate Batteries
Alkaline AAA or AA batteries (1.5 V each) work for low-power red diodes when stacked in series, but they lack consistent voltage output. Coin cells (3 V) suit only minimal builds. Li-ion batteries (3.7 V nominal, 4.2 V max) are ideal for high-power applications. Models like 14500 or 18650 fit standard flashlight housings and are rechargeable. Never use a 9 V battery directly. It delivers too much voltage and destroys most laser diodes instantly.
Match Voltage to Your Driver
Ensure your power source matches the driver input requirements. A 3.7 V Li-ion cell may need a boost converter to power a 6 V driver circuit. Check all voltage specifications before connecting components.
Add Battery Protection for Safe Operation
Always pair Li-ion cells with a protection board that prevents overcharge, over-discharge, and short circuits.
Why Protection Matters
This small PCB connects between the battery and switch, adding critical safety during operation and charging. Without it, thermal runaway or cell rupture becomes a real risk. The protection board monitors battery conditions and disconnects the load if voltage drops too low or spikes too high.
Build a Constant-Current Driver Circuit
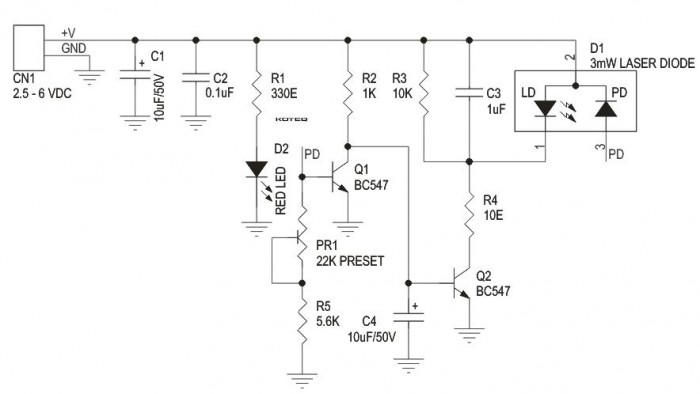
Laser diodes fail quickly without current regulation. Unlike LEDs, they are highly sensitive to voltage spikes and thermal runaway.
Why Drivers Are Essential
A constant-current driver ensures stable current flow regardless of battery depletion or temperature changes. Linear drivers are simple but inefficient with high voltage drops. Buck or boost converters offer better efficiency and compatibility with varying input voltages. Avoid resistor-only circuits. They provide poor regulation and risk diode burnout.
Assemble a Regulated Circuit
For a true green diode like the PLT5520B, use this architecture: Li-ion cell connects to the battery protection board, then to a boost converter (to step up 3.7 V to 6 V), then to a constant-current LED driver, then to a potentiometer for current adjustment, and finally to the laser diode. Test the circuit on a breadboard before final assembly to verify current levels. Adjust the potentiometer to your target current (260 mA recommended for the PLT5520B).
Operating Current Guidelines
The PLT5520B has a maximum rated current of 330 mA. Operating at 260 mA produces over 100 mW of output while significantly extending diode life. Under-driving high-power diodes is the best practice for longevity.
Assemble Your Laser Pen Step by Step
With components tested, proceed to final assembly.
Prepare the Housing
Repurpose an old flashlight, laser toy, or 3D-printed tube. Remove the original LED and reflector. Ensure adequate space for the battery, driver board, switch, and diode module.
Mount and Wire Components
Press the diode into a heat-conductive housing like a copper module. Solder wires carefully to the pins, avoiding overheating. Connect the circuit in this order: battery to protection board, protection board to switch, switch to boost converter, boost converter to driver, driver to potentiometer, potentiometer to diode. Use heat-shrink tubing for insulation and secure wires with adhesive to prevent strain.
Install Optics and Complete Enclosure
Attach a focusable lens to collimate the beam. Glue the lens in place once optimal focus is achieved. Seal the unit with end caps and mount the switch. Label the device with wavelength and power rating.
Test and Troubleshoot Your Build
If your laser produces no light, check for incorrect polarity, a dead diode, or broken wires. Verify all connections and test the diode with a known-good driver. Intermittent beams indicate loose solder joints or a failing switch. Reflow solder connections and replace the switch if needed. A dim beam suggests low battery, dirty optics, or an under-driven diode. Replace the battery, clean the lens, or adjust the driver current. Overheating means excessive current or poor heatsinking. Reduce the current and add a larger heatsink.
Follow Critical Safety Protocols
A laser pen is not a toy. Even brief exposure to devices over 5 mW causes permanent retinal damage.
During Construction
Always ground yourself and your work surface using aluminum foil connected to earth ground. Handle diodes only with ESD-safe tools. Keep diode pins shorted until final connection. Never touch pins with bare fingers. Avoid applying voltage without current limiting in place.
During Operation
Never point at people, animals, vehicles, or aircraft. Avoid eye exposure even from reflections. Wear laser safety goggles rated for your wavelength (OD4+ for 520 nm). Store the device securely away from children. Label clearly with wavelength and power class.
Understand Legal Requirements for Laser Devices
Many countries regulate laser power output. In the USA, the FDA limits pointers to 5 mW or less. The UK restricts unrestricted sale to 1 mW. Australia requires permits for anything above 1 mW. Penalties include fines, confiscation, and criminal charges for misuse like pointing at aircraft. Build only for educational or experimental purposes. Never use outdoors without proper control and safety measures.
Frequently Asked Questions About Making a Laser Pen
What is the easiest laser diode to use for a beginner build?
Red diodes (650 nm) from old DVD burners are the easiest to work with. They operate at lower voltages, are widely available, and have simpler driver requirements than high-power green or blue diodes.
Can I power a laser pen with a 9V battery?
No. A 9V battery delivers too much voltage for most laser diodes and will destroy them instantly. Use Li-ion batteries (3.7V) with an appropriate driver circuit instead.
How do I know if my laser diode is working correctly?
Connect the diode to a driver set to the correct current. A working diode produces a visible beam. No light output indicates incorrect polarity, a dead diode, or broken connections. Test with a multimeter to verify current flow.
What is the best battery for a high-power laser pen?
18650 Li-ion batteries are ideal. They provide 3.7V nominal voltage (4.2V max), high capacity, rechargeability, and fit standard flashlight housings. Always use a protection board for safety.
Is it legal to build a laser pen at home?
Laws vary by country. In many jurisdictions, lasers over 5 mW are restricted for public use. Building lasers for personal, educational use is generally permitted, but using them irresponsibly (pointing at aircraft, people) carries legal penalties.
Key Takeaways for Building Your Own Laser Pen
Building a laser pen requires careful component selection, proper current regulation, and strict safety protocols. Choose a true green diode like the PLT5520B for the best visibility and efficiency. Always use a constant-current driver to prevent diode burnout. Under-drive your diode (260 mA instead of 330 mA) to extend its lifespan significantly. Salvage diodes from old optical drives or purchase new ones from reputable suppliers. Test all circuits on a breadboard before final assembly. Most importantly, never point your laser at people, animals, or vehicles. Treat every build with respect for its potential hazard. Start with a low-power red diode project to learn the fundamentals before advancing to high-powered green or blue builds.