How to Clean Laser Lens: Quick Steps
A dirty laser lens can ruin performance whether you are engraving acrylic, playing a Blu-ray disc, or using a handheld laser pointer. Over time dust, smoke residue, oils, and tar build up on the lens surface, scattering the beam, reducing power, and even causing permanent damage. If your laser is not cutting cleanly, your disc drive skips, or your pointer beam looks fuzzy, the culprit is often a grimy lens. The good news is that cleaning it properly takes just minutes and can restore like-new performance. This guide covers safe, effective cleaning methods for every type of laser lens using only recommended tools and solvents.
Clean Laser Lens Safely: Core Principles
Before touching any lens, follow universal safety and handling rules to prevent scratches, coating damage, or additional contamination.
Always Power Off and Cool Down
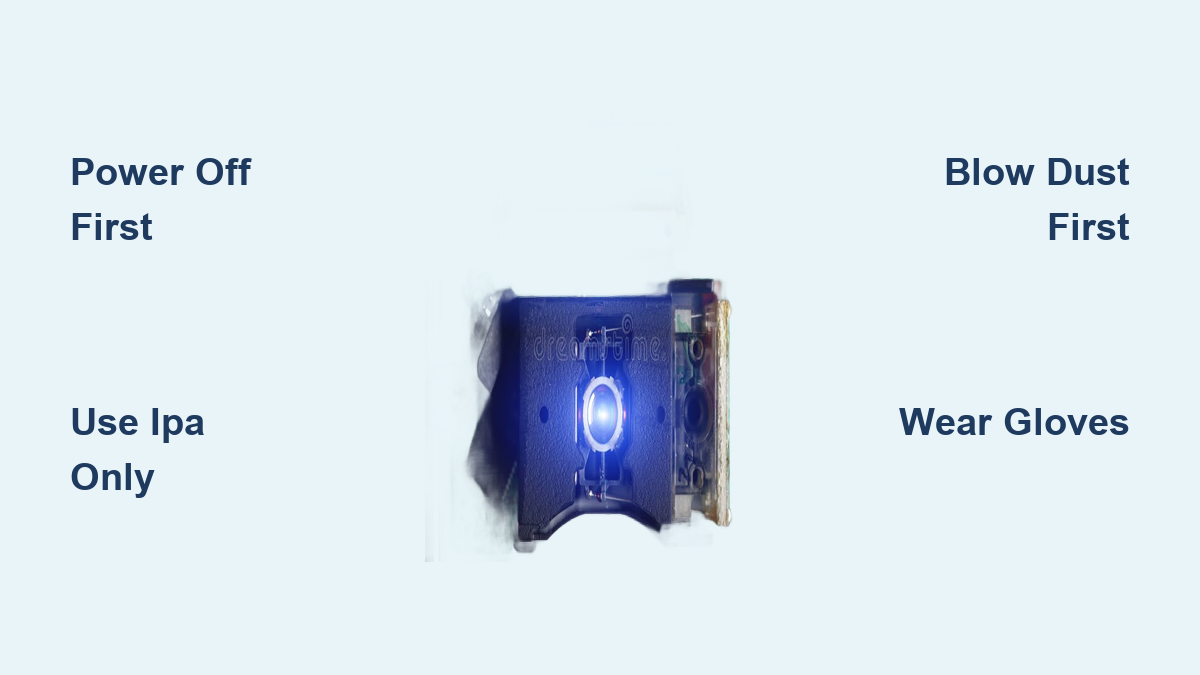
Unplug the device or remove batteries before starting. Never clean a powered or warm laser system because residual current or heat increases the risk of accidental activation or thermal shock to optics. Wait at least 10 to 15 minutes after shutdown for full cooling, especially with CO₂ and diode lasers.
Wear Clean Gloves or Finger Cots
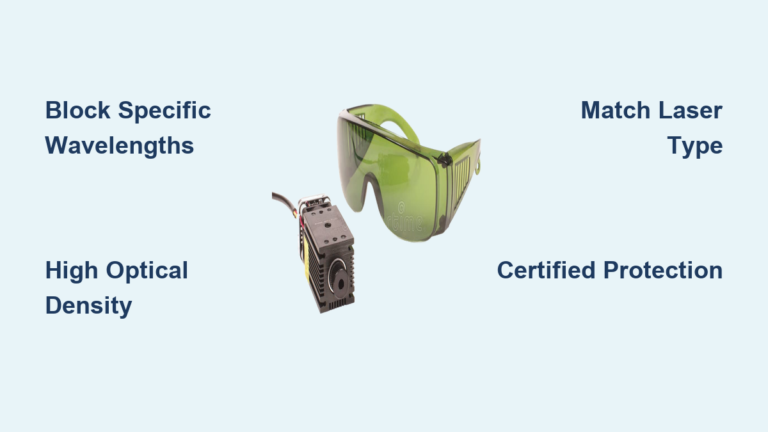
Skin oils transfer instantly to lens surfaces, attracting more dust and degrading coatings. Use nitrile, latex, or cotton gloves when handling lenses. Never touch the optical surface directly; always hold by the edges.
Blow Dust Before Wiping
Always start with a hand-operated balloon blower to remove loose particles. Skipping this step risks dragging grit across the lens and causing micro-scratches. Avoid canned air unless it is oil-free and moisture-free because many propellants leave residue or freeze the surface.
Use Only Approved Solvents
Stick to high-purity cleaning agents. Use 90 to 100 percent isopropyl alcohol for most lenses as it is fast-drying and leaves no residue. Use analytical grade acetone for stubborn oils on glass lenses but never on plastic. Use distilled water for final rinses only, never tap water.
Diode Laser Lens Cleaning
Diode laser engravers and modules are prone to soot buildup due to limited air-assist and enclosed nozzles.
Remove Nozzle and Lens Housing
Use the correct screwdriver or Allen key to detach the nozzle. Gently unscrew the lens holder and place all parts on a clean, lint-free surface. Label them if multiple lenses are used.
Wipe with IPA-Moistened Swab
Wrap a lint-free lens tissue around a cotton swab for better reach into the recessed lens. Lightly dampen with 90 to 100 percent IPA but do not soak. Wipe in slow, circular motions from center to edge using minimal pressure.
Dry and Reinstall Properly
Use a dry swab or fresh tissue to absorb residual moisture. Reinstall the lens with the convex side facing up. Tighten the retaining ring to finger-tight only because overtightening can crack the lens.
CO₂ Laser System Maintenance
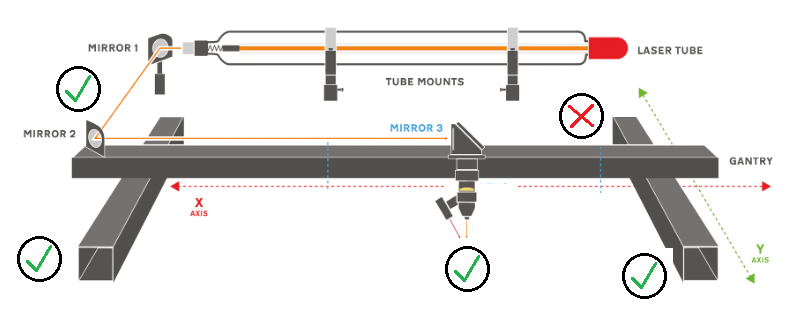
CO₂ lasers require cleaning three mirrors and one focus lens for full beam alignment and power delivery.
Clean Mirrors 1, 2, and 3
Mirror 1 sits at the laser tube output, Mirror 2 on the gantry, and Mirror 3 inside the laser head. All must be handled with care.
Remove and Inspect Mirrors
Wear gloves and use circlip pliers to loosen the retaining ring. Lift the mirror out and place masking tape on the back to avoid fingerprints. Check under magnification for pitting, scratches, or coating loss and replace if damaged.
Wipe in One Direction Only
Use a lint-free cloth moistened with 100 percent IPA. Wipe straight across the surface, not in circles, to prevent swirl marks and coating wear. Use a fresh cloth for each mirror.
Reinstall and Align
Place the mirror back, tighten the ring gently, and allow 15 or more minutes to dry before powering on. Perform a beam alignment test using alignment paper or thermal tape.
Clean the Focus Lens
Remove the lens tube, unscrew the retaining ring, and extract the lens, O-ring, and spacers.
Handle by the Edges
Never touch the optical surface. Clean with IPA-dampened lens tissue using gentle circular motions. Reinstall with the convex side up and replace the O-ring if cracked or deformed.
Clean the Laser Tube Output Lens
This recessed lens is often overlooked but collects debris from internal smoke.
Use a 90° Bent Swab
Bend a cotton swab to access the lens. Dip the tip in 100 percent IPA only, never acetone. Gently wipe in small circles, finish with a dry swab, and let dry fully before use.
Optical Disc Drive Lens Cleaning

CD, DVD, and Blu-ray drives use delicate plastic lenses that can be damaged by improper cleaning.
Diagnose Read Errors First
Only clean if you experience skipping, failure to read discs, or recognition errors. Rule out bad discs, firmware issues, or mechanical faults before opening the drive.
Open the Drive Safely
Use a device-specific guide to disassemble. Avoid static-prone surfaces and locate the lens, which is a small, dome-shaped plastic optic on a movable actuator.
Clean with Minimal Pressure
For light dust, fog the lens with your breath and then gently wipe sideways with a dry, high-quality swab. For tar or smoke film, lightly moisten a swab with 70 to 99 percent IPA and use feather-light, rotating strokes.
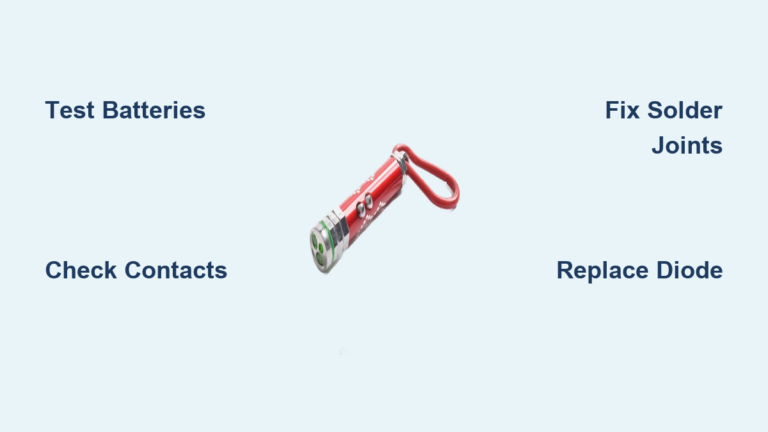
Handheld Laser Pointer Cleaning
Foggy or scattered beams are usually caused by dust or oil in the narrow lens housing.
Remove Batteries First
This prevents accidental activation during cleaning. Open the lens cap if it is removable.
Blow Out Loose Debris
Use a balloon blower for 30 to 60 seconds to dislodge particles. Do not use canned air because moisture or propellant can enter the housing.
Use a Modified Cleaning Tool
For narrow apertures, wrap 3 to 4 layers of lens wipe around a toothpick tip. Alternatively, fold a lens tissue over a Q-tip, removing excess cotton for tight spaces.
Wipe Gently in Circles
Insert slowly and use slow, circular motions with zero pressure. Do not force the tool because bending indicates it is too large.
Prevent Damage: What Not to Do
Avoid these common mistakes to protect your optics.
Never Use Ammonia or Window Cleaners
Products like Windex contain ammonia and surfactants that eat anti-reflective coatings and degrade lens adhesives. Even trace amounts can cause irreversible hazing.
Avoid Acetone on Plastic Lenses
Acetone dissolves or crazes many plastics, including PMMA used in pointers and disc drives. Only use acetone on glass or fused silica lenses and only when IPA fails.
Do Not Touch the Lens Surface
Fingerprints introduce oils that attract more grime and can etch coatings over time. Always wear gloves and handle by the edges.
Skip Unnecessary Cleaning
Overcleaning increases the risk of scratches. Clean only when performance drops or visible soiling occurs. Many issues like beam artifacts are camera sensor effects, not lens problems.
Diagnose: Dirty vs. Damaged Lens
Know when cleaning helps and when replacement is needed.
Scattered Light or Halo
Likely cause is dust, oil, or soot. Fix by cleaning with IPA. If resolved, the lens is functional.
Permanent Lines or Scratches
Likely cause is physical damage or coating loss. This is irreversible. Replace the lens because cleaning will not restore optical clarity.
Blurry Dot After Cleaning
Likely cause is thermal warping, burn marks, or fused debris. The lens is compromised and needs replacement.
Optimize Longevity: Preventive Tips
Extend lens life with simple habits and environmental controls.
Use Air-Assist and Fume Extraction
Running a compressor or air nozzle during laser operation blows smoke away from the lens. Pair with a fume extractor to reduce soot and tar buildup, especially when cutting wood or acrylic.
Install Protective Windows
In high-contamination environments, add a replaceable protective glass window in front of the focus lens. Clean or swap the window instead of the expensive main lens.
Store Lenses Properly
Keep spare lenses in sealed containers with desiccant to prevent moisture and dust. Line storage boxes with clean microfiber or lens tissue.
Schedule Regular Maintenance
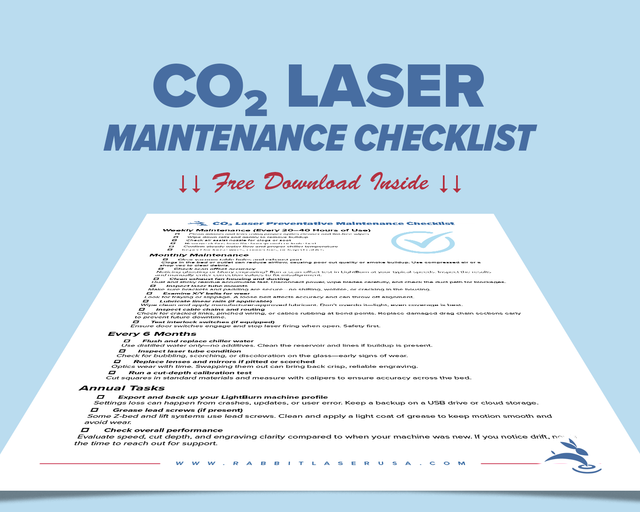
Clean diode and CO₂ lasers after each job for quick wipes and weekly for deep cleaning. Clean handheld pointers every 3 to 6 months. Clean disc drives only when read errors occur. Clean low-use systems biannually.
Verify Results: Test Beam Quality
Always confirm cleaning success before resuming regular use.
For Laser Pointers
Project the beam onto a white, non-reflective surface in dim light. Look for a sharp, focused dot with minimal scatter or halo and no fixed-line patterns.
For Laser Cutters
Run a test engrave or cut on scrap material. Evaluate edge smoothness, depth consistency, power efficiency, and beam alignment. Monitor software-reported power levels because clean lenses improve energy delivery by up to 30 percent.
Universal Cleaning Protocol
Follow this eight-step checklist for any laser lens.
• De-energize the device by removing power or batteries.
• Inspect for scratches, burns, or coating damage.
• Blow loose debris with a dry balloon blower.
• Wipe with IPA-moistened lint-free applicator using circular or one-direction motions.
• Dry with a clean swab or tissue.
• Perform a final air blow to remove fibers.
• Wait 15 or more minutes for full evaporation.
• Test performance before full operation.
Frequently Asked Questions About Cleaning Laser Lenses
Can I use Windex to clean my laser lens?
No. Windex and other ammonia-based cleaners destroy anti-reflective coatings and can cause irreversible hazing. Stick to 90 to 100 percent isopropyl alcohol for safe cleaning.
How often should I clean my laser lens?
Cleaning frequency depends on usage. For daily-use diode or CO₂ lasers, do a quick wipe after each job and a deep clean weekly. For handheld pointers, clean every 3 to 6 months. For disc drives, clean only when read errors occur.
Is IPA safe for plastic lens lenses?
Yes. Most modern disc drive lenses and laser pointer optics are made from uncoated plastic. IPA is generally safe when used sparingly and allowed to evaporate fully.
What happens if I do not clean my laser lens?
Dirty lenses reduce power output, cause beam distortion, and can lead to thermal damage including cracking, coating delamination, or permanent warping. This shortens component lifespan and increases replacement costs.
Can I use canned air to clean my laser lens?
Only if it is specifically labeled as oil-free and moisture-free. Many canned air products contain propellants that leave residue. A hand-operated balloon blower is the safer choice.
How do I know if my lens is damaged versus just dirty?
Clean the lens first. If performance does not improve, inspect for visible scratches, pitting, or coating damage. A blurry dot, permanent lines, or halo that persists after cleaning indicates the lens is damaged and needs replacement.
Key Takeaways for Maintaining Clean Laser Lenses
A clean laser lens is critical for precision, efficiency, and safety. Always power off and cool down before cleaning, wear gloves, and start with a balloon blower to remove loose particles. Use only approved solvents like 90 to 100 percent isopropyl alcohol and avoid ammonia-based cleaners, acetone on plastic lenses, and excessive pressure. Clean only when necessary because overcleaning increases scratch risk. If cleaning does not restore performance, replace the lens promptly rather than risking further damage. With proper care and preventive maintenance, your laser system will deliver sharp, powerful beams for years.