How to Use a Laser Level for Kitchen Cabinets
Installing kitchen cabinets that look perfectly aligned and support countertops seamlessly is a challenge, especially when dealing with older homes with uneven walls and floors. A laser level for kitchen cabinets transforms this complex task into a precise, manageable process. By projecting a consistent horizontal reference line across the entire kitchen, a laser level eliminates guesswork, ensures uniform height, and reduces the need for scribing or extensive wall repairs. Whether you are a seasoned pro or a dedicated DIYer, mastering this tool means achieving professional-grade results.
In this guide, you will learn how to set up your laser, identify the critical reference point, level cabinets with shims or adjustable feet, and secure them flawlessly to the wall. You will discover real-world techniques that save time, reduce errors, and deliver flawless outcomes for any kitchen project.
Set the Highest Cabinet as Reference
Find the Tallest Cabinet or Wall Point
Before mounting any cabinet, determine which one sits highest relative to the floor. This highest point becomes your baseline because no cabinet can be installed above it without creating gaps or misalignment. Use your laser level to project a horizontal beam across the run. Walk the line and observe where it hits each cabinet top edge when dry-fit against the wall. The cabinet where the beam touches the lowest point on its top edge is effectively the tallest and must serve as your reference.
Measure from the floor to the top of each cabinet at multiple points. Even small differences of 1/8 inch matter over long runs.
Why the Highest Point Matters
If you install a cabinet lower than the highest point and later try to align others with it, you will create a stepped effect. Countertops will not sit flush, doors will appear crooked, and gaps will form between units. By raising all other cabinets up to meet the laser line set at the tallest point, you maintain a continuous plane for both visual appeal and structural support.
Never cut down cabinets to match a low point. Always build up with shims instead.
Mount and Calibrate the Laser Level

Choose the Right Laser and Tripod
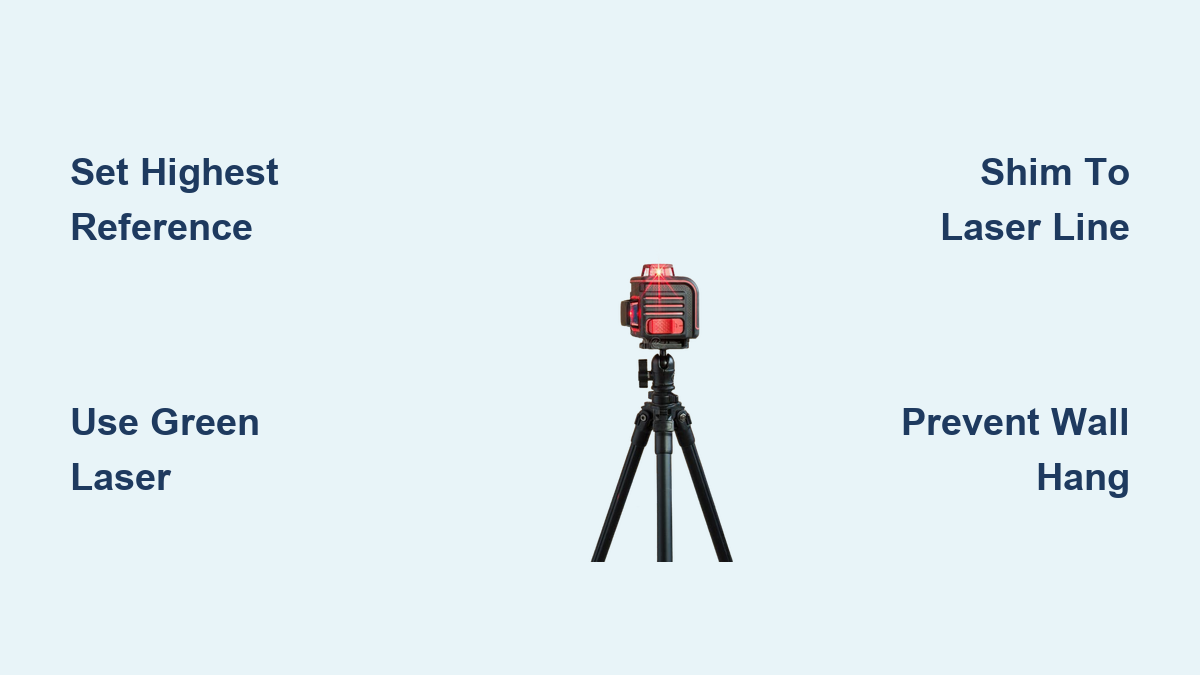
Use a multi-plane or 360-degree rotary laser with self-leveling capability. These project a continuous horizontal line visible all around the kitchen. Mount it on a stable tripod. A standard camera tripod works if it has a 1/4-inch thread. Place the unit at one end of the run or centrally, ensuring clear visibility to all cabinet locations.
Green lasers are easier to see in bright kitchens than red ones.
Set the Laser Line at Cabinet Height
Adjust the laser so the horizontal beam just grazes the top edge of the tallest cabinet. For systems requiring offset, such as 5/8 inch below the top, follow manufacturer specs precisely. Ensure the beam remains visible across the front and back edges of each cabinet. This allows you to check alignment from multiple angles.
Verify accuracy by using a tape measure to confirm the laser line matches the reference height at both ends of the room.
Ensure Self-Leveling Is Active
Most quality lasers self-level within a 4-degree tilt range. If the unit is too far out of level, the beam will blink or not engage. Adjust the tripod legs until the laser stabilizes and locks into position. Once active, avoid bumping the tripod during installation.
Dry Fit Cabinets Before Final Installation
Position All Cabinets Against the Wall
Before applying adhesive or driving screws, dry fit every cabinet in place. This means setting them on temporary supports or blocks, aligning them roughly with the laser line. Check spacing between units, corner fits, and clearances around appliances like refrigerators or sinks.
Skipping dry fit risks full teardown due to misalignment or interference issues.
Identify Wall and Floor Irregularities
Look for gaps between cabinet backs and walls. Up to 1-1/4 inches is common in old homes. Also check for sloping floors and out-of-plumb walls. Accept slight offsets from the wall. These can be filled later with joint compound instead of scribing each cabinet.
Skip scribing. Mud provides a smoother, cleaner finish than hand-cut scribed edges.
Mark Pipe and Stud Locations
Use a stud finder to mark framing locations. Also identify drain pipes, supply lines, or electrical boxes behind the wall. Transfer these centers to the cabinet back and drill 3/8-inch clearance holes to allow for plumbing access.
Drill holes 3/8 inches apart to avoid interference with fittings.
Shim Cabinets to Meet the Laser Line
Start in a Corner and Work Outward
Begin installation at a corner or fixed point, such as next to a window or island. Place the first cabinet slightly below the laser line so the beam remains visible during adjustment.
Keep the beam visible. This allows real-time feedback as you raise the cabinet.
Insert Wood Shims Under Cabinet Corners
Use 1/8-inch wood shims under each corner. Stack multiple shims as needed to reach the laser line. When the back edge of the cabinet is below the beam, place a shim where the laser hits the back, then lower the cabinet onto it to lift into alignment.
Trim excess. Cut protruding shim ends flush with a utility knife after final positioning.
Handle Back-Low vs. Back-High Conditions
Back-low conditions are fixable with shims under the rear edge. Back-high conditions are not fixable because the cabinet cannot be lowered without breaking alignment. Avoid this by dry fitting first.
Best practice is to always install cabinets back-low, then shim up.
Prevent Wall Hang During Leveling
Pull Cabinets Away Before Adjusting
Wall hang occurs when lifting the front of a cabinet causes the back to rise and overshoot the laser line due to friction against the wall. To prevent this, pull the cabinet 1 inch forward from the wall. Perform all leveling adjustments while it is free to pivot. Once aligned, gently push it back into wall contact.
Tools like Easy Level allow post-alignment repositioning without collapse, ideal for managing wall hang.
Use Flashlights for Better Visibility
Dark cabinet interiors can make the laser beam hard to see. Shine a flashlight behind the cabinet or use a contrast card, such as white cardboard, to enhance visibility of the beam on the back rail.
The goal is to see the laser line clearly at both front and rear edges.
Level Adjustable Cabinets with Front/Back Levelers
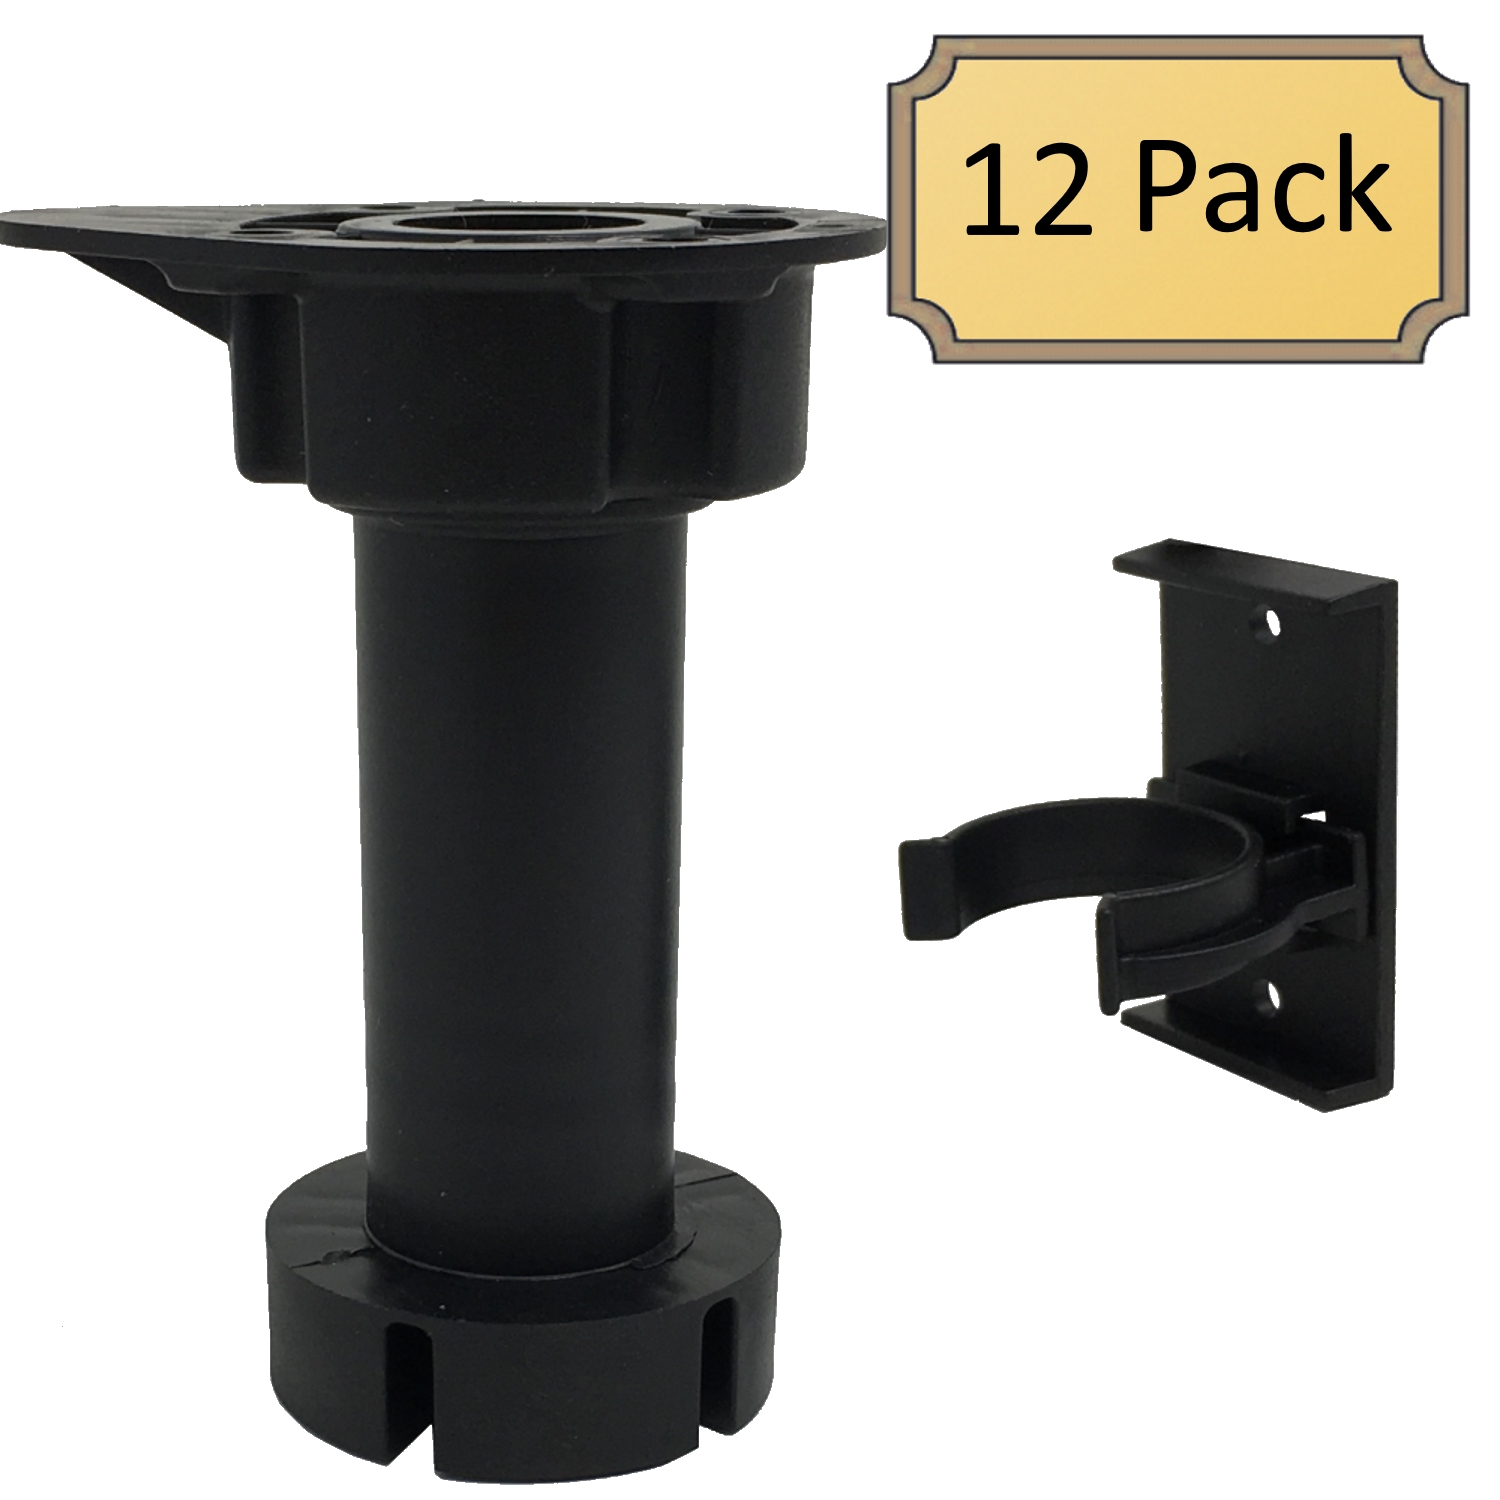
Raise Front Levelers First
For Euro-style cabinets with adjustable feet, start by raising the front levelers until the front edge just touches the laser beam. The cabinet will pivot slightly toward the wall. This is normal.
Adjust Rear Levelers to Contact the Beam
Now raise the rear levelers until the back edge meets the laser line. View from a distance or use a flashlight to confirm contact.
Fine-Tune in a Front-Rear Loop
Return to front levelers and make small adjustments until the laser reappears. Readjust rear levelers. Repeat until the laser line is evenly split across all four top rails, meaning front and back, left and right.
Perfect alignment occurs when the beam bisects the top rail uniformly, indicating true level.
Repeat on Opposite Side and Center
Do the same adjustment sequence on the far end of the cabinet run. Then lower any center support levelers while monitoring the laser to maintain evenness.
Verify Alignment with Straightedge and Level
Check Cabinet Tops with an 8-Foot Straightedge
Place an 8-foot screed or straightedge across the front edges of installed cabinets. Look for gaps indicating misalignment, waviness or rocking, and poor countertop support zones. Any deviation must be corrected before proceeding.
Straight tops equal seamless countertop fit.
Test for Plumb on Stiles
Use a bubble level vertically on the cabinet stiles, meaning the side frames. Even if tops are level, cabinets can lean in or out, affecting door alignment.
Adjust as needed by shimming behind the cabinet or tweaking levelers.
Mark Hardware Locations Using the Laser
Once cabinets are secure, use the laser line as a guide to mark drawer slide heights, shelf positions, and hinge placements. This ensures consistency across all units.
Secure Cabinets to Wall with Adhesive and Screws
Apply Construction Adhesive First
Run beads of polyurethane-based adhesive, such as PL Premium, along the cabinet footprint on the wall. This creates a rigid, vibration-resistant bond that prevents movement over time.
Adhesive beats screws alone because it prevents racking and squeaks.
Drive Screws Through Shims Into Studs
Pre-mark stud locations with a stud finder. Drive screws through the shims and into wall studs. The shim acts as a backing plate, preventing pull-through.
Use large-headed screws for plywood cabinets to prevent splitting. Use smaller-headed screws for face-frame connections between cabinets.
Let Adhesive Cure Before Removing Temporary Shims
Wait 24 hours before trimming or removing any temporary shims. The adhesive needs time to cure fully and bear the load.
Handle Special Challenges Like Uneven Floors
Compensate for Sloping Floors with Shims
In homes over 100 years old, floor slopes of 1/2 inch or more are common. Never install cabinets directly on the floor. Always raise them to meet the laser line based on the highest floor point.
Never lower cabinets. Only raise them.
Fill Gaps Behind Cabinets with Joint Compound
Gaps between cabinet backs and walls, up to 1-1/4 inches, are normal. Instead of scribing each unit, tape the back edge, apply joint compound, sand smooth, and paint.
This method provides a cleaner finish and faster installation.
Optimize for System Compatibility
Account for Framed Cabinet Overhangs
Standard framed cabinets have a 3/16-inch overhang per side, totaling 1/8 inch overall. Interior depth is typically 24 inches plus 3/8 inch. When setting the laser, ensure it accounts for front-to-back alignment, especially if using a top-mounted reference system.
Use Laser Guidance for RTA and Euro Cabinets
RTA cabinets often have slight variances, and laser leveling corrects these. Euro cabinets with levelers are ideal for laser-based fine-tuning.
Laser plus levelers equals precision fit.
Hide Imperfections with Face Frames
Damaged drywall or forklift-scraped panels can be covered with a temporary face frame, glued and taped in place until permanent installation.
Maximize Accuracy and Efficiency
Use Green Lasers in Bright Kitchens
Green beams are 4 to 5 times more visible than red, especially under LED or natural light. Invest in a green laser for better results.
Maintain 5/8-Inch Offset When Required
Some systems require the laser line to be set 5/8 inch below the top edge. Follow this exactly for compatibility with mounting hardware.
Avoid Bumping the Tripod
Once calibrated, protect the laser setup. A single bump can throw off the entire alignment. Assign one person to monitor it.
One-person operation is possible with proper setup and self-leveling laser.
Finalize Installation with Enclosures and Trim
Mark Enclosure Positions with Laser
For refrigerator columns or built-ins, use the laser to project a vertical line on the wall. Tape the line in place as a guide for erecting side panels. Install final enclosing cabinet using laser for perfect alignment.
Install Interior Components After Final Check
Only add shelves, drawers, and hardware after all cabinets are secured and verified. Premature installation adds weight and complicates adjustments.
Final check means re-scanning with straightedge and level.
Key Takeaways for Perfect Cabinet Installation

Using a laser level for kitchen cabinets is no longer a luxury. It is a necessity for achieving straight, professional results. From setting the reference line to final fastening, every step benefits from the laser precision.
The highest cabinet point must become your baseline. All other cabinets get raised via shimming to meet this line. Dry fitting prevents costly mistakes. The front-rear-front adjustment loop is essential for cabinets with adjustable levelers. A split laser line means you are in fine-tuning mode, so keep adjusting until even.
With the right tools, proper technique, and attention to detail, your kitchen cabinets will look like they were installed by a master craftsman.
Frequently Asked Questions About Laser Levels for Kitchen Cabinets
What type of laser level is best for installing kitchen cabinets?
A 360-degree rotary laser or multi-plane laser with self-leveling capability works best. These project a continuous horizontal line visible all around the kitchen. Green lasers are preferred because they are easier to see in bright kitchens than red ones.
How do I find the highest point for cabinet installation?
Use the laser level to project a horizontal beam across all cabinet positions. Dry fit each cabinet against the wall and observe where the laser beam hits the top edge. The cabinet where the beam touches the lowest point on its top edge is the tallest and becomes your reference point.
Why do cabinets pull away from the wall during leveling?
This is called wall hang. It happens when lifting the front of a cabinet causes the back to rise and overshoot the laser line due to friction against the wall. Prevent it by pulling cabinets about 1 inch away from the wall before making adjustments, then pushing them back after leveling.
Can I install cabinets on an uneven floor using a laser level?
Yes. The laser level establishes a consistent reference line regardless of floor irregularities. Shim all cabinets upward to meet the laser line based on the highest floor point. Never lower cabinets. Only raise them to maintain consistency.
How long should construction adhesive cure before removing temporary shims?
Wait 24 hours before trimming or removing any temporary shims. The adhesive needs a full day to cure and bear the load properly. This ensures a permanent, rock-solid installation.