How to Make a Stamp with a Laser Cutter
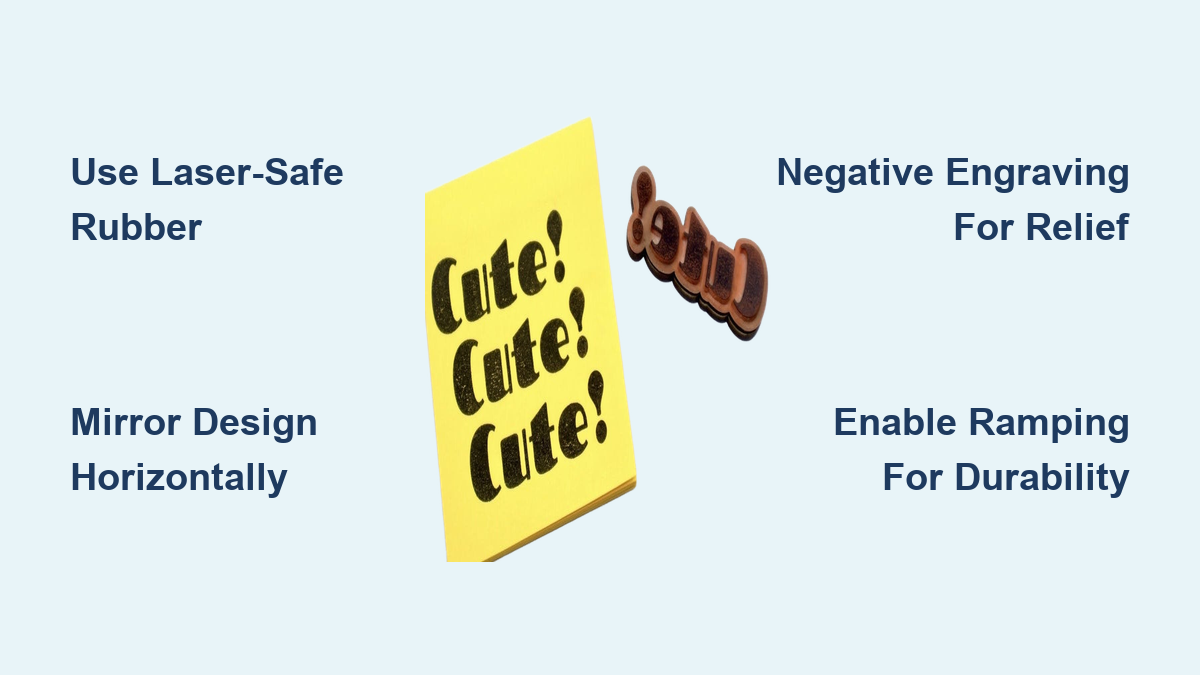
Creating a custom rubber stamp with a laser cutter is faster, more precise, and more repeatable than hand-carving. Whether you need an office “PAID” stamp, personalized sewing labels, or unique craft designs, a laser cutter delivers crisp, consistent results in under two minutes. The process combines digital design with physical fabrication, turning a mirrored vector graphic into a raised rubber relief ready for inking. With a single $8 rubber sheet yielding up to 20 stamps, the cost is minimal, but the customization potential is vast.
This guide walks you through every step: from selecting laser-safe rubber and mirroring your design, to configuring precise engraving settings, mounting your stamp, and troubleshooting common issues. You will learn how to use software like LightBurn or Creative Space, apply advanced techniques like ramping for durability, and ensure safety when cutting rubber. Whether you are using an xTool F1, Epilog Fusion, Glowforge, or a CO₂ laser with LightBurn, this method works across platforms.
Choose Laser-Safe Rubber for Your Stamp
Use Odorless, Engraving-Grade Sheets
Not all rubber is safe for laser cutting. Standard synthetic rubbers can release chlorine gas, sulfur compounds, or other hazardous VOCs when burned. Always use laser-approved rubber designed for engraving.
The best options include odorless rubber such as Epilog-approved sheets, silicone-based rubber from stamp kits, nitrile rubber or natural rubber from Laserbits.com, and pre-cut laser stamp sheet sets in 4″x6″ or A4 sizes. These materials are formulated to minimize smoke and toxic emissions, though ventilation is still mandatory.
Optimize Thickness and Color
Thickness of 2-3 mm is ideal. This is thick enough for durability and thin enough to engrave cleanly. Darker rubber absorbs more laser energy, producing deeper, sharper engravings. Medium firmness prevents tearing during use and ensures clean cuts.
Pro Tip: Flatten curled rubber by placing it under heavy books for 24-48 hours before use.
Design Your Stamp with Proper Mirroring
Always Mirror the Design Horizontally
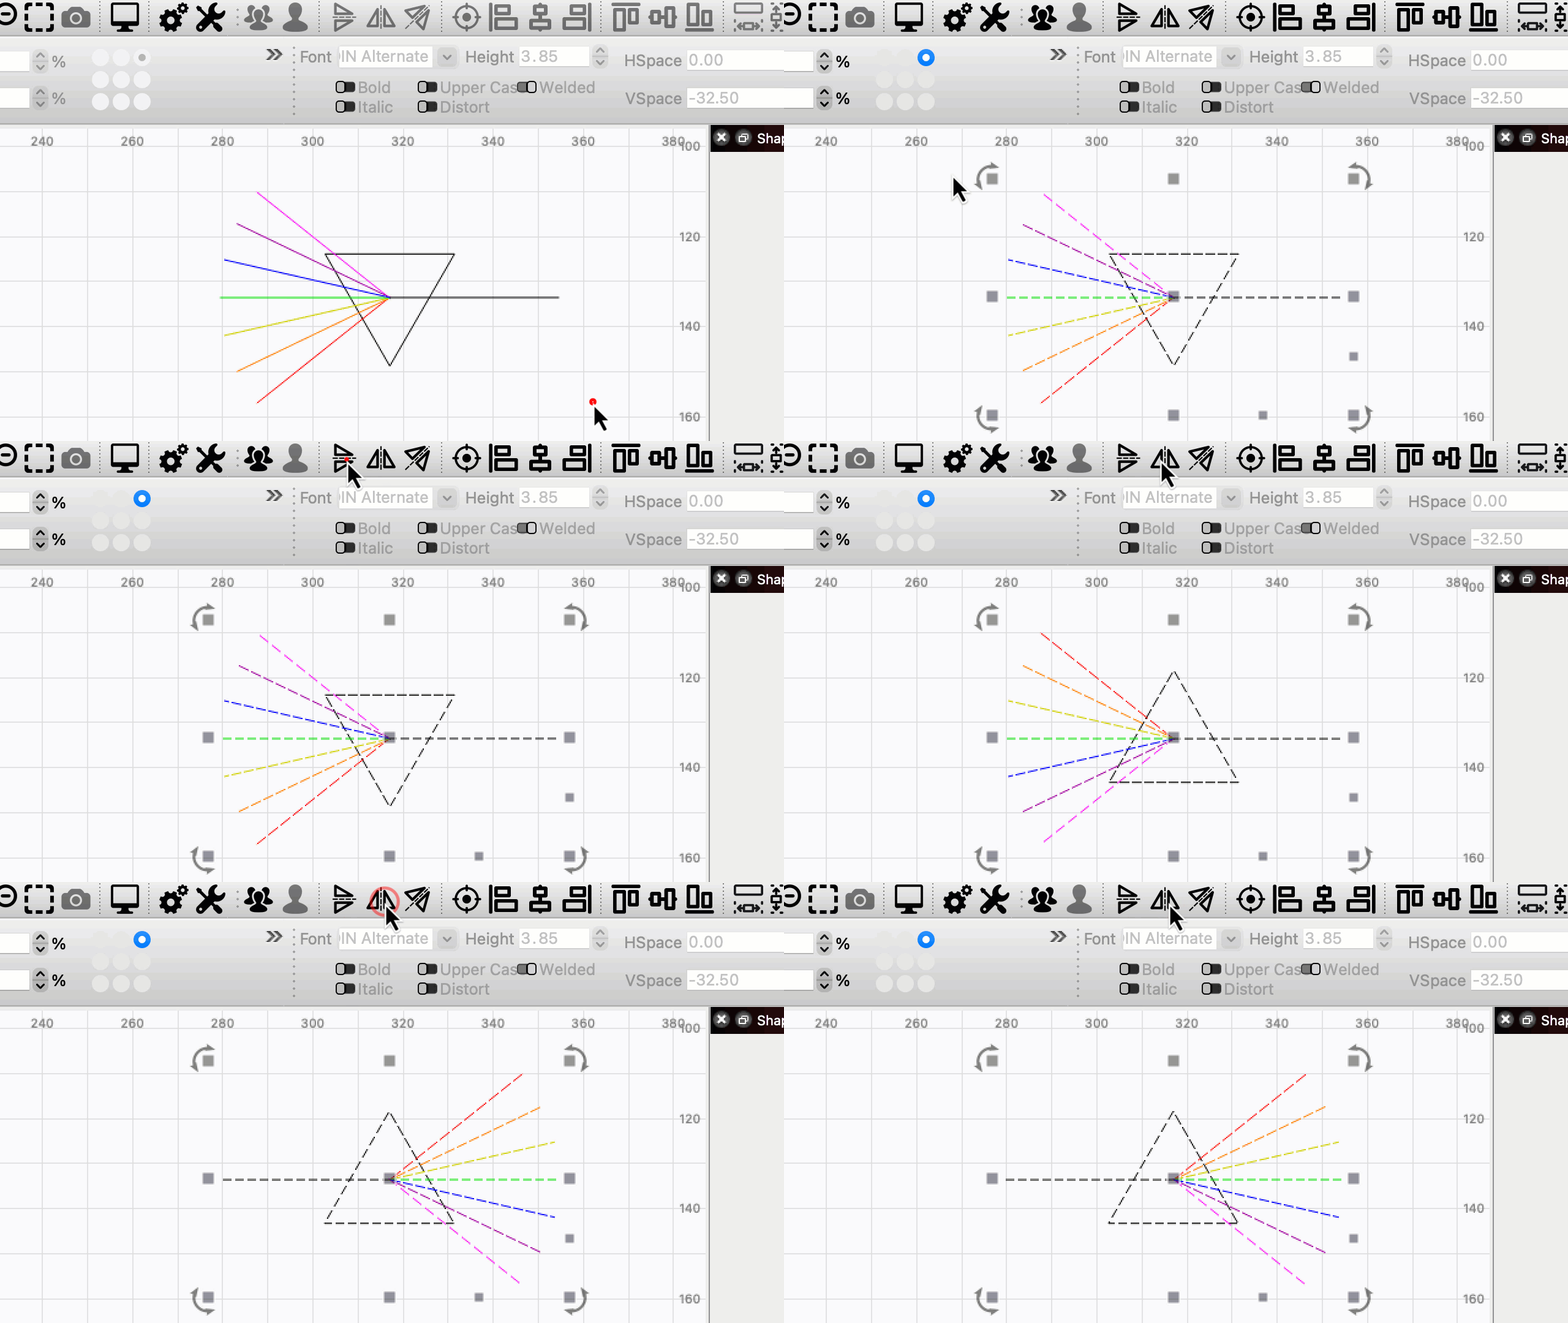
A non-mirrored stamp produces a backwards impression. This is the most common beginner mistake. In your design software, you must flip the design horizontally before sending it to the laser.
In LightBurn, right-click and select Transform then Flip Horizontal. In Inkscape, go to Object, Transform, and Flip Horizontal. In Creative Space, use Reflect then Horizontal. In Glowforge, manually mirror using the flip tool. Do this before engraving because once engraved, you cannot fix it.
Use Negative Engraving for Raised Image
The best results come from removing the background, leaving your text or logo raised. This is called negative engraving.
The steps are simple. First, draw a filled rectangle around your design. Second, import your artwork such as text or logo. Third, use Boolean Subtract so only the design remains unengraved. Fourth, engrave the surrounding area. This creates a recessed border with a raised image.
Avoid positive engraving unless you want a specialty reverse-ink effect.
Set Minimum Line Thickness
Keep lines at least 0.3-0.5 mm to prevent breakage. Use bold, sans-serif fonts like Arial Black or Impact. Avoid gradients, halftones, or fine serifs.
QR codes can work if you thicken the lines and use ramping to ensure scannability.
Set Up Laser Layers in LightBurn
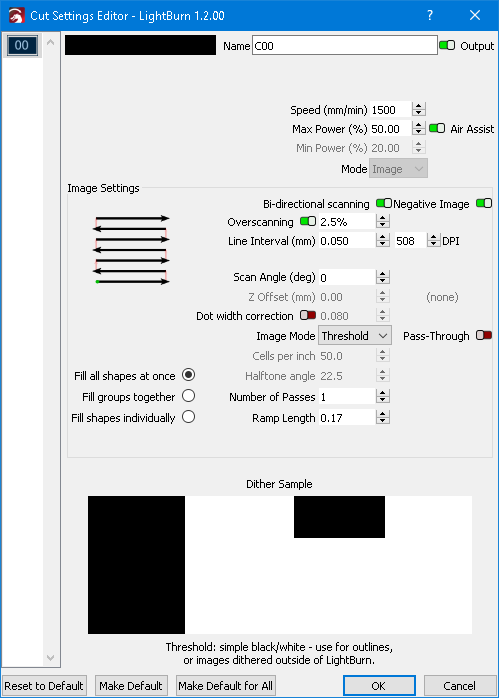
Use Color-Coded Layers for Control
Organize your job with layers to separate engraving and cutting. This gives you precise control over the process.
Example setup includes a Blue Layer for engraving the background and a Black Layer for cutting the outer trim line. The workflow involves mirroring your text, drawing a rectangle slightly larger than the text, coloring both blue to define the engrave area, and adding a black vector line just inside the engraved border to cut the stamp flush.
Pro Tip: Disable the cut layer output if only using it for alignment.
Enable Ramping for Durability
Ramping creates a gentle bevel around the edges of raised features, preventing thin parts from snapping. This is essential for long-life stamps, especially with narrow letters like I or l.
In LightBurn, select the engrave layer, go to Layer, Advanced, Ramp, and enable Ramp Outer Edge. Set Ramp Length to 0.2-0.5 mm and adjust Ramp Value. Use Preview then Shade According to Power to visualize the gradient.
Configure Correct Laser Parameters

Adjust Power and Speed by Machine
All rubber reacts differently. Always test on a scrap piece first. Use these as starting points.
For general CO₂ or diode lasers using LightBurn, try 70% power at 650 mm/min for a 20W laser at 500 DPI. For 10W diode, try 80% power at 600 mm/min. For 5W diode, try 100% power at 580 mm/min.
For xTool F1, use 85% power at 250 mm/min with 10 passes. Repeat 2-3 times for 20-30 total passes. Do not open the shell between passes because this risks misalignment.
For Epilog Fusion Maker 24, use 100% power at 15 mm/min with 500 DPI, standard pattern, and bottom-up direction.
Focus and Align the Design
Set Focus at 10 mm Height
Use a 1.5 inch focal length lens and focus at 10 mm above the bed. This is standard for rubber. Re-focus after changing material or interrupting a job.
Out-of-focus beams cause blurry edges or incomplete engraving.
Frame and Align the Design
Place rubber flat on the bed. Use the frame button in your software to project the outline. Adjust the sheet position so the design aligns with the desired area. Set the origin point, usually top-left of the rubber or block.
Ensure no warping by using tape or weights if needed.
Run the Engraving Job Safely
Queue Layers in Order
Process the job in this sequence. First, run the engrave layer to remove the background. Second, run the cut layer to trim the stamp outline.
If using multiple passes such as with xTool F1, let the machine repeat automatically. Do not open between cycles.
Enable Safety Features
Air assist reduces charring and improves cut quality. Ventilation is mandatory. Run a fume extractor or air purifier with HEPA and carbon filter. Stay present and never leave the laser unattended because rubber can ignite.
Even odorless rubber produces hazardous fumes. Ventilation is non-negotiable.
Clean and Mount Your Stamp
Remove Carbon Residue
After engraving, brush off loose debris with a soft brush. Scrub gently with a toothbrush and water, especially effective for silicone rubber. Wipe with isopropyl alcohol to degrease and finalize cleaning. Dry completely before mounting.
Avoid soaking because some rubbers degrade with prolonged water exposure.
Trim and Mount the Stamp
Choose your trimming method. Scissors work best for simple shapes and produce cleaner cuts with less smoke. Laser cutting is ideal for complex outlines but expect more charring.
For mounting, use rubber cement by applying a thin coat and waiting 3-4 minutes before bonding. Alternatively, use super glue after cleaning surfaces with isopropyl alcohol. Epoxy works best for commercial durability. Double-sided tape is good for temporary or replaceable faces.
After alignment, press firmly and place under a heavy book or clamp. Wait 20 minutes for full adhesion.
Test and Troubleshoot Common Issues
Run a Test Impression
Ink the stamp fully and press firmly onto paper. Check for clarity with no broken lines or smudging. Verify orientation is not backwards. Ensure the entire design transfers.
Fix Common Problems
If thin lines break, thicken the design, increase power, or enable ramping. If ink transfer is poor, deepen the engraving to 0.5-1 mm or try a softer ink pad. If melting or charring occurs, reduce power, increase speed, and enable air assist. If the stamp appears backwards, always mirror the design before engraving. If the impression is uneven, ensure the rubber is flat and evenly mounted. If QR codes do not scan, thicken lines, use ramping, and test with your phone.
Creative Applications for Laser-Cut Stamps
Craft and Business Uses
Stamp fabric with “Handmade,” “Made in 2024,” or “I Made This” using fabric ink for wash-resistant results. This is ideal for quilting, garment tags, or DIY projects.
For office use, create “PAID,” “APPROVED,” or “CONFIDENTIAL” stamps for paperwork. Teachers can make “Good Job!” or “Try Again” stamps for student feedback.
For business, make address stamps for envelopes, price tags or inventory codes, and logo stamps for packaging to boost brand identity.
You can sell custom stamps on Etsy or at craft fairs. Target educators, small businesses, and crafters. Market demand is high because laser stamps are seen as professional, durable, and personal.
Key Takeaways for Laser Stamp Making
Creating a stamp with a laser cutter blends digital precision with hands-on craft. The most critical steps are using laser-safe rubber, mirroring your design horizontally, and applying negative engraving to create a raised image. Proper laser settings vary by machine, so always test on scrap material first. Enable ramping for durability and ensure proper ventilation because rubber produces toxic fumes when burned.
With the right materials, mirrored design, proper settings, and safety measures, you can produce professional-quality stamps in minutes. Whether for personal use or small business, the process is scalable, affordable, and deeply satisfying. From sewing labels to office validators, your laser cutter turns ideas into inked reality, one stamp at a time.
Frequently Asked Questions About Laser Stamp Making
What type of rubber is safe for laser cutting?
Use odorless, laser-engravable rubber such as Epilog-approved sheets, silicone-based rubber, nitrile rubber, or natural rubber from laser-safe suppliers. Avoid synthetic rubbers containing chlorine or sulfur because these release toxic fumes.
Do I need to mirror my stamp design?
Yes. Always mirror your design horizontally before engraving. A non-mirrored stamp produces a backwards impression on paper or fabric.
What laser settings work best for rubber stamps?
Settings vary by machine. For a 20W CO₂ laser, try 70% power at 650 mm/min. For xTool F1, use 85% power at 250 mm/min with 10 passes. Always test on scrap material first.
How deep should I engrave the rubber?
Maximum recommended engraving depth is 1 mm. Deeper engraving risks cutting through the sheet. For good ink transfer, aim for 0.5-1 mm depth.
Can I make a QR code stamp with a laser cutter?
Yes. Thicken the lines to at least 0.3-0.5 mm and enable ramping to preserve fine details. User reports confirm QR codes become scannable after optimizing line thickness and ramp settings.