How to Connect Laser Pointer to Computer
You’re about to give a presentation, laser pointer in hand, only to realize it won’t respond when you press the button. Most laser pointer remotes don’t connect directly to your computer like a USB drive. Instead, they use a wireless USB receiver to communicate with your laptop, combining a presentation clicker with a built-in laser so you can navigate slides and highlight key points without being tethered to your device.
This guide covers how to properly connect your laser pointer to a computer, test its functions, troubleshoot common failures, and avoid pitfalls on older systems. Whether you’re using a Logitech R800, Kensington Wireless Presenter, or a generic model, these steps will get you presenting confidently.
Plug in the USB Receiver
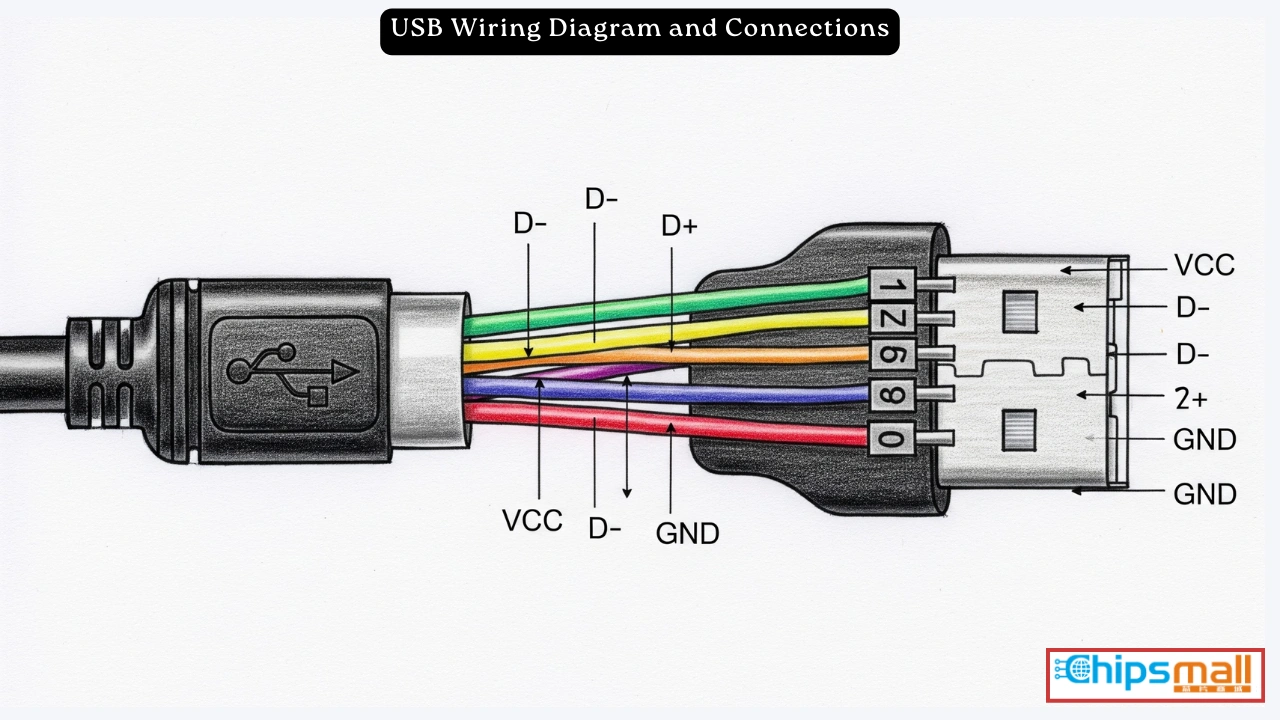
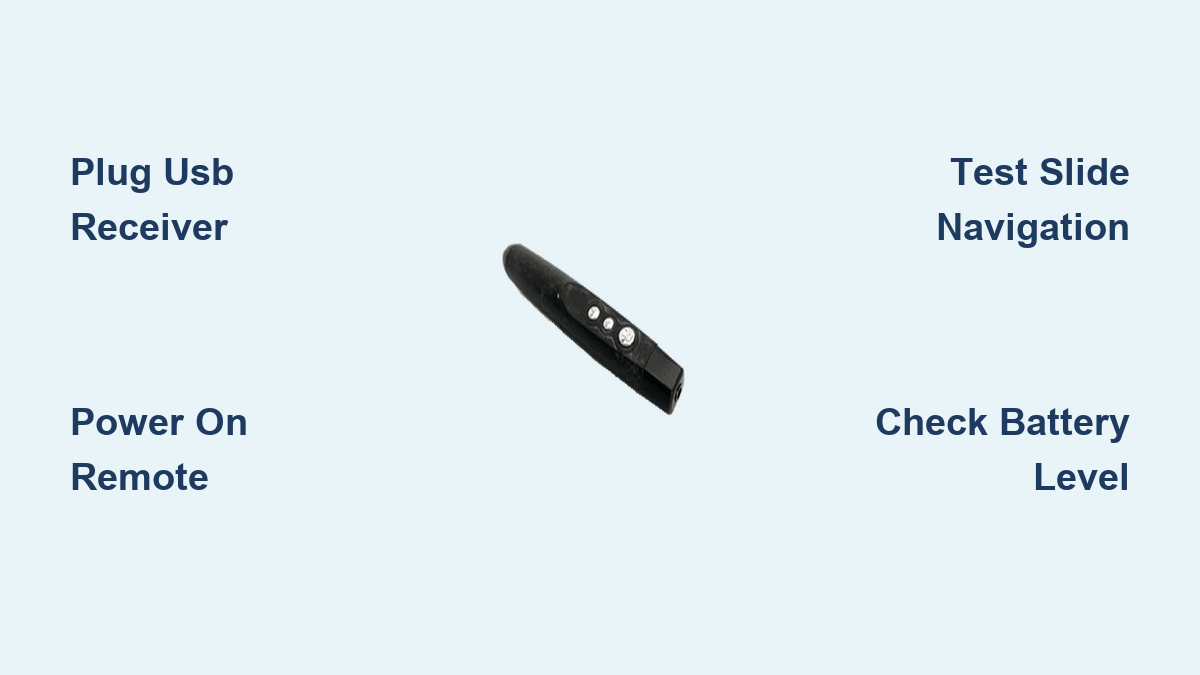
Insert the included USB receiver into an available port on your computer. Avoid USB hubs or extension cables because they can weaken the signal or block power delivery. For best results, use a USB 2.0 or 3.0 port directly on your laptop or desktop.
Use a Direct USB Port
Most systems recognize the device automatically. On Windows, you may see a notification indicating the device has been installed successfully, such as “USB Input Device” or “Device installed and ready to use.” This confirms the operating system detected the dongle as a Human Interface Device, similar to a wireless mouse or keyboard.
Test Port Functionality
If nothing happens after plugging in the receiver, try these steps:
• Try another USB port on your computer
• Plug in a different USB device like a flash drive to confirm the port works
• Check Device Manager under Universal Serial Bus controllers for any new entries
Avoid front-panel desktop ports if possible because they’re often less reliable than rear motherboard ports.
Power On the Laser Remote
Locate the power switch on your remote, usually found on the side or back of the device. Slide it from Off to On to activate the presentation remote.
Install and Test Batteries
Open the battery compartment and insert the required batteries, which are typically AAA or CR2032 button cells. Ensure correct polarity as marked inside the compartment. Even if batteries are new, they may have low charge, so replace them with fresh ones if the remote doesn’t power on.
Activate the Device
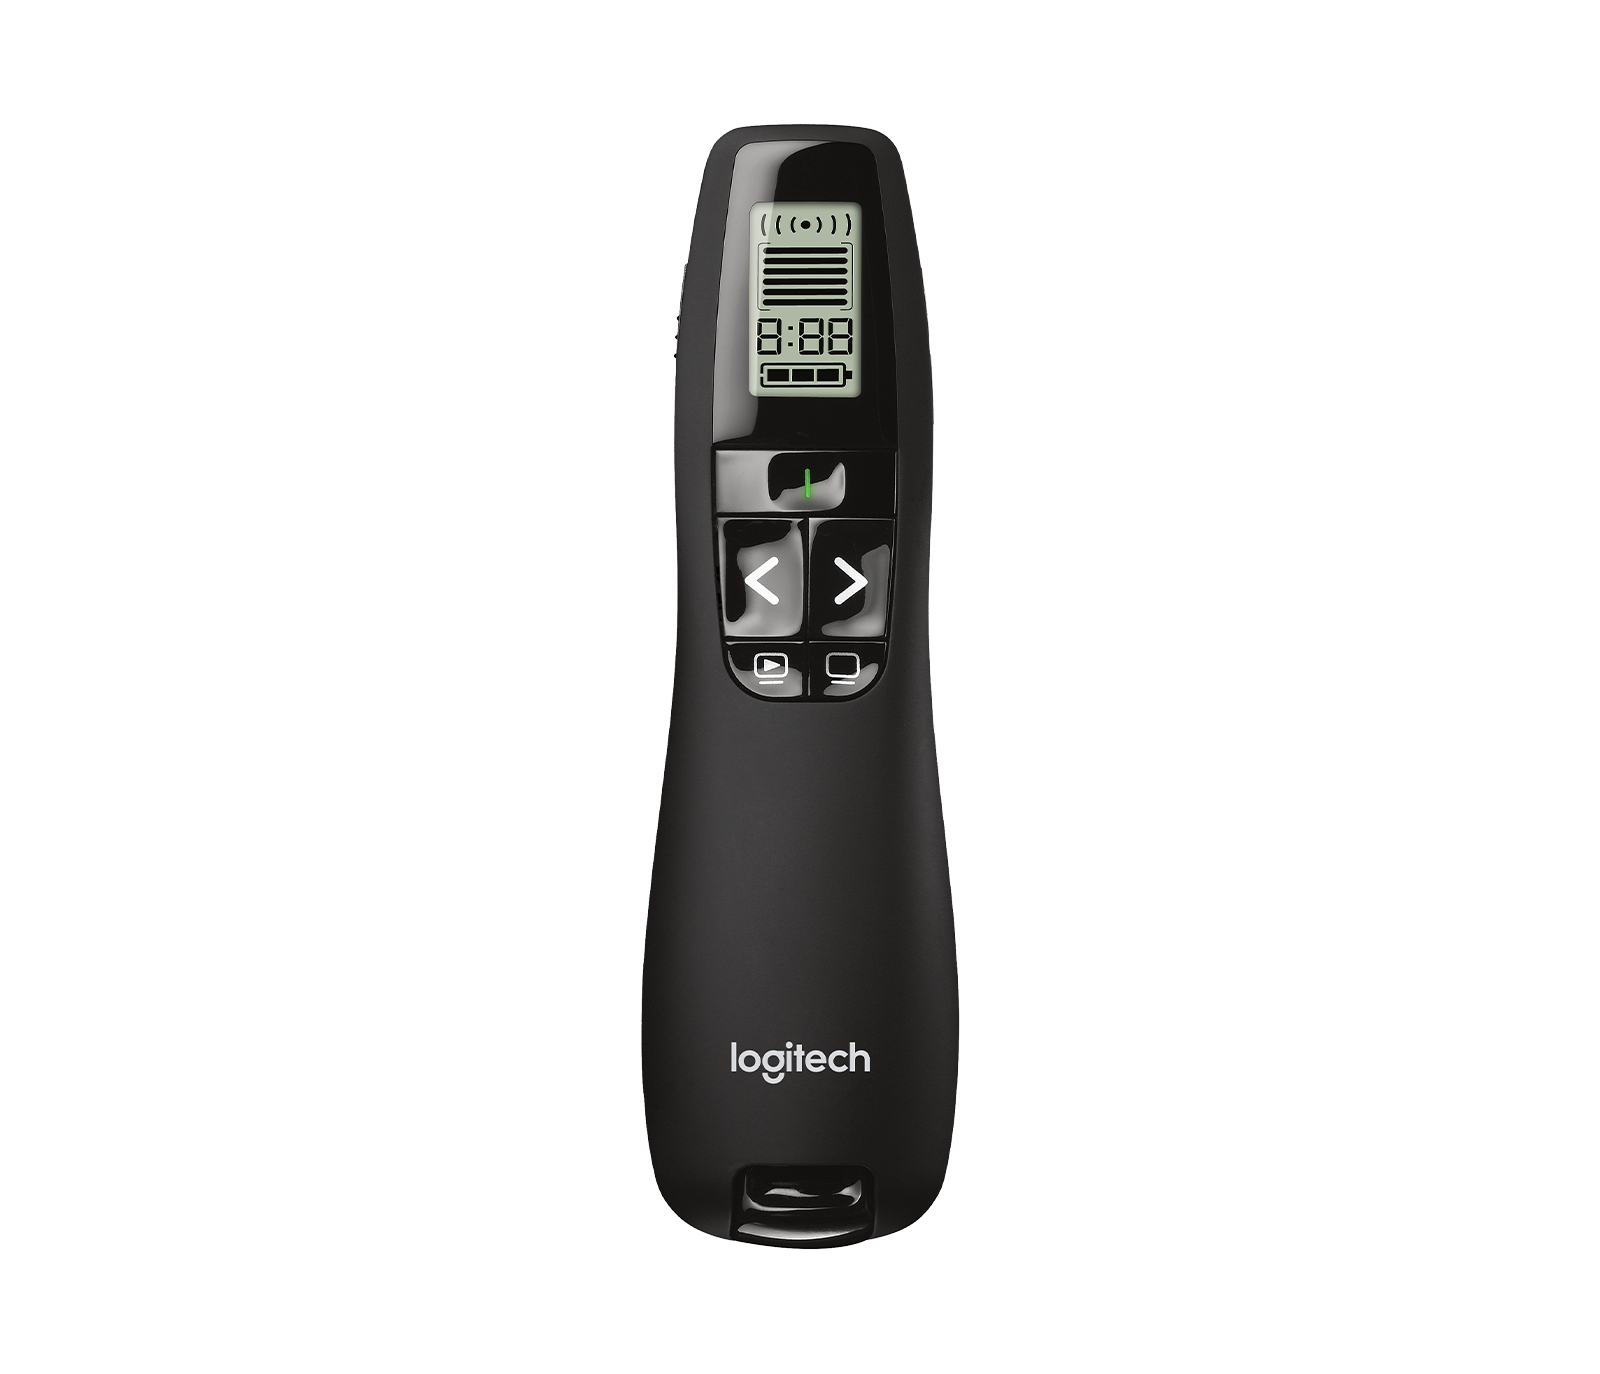
Some models like the Logitech R800 display a startup screen showing battery level and signal strength. Others may have a brief LED flash to confirm power. If the remote has no power indicator, check battery orientation and contact cleanliness because corrosion or dirt on metal contacts can prevent connection.
Test Presentation Functions
Open your preferred presentation software, such as Microsoft PowerPoint, Google Slides in presentation mode, Apple Keynote, or LibreOffice Impress. Start a slideshow to begin testing the remote functions.
Test Slide Navigation
Press the forward button to advance one slide and the backward button to return to the previous slide. These buttons emulate keyboard inputs like Right Arrow and Left Arrow, so they work in most slide-based applications.
Activate the Laser Pointer
Press and hold the laser button, usually marked with a red dot or laser icon. The laser should project a red or green beam onto your screen. Never point the laser at anyone’s eyes because even low-power presentation lasers can cause eye damage with direct exposure.
Use Advanced Features
Higher-end laser pointer remotes offer additional features beyond basic slide navigation and laser activation.
Trigger Black Screen Mode
Press the blank screen button, often represented by a hollow rectangle icon. The display turns black, which is ideal for focusing attention during Q&A sessions. Press the button again to restore your presentation. This function sends a B key command to the software.
Set and Run Timer on Advanced Models
Devices like the Logitech R800 include a countdown timer with vibration alerts. To set the timer, press Timer Set once until the display starts flashing. Use forward and backward buttons to adjust minutes, holding buttons to speed up selection. Press Timer Set again to confirm. Press Timer Play/Pause to begin the countdown. Vibration alerts occur at 5, 2, and 0 minutes remaining. After time ends, the timer counts upward into overtime mode. To clear the timer, hold Timer Set for three seconds.
Check Signal Strength
When you press a button, some remotes briefly show a range indicator with bars or a signal icon. Full bars mean strong connection while blinking indicates weak signal. Stay within 100 feet of the USB receiver because walls, metal objects, and Wi-Fi interference can reduce effective range.
Troubleshoot Non-Working Remote
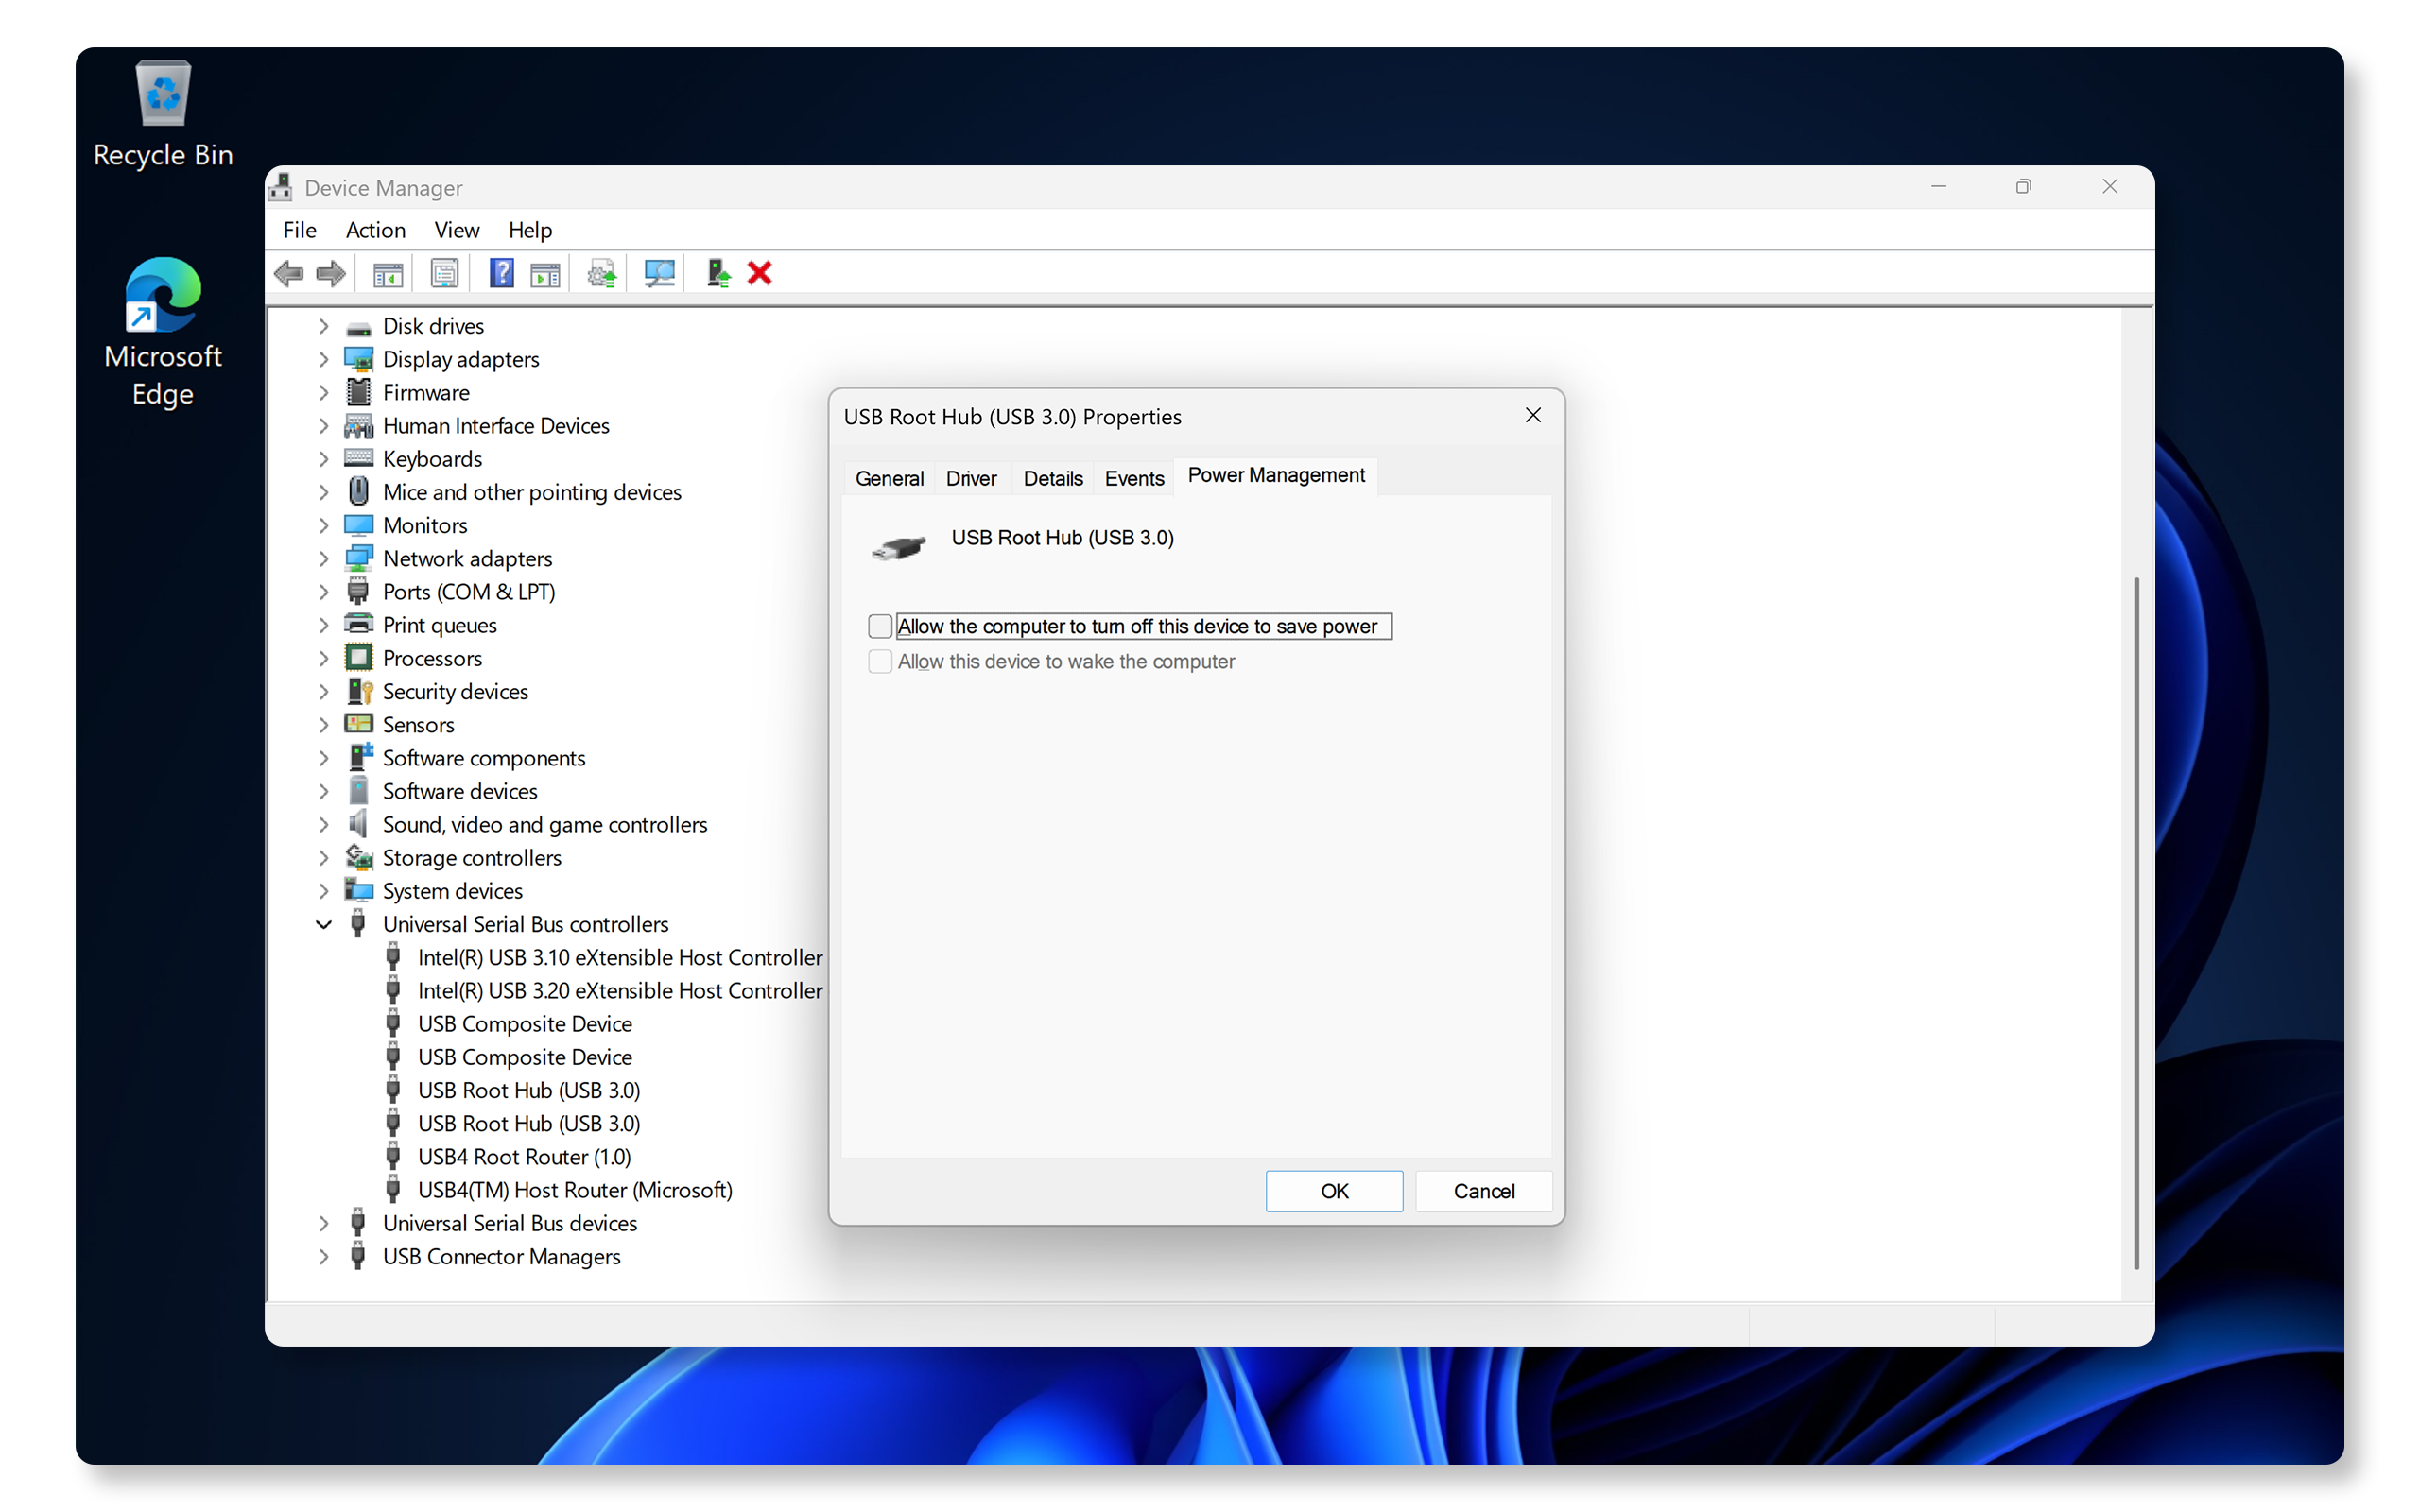
If your laser pointer remote isn’t responding after following the connection steps, these troubleshooting methods can help identify and fix the issue.
Verify Device Recognition
On Windows, press Win plus X and select Device Manager. Expand Universal Serial Bus controllers and look for entries like USB Receiver, Wireless Presenter, or Unknown Device. If you see a yellow exclamation mark, right-click the device and select Update driver, then choose Search automatically for drivers.
Reinstall USB Controllers
Sometimes corrupted USB drivers prevent proper recognition. Open Device Manager, expand Universal Serial Bus controllers, right-click each listed USB device, and select Uninstall device. Restart your computer, and Windows will reinstall USB drivers on boot. Plug in the receiver again and test.
Run Hardware Troubleshooter
Windows includes a built-in tool to fix device issues. Go to Settings, then Update and Security, select Troubleshoot, choose Hardware and Devices, and run the troubleshooter. Follow the on-screen prompts to detect and resolve issues.
Perform a Clean Boot
Third-party software can interfere with HID devices. Press Win plus R, type msconfig, and press Enter. Go to the Services tab, check Hide all Microsoft services, and click Disable all. Go to the Startup tab, click Open Task Manager, and disable all startup items. Restart your computer and test the remote. If it works, re-enable services gradually to find the culprit. After testing, return to msconfig and select Normal startup.
Update Operating System and Drivers
Outdated operating systems, especially Windows 7, may lack updated HID support. Install all pending Windows updates and visit your PC manufacturer’s website to download the latest chipset and USB drivers. Reboot and reconnect the receiver.
Test on Another Computer
Plug the USB receiver into a different computer and try the remote. If it works, the issue is with your original system. If it fails, the remote or receiver is defective. This step quickly isolates hardware versus software problems.
Address Compatibility Issues
Windows 7 and Legacy Systems
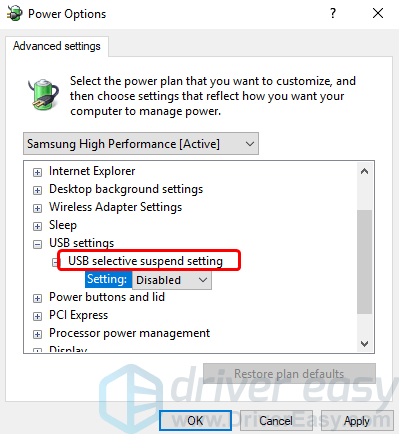
Despite being marketed as plug-and-play, some remotes fail on Windows 7 64-bit systems. Common symptoms include detection as USB Input Device but no response, or the remote working on Windows 10 but not on older operating systems. Install all available Windows updates and disable USB selective suspend by going to Control Panel, selecting Power Options, clicking Change plan settings, then Change advanced power settings. Expand USB settings, set USB selective suspend setting to Disabled, and click Apply.
macOS and Chrome OS Support
On Mac, plug in the receiver, open System Settings, then Bluetooth and Devices. No pairing is needed. Test in Keynote or PowerPoint. On Chromebooks, support is limited and works only in full-screen presentation mode with Google Slides. The laser pointer may not activate due to security restrictions.
Choose Reliable Models
Different models offer varying levels of reliability and features. Here’s a comparison of popular options:
| Feature | Logitech R800 | Kensington Wireless Presenter | Budget Generic Model |
|---|---|---|---|
| Range | Up to 100 ft | 50-100 ft | 30-50 ft |
| Laser Color | Red | Red or Green | Red |
| Timer with Alerts | Yes | No | Rare |
| Signal Indicator | Yes | No | No |
| Display Screen | Yes | No | No |
| Plug-and-Play | Yes | Claimed yes, inconsistent | Usually yes |
| OS Compatibility | Windows, macOS | Windows, macOS | Windows mostly |
| Build Quality | Durable, professional | Medium | Flimsy |
For critical presentations, invest in the Logitech R800 because its screen feedback, long range, and reliable performance justify the cost. Avoid no-name brands that lack firmware support or customer service.
Maintain Your Laser Remote
Extend Battery Life
Replace batteries every 6-12 months even if still working. Remove batteries if storing for over a month. Store in a dry, room-temperature environment to prevent damage.
Prevent Damage and Loss
Store the USB receiver in the remote’s built-in slot when available. Use a protective case when traveling. Avoid dropping the device because internal circuitry is sensitive to impacts.
Register for Warranty
Most brands offer 1-3 year warranties. Register online with proof of purchase. If your remote fails repeatedly, request a replacement because some units have undetected hardware defects.
Frequently Asked Questions About Connecting Laser Pointers to Computers
Why isn’t my laser pointer remote responding after plugging in the USB receiver?
First, verify the receiver is properly inserted into a direct USB port, not a hub. Check Device Manager to confirm the computer recognizes the device. Try different ports and replace the batteries in the remote. If nothing works, reinstall USB controllers or test the device on another computer to determine if it’s a hardware issue.
Do I need to install drivers for my laser pointer remote?
Most laser pointer remotes are designed as plug-and-play devices and don’t require additional software. They work by emulating standard HID devices like keyboards and mice. However, outdated operating systems, particularly Windows 7, may have driver issues that require updating your system or reinstalling USB controllers.
Can I use a laser pointer remote with Google Slides?
Yes, laser pointer remotes work with Google Slides, but only in full-screen presentation mode. The slide navigation buttons and laser function typically work, though some advanced features like black screen may have limited functionality depending on the browser and version.
What should I do if my laser pointer works but the buttons don’t navigate slides?
The navigation buttons emulate keyboard shortcuts like Right Arrow and Left Arrow. Ensure you’re in presentation mode in your software. Try opening a new presentation file and test again. If buttons still don’t work, the remote may be defective, or there may be software conflicts preventing HID input.
How do I fix a laser pointer remote that works on one computer but not another?
Test the USB receiver on the non-working computer to confirm it’s not a hardware issue with the receiver itself. If it works on the second computer, the problem lies with your original system’s software. Try updating drivers, running the hardware troubleshooter, or performing a clean boot to eliminate software conflicts.
Key Takeaways for Connecting Laser Pointer to Computer
Most laser pointer remotes connect via a USB wireless receiver and work as plug-and-play devices, emulating keyboard and mouse inputs. Always test your device before a critical presentation because issues can arise with older operating systems like Windows 7 or certain software configurations. For reliable performance, choose reputable brands like Logitech over generic models, and keep your batteries fresh and your receiver stored safely when not in use.